
Let's talk about the physical friction of boucle dragging through your fingers—it is basically a tactile puzzle that most makers run away from. Honestly, it drives people crazy. When you work with Crochet Lamb Patterns, the real issue isn't the stitches themselves, but how you design the surface topography to simulate actual wool. My colleague Tony West (he is over on Richmond Road in Derby) actually challenged me to build a lamb that doesn't just feel like a mushy blob but has real structural integrity under the fluffy stuff. We ended up using some open-source stitch-mapping software to plot the exact coordinate of every single boucle loop. It sounds obsessive. Because it is.
Quick Access
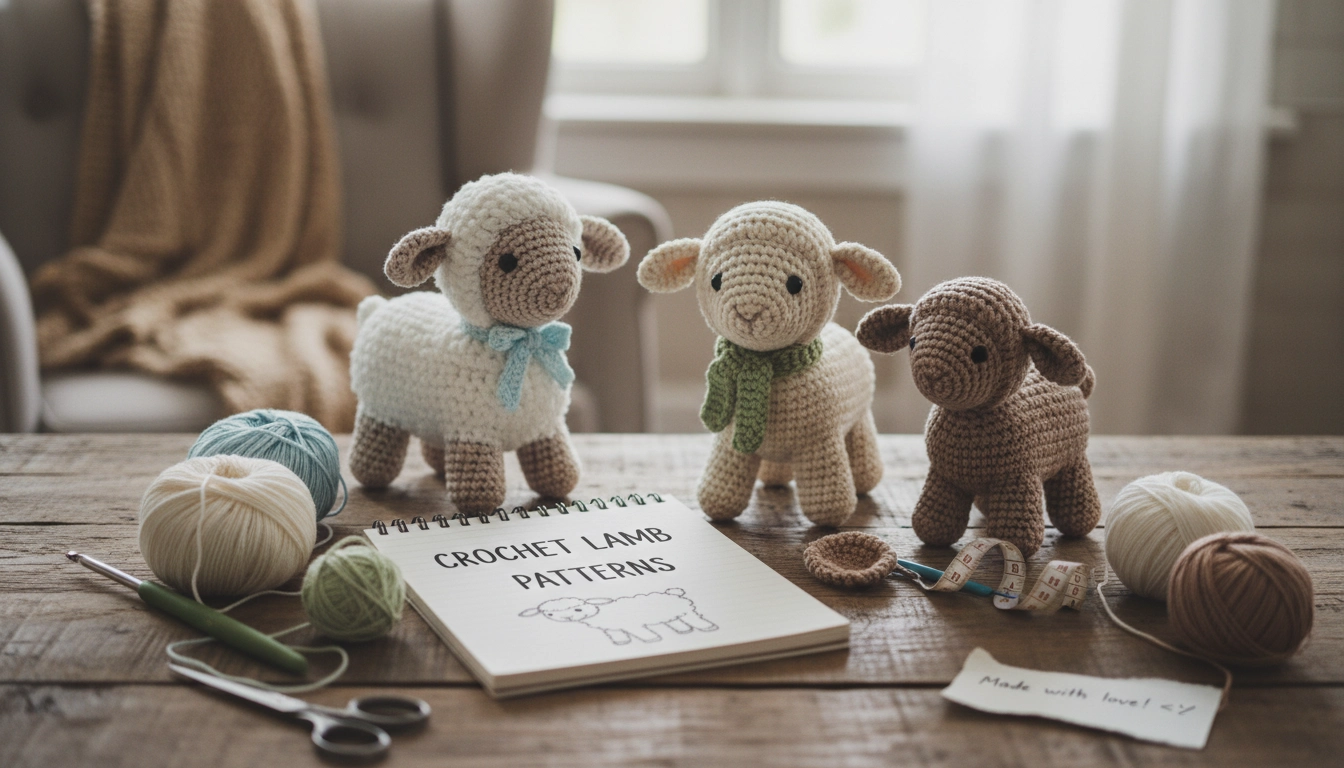
This comprehensive guide provides step-by-step instructions, essential stitch tutorials, and professional assembly tips to help you master textured amigurumi.
Understanding the Basics of Textured Amigurumi
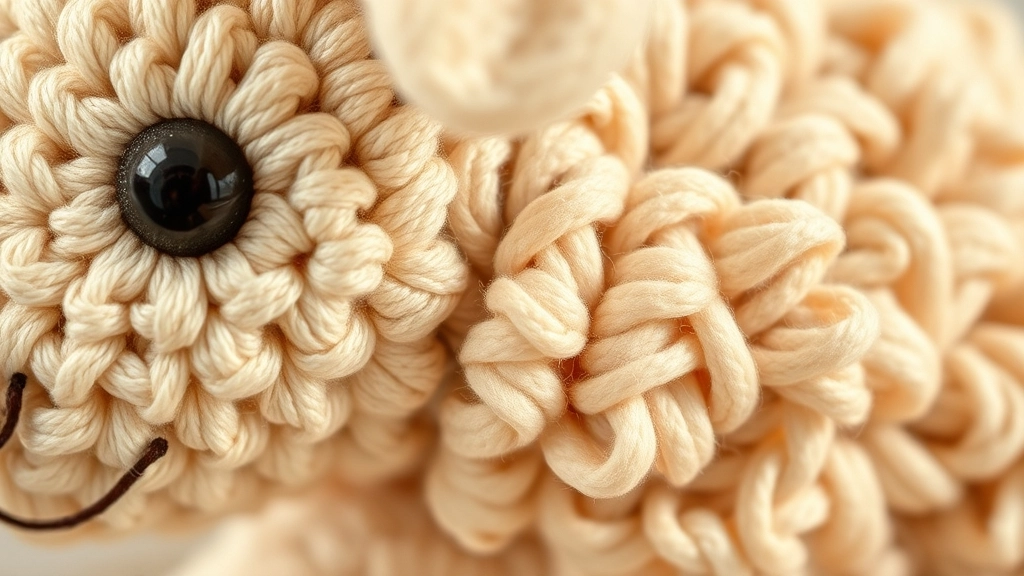
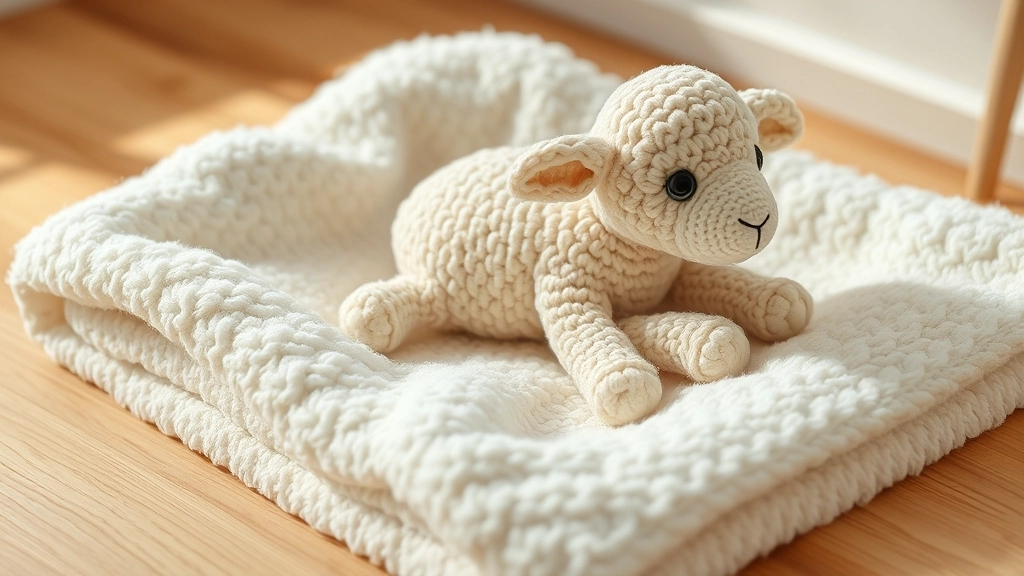
The contrast between smooth cotton and textured boucle creates a wonderful visual hierarchy.
What actually makes a piece work? A great lamb relies on sculptural tension. You need a hard, tight gauge underneath to hold the anatomy, much like the precise stitch tension required for the zero-gravity teardrop cranium in our Crochet Alien Pattern, contrasted with a completely loose, chaotic outer layer of boucle loops. Pairing a slick cotton face with a wild, textured body creates immediate visual hierarchy.
Why You Will Love Making These Crochet Lambs
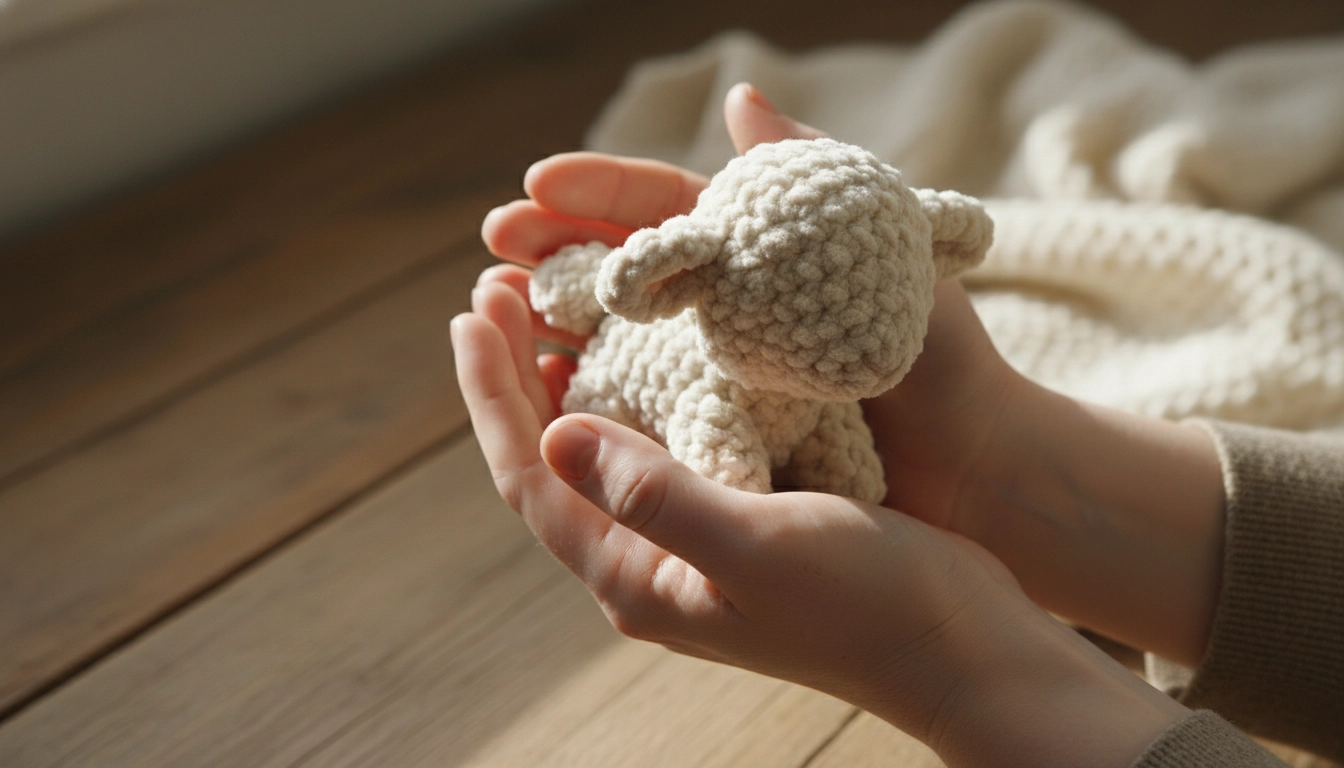
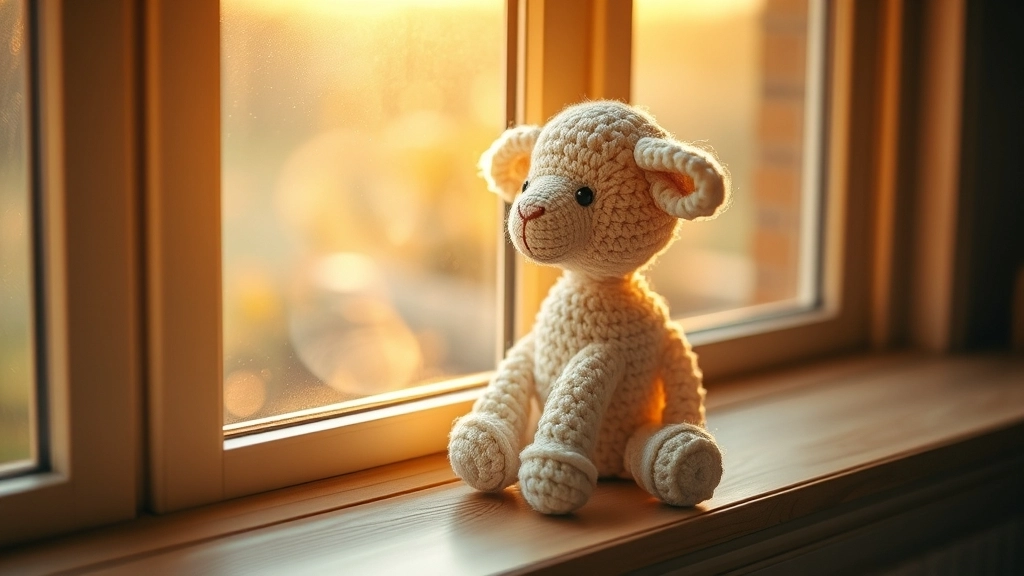
There is nothing quite like the feeling of holding your finished handmade creation.
Working through Crochet Lamb Patterns forces you to grow up as a maker. You learn to read your work with your hands when you cannot see the stitches. It bridges the gap between basic crafts and fine art.
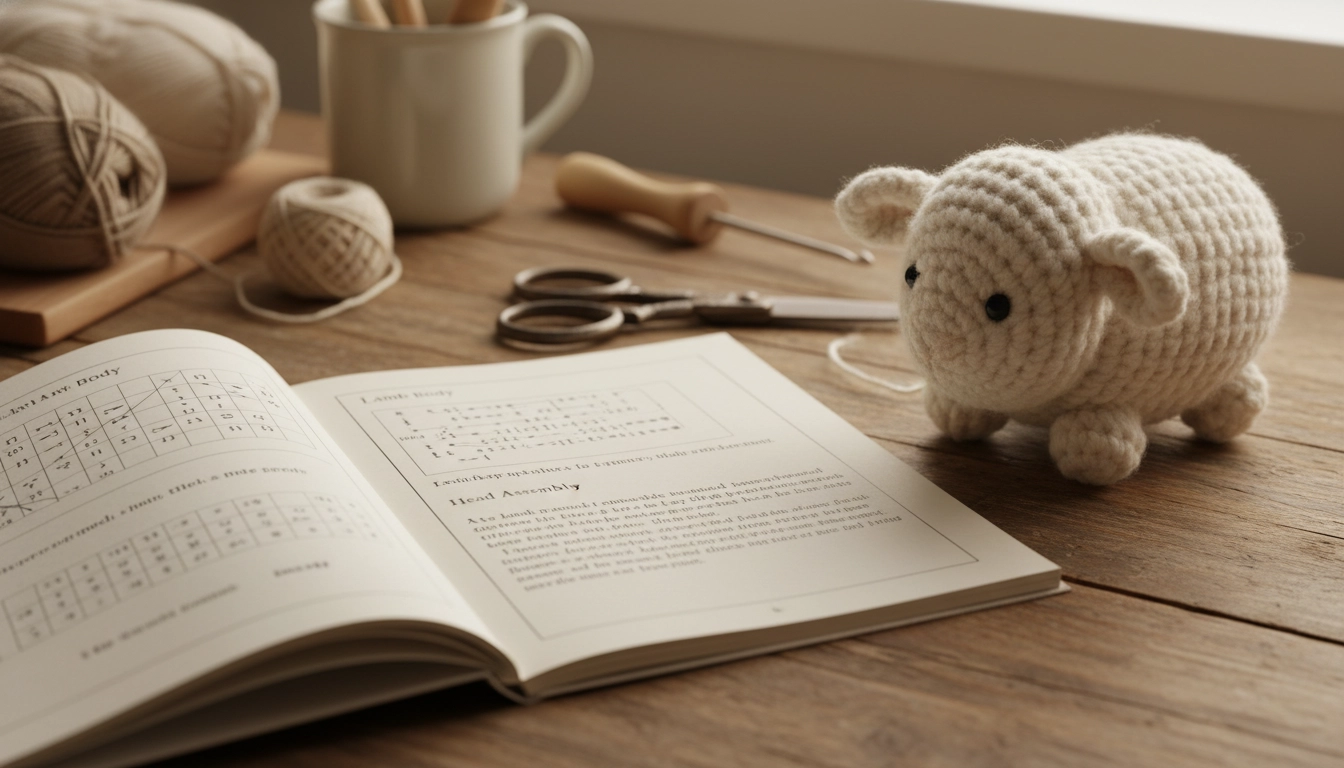
Materials and Tools Needed for Your Project

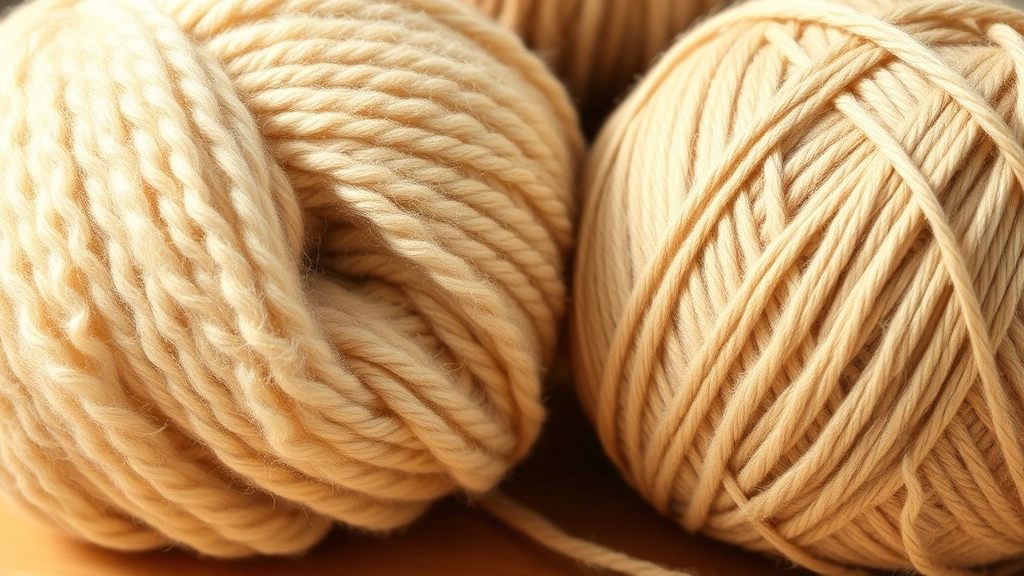
Gather your high-quality yarns, hooks, and stuffing before you begin.
This intermediate project requires one hundred yards of cream boucle and fifty yards of beige cotton. Hooks are non-negotiable: a three millimeter for the body fluff and a two point five millimeter for the tight, structural cotton. Grab some dense fiberfill and a sturdy tapestry needle.
I compiled this quick-reference matrix to help you organize your workspace and select the exact tools for this dual-texture build.
| Component | Material Choice | Structural Purpose | Required Tool |
|---|---|---|---|
| Body and Wool | Alpaca blend boucle | Creates the chaotic organic fleece texture | Three millimeter hook |
| Face and Limbs | High-density matte cotton | Provides clean stitch definition for features | Two point five millimeter hook |
| Inner Structure | Premium polyester fiberfill | Supports the weight of the textured outer shell | Tapestry needle for closing |
My Take
Do not try to substitute the cotton with acrylic for the face. Acrylic has too much stretch, which will make your facial features warp and sag over time.
Choosing the Best Yarn for a Soft and Fluffy Finish
Choosing the right yarn combination is key to getting that luxurious, high-end look.
I highly recommend an alpaca blend boucle; it has a natural, irregular halo that looks incredibly high-end. Pair that with a dead-matte, high-density cotton for the face so your embroidered features do not get swallowed up by the woolly chaos.
To help you choose the right yarn without wasting hours on test swatches, here is how different fibers score on structural integrity and texture.
My Take
Alpaca boucle is the gold standard here because the natural animal fiber holds its shape much better than synthetic boucle alternatives which tend to go limp.
Key Crochet Stitches and Techniques to Master
Master the bobble stitch to create beautiful, dense textures in your work.
Before starting, you must master the bobble stitch and the invisible decrease. If your decreases are sloppy, the stuffing will leak out and ruin the illusion instantly.
Working with textured yarn can be unpredictable, so let us review this quick diagnostic guide to keep your stitches perfectly on track.
| Common Issue | Primary Cause | Immediate Correction |
|---|---|---|
| Stuffing showing through | Loose tension or oversized hook | Drop down half a millimeter in hook size |
| Lost stitch count | Boucle loops hiding stitch crowns | Feel for the stitch bases with your thumb |
| Lumpy body shape | Uneven distribution of fiberfill | Pull stuffing apart into small tufts before inserting |
My Take
If you get lost in the boucle, do not panic and do not unravel. Just feel for the dense cotton base of the previous row to find your place.
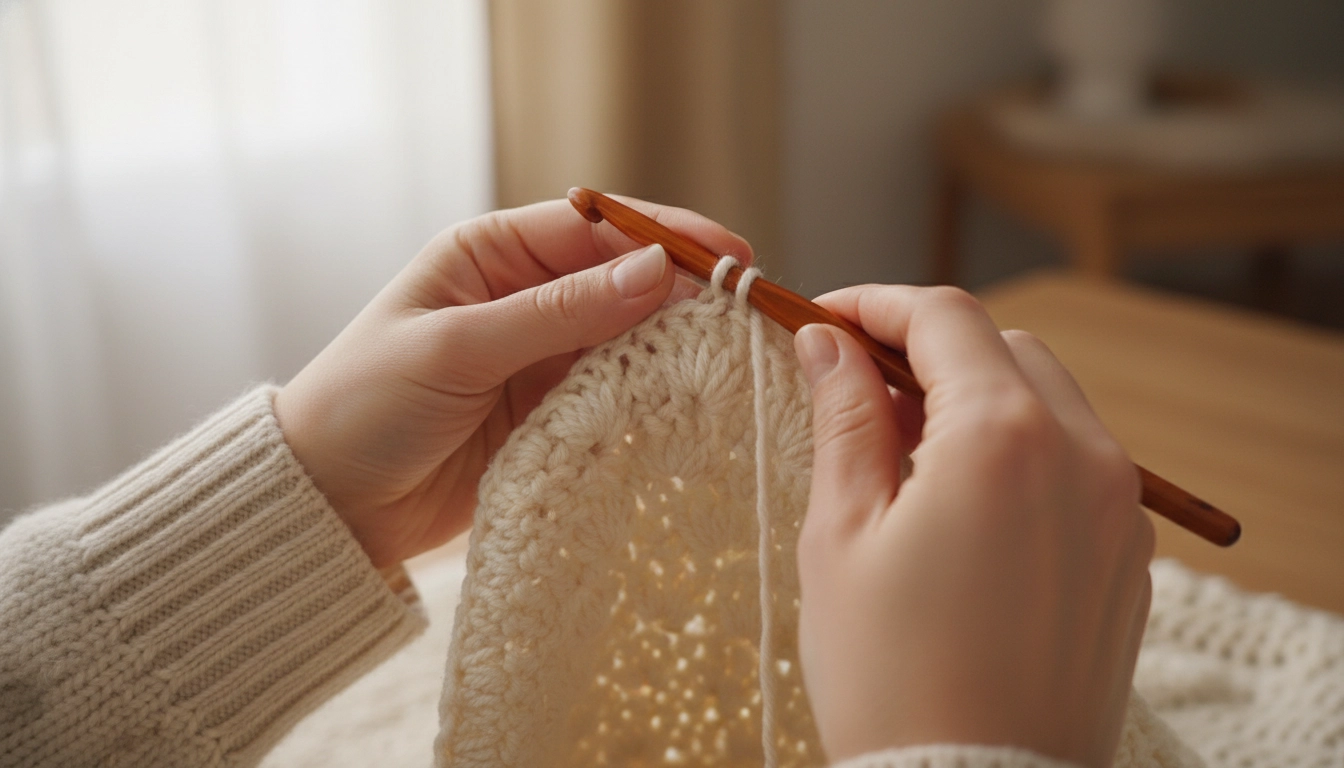
Tension Control
When working with boucle yarn, keep your tension slightly looser than usual. Let the halo of the fiber fill the gaps naturally.
Assembling Your Lamb for a Professional Look
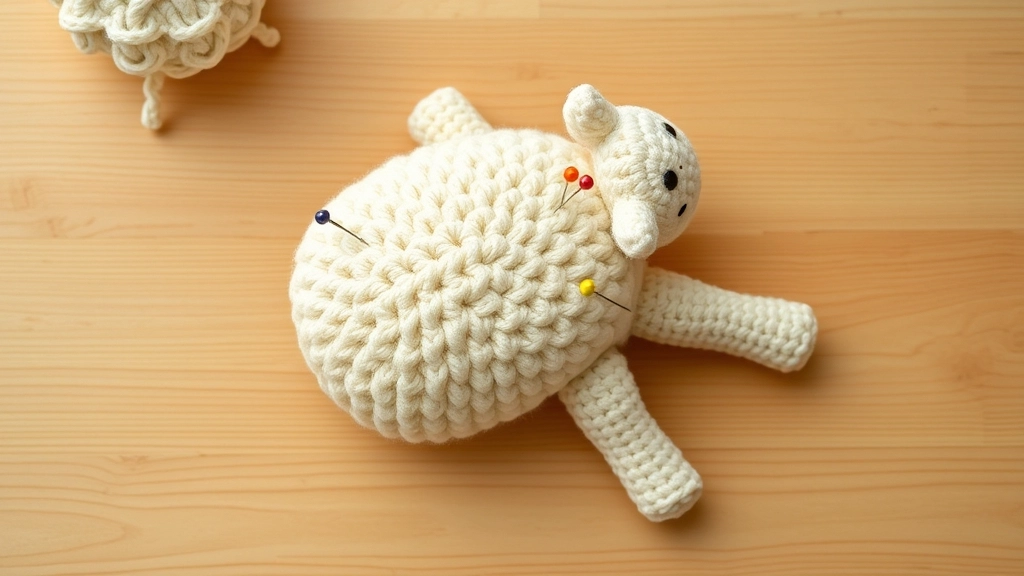
Take your time pinning all the parts to ensure perfect symmetry before sewing them together.
This is where most people fail. Pin everything first. Sew the head with a whipstitch, burying your needle deep into the boucle loops so the seam vanishes. It should look like it grew there.
Symmetry Check
Always pin all four legs to the bottom of the body before sewing. Stand the lamb up on a flat surface to ensure it balances perfectly.
Attach the ears at round eight, then finish by sewing on the tail.
Adding the Finishing Facial Details and Personality
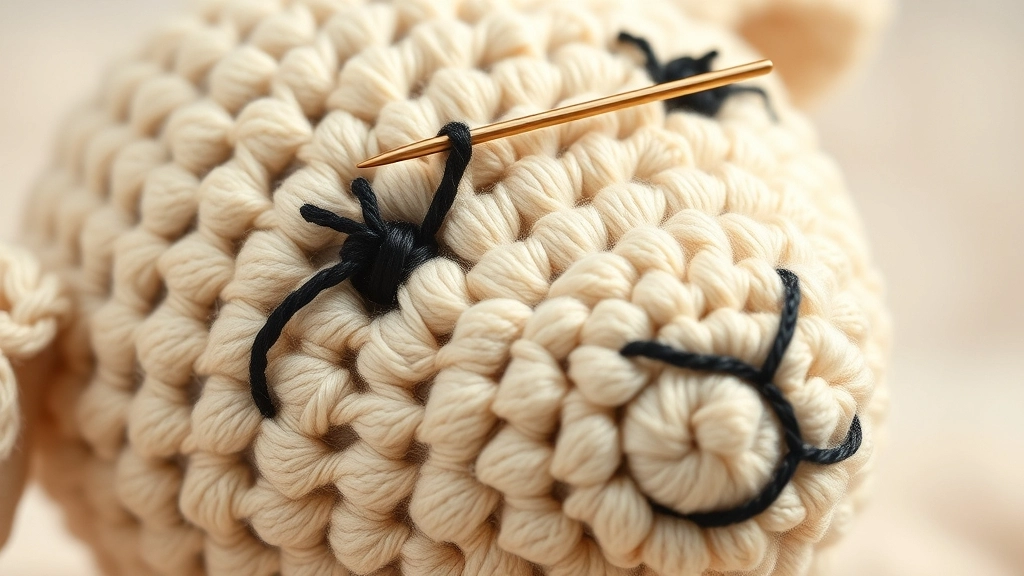
A simple, carefully stitched nose gives your handmade lamb its unique personality.
The face is critical. A millimeter off, and your lamb looks angry. Take some black embroidery floss and stitch a neat, simple Y shape right in the middle of the muzzle. Keep it tight.
Expert Tips for Working with Textured Yarn
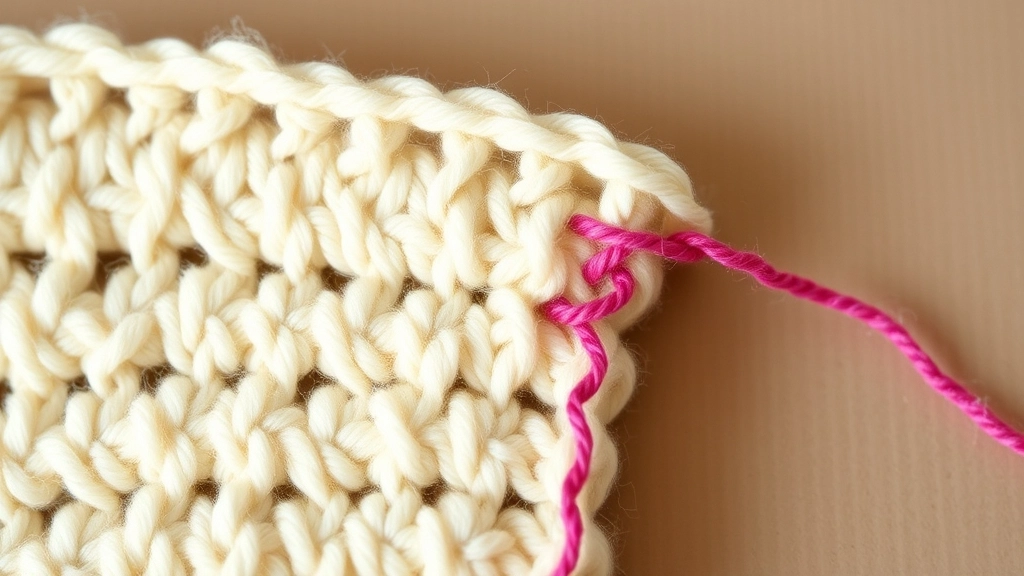
A contrasting piece of scrap yarn makes tracking your rows in fluffy boucle incredibly easy.
If you lose your mind trying to see your stitches in the boucle, use a running stitch marker of contrasting scrap yarn flipped back and forth over every row.
Creative Ideas to Personalize Your Crochet Lamb

Adding simple accessories like a tiny brass bell can make your handmade lamb feel extra special.
Tie a tiny brass bell around its neck with a thin strip of brown leather cord. Or use a pale, dusty pink yarn for the inner ears.
Caring for Your Handmade Crochet Plushie
Gently press out excess water and air-dry your lamb flat on a clean towel.
Never machine-wash this. Hand wash in cool water with a drop of delicate wool soap, then press the water out between two clean towels.
Discovering More Crochet Lamb Patterns

Experiment with different sizes and shapes to build your own sweet flock of crochet lambs.
Exploring Crochet Lamb Patterns builds your tactile library. Whether you make a sleepy nursery toy or a standing sheep, mastering these methods will completely change how you approach all your future amigurumi projects.
Conclusion
We can't wait to see your finished creations—share your progress with our community!
Sculpting with Crochet Lamb Patterns is an incredible process. By mixing crisp cotton with chaotic boucle, you get a gallery-grade plushie. Join our community group below—I want to see how you handled the tension.
Complete Resource Library
Access our complete resource library to download step-by-step guides and exclusive patterns.
For more inspiration and pattern resources, feel free to visit our Complete Pattern Directory and download our Amigurumi Stitch Guide.