
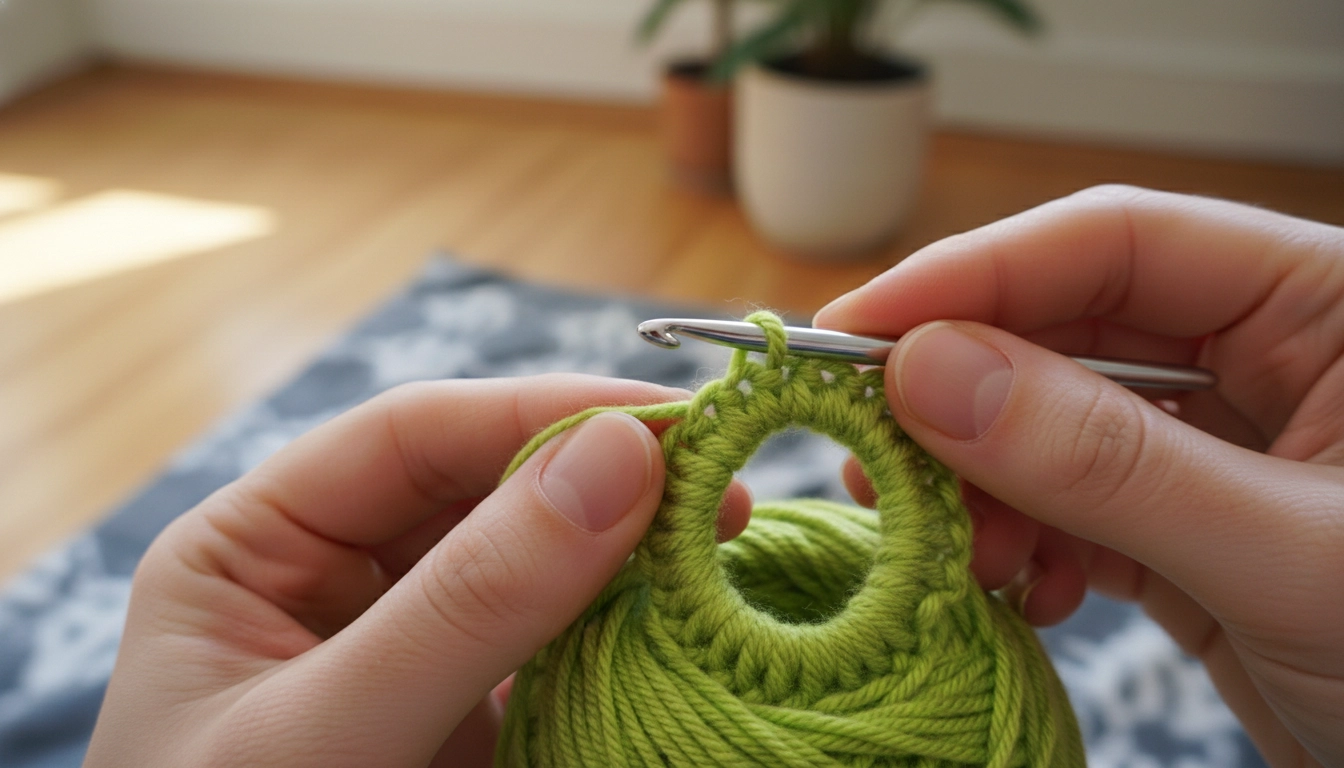
Stitch tension is pure architecture. Stop holding that 2.25mm hook like a spoon. We are building a fluid, zero-gravity teardrop cranium here, not some lumpy potato. Last week, my associate Robert Douglas over on Chester Road in Hereford sent me this wild, glossy Midjourney render. The math of those curves was insane—un-stitchable by normal standards. But we are forcing mercerized cotton to mimic pixels here, bending physical gauge to match generative machine dreams.
This is for intermediate rebels tired of making round apples. This project is a hard pivot into sculptural realism. Once you offset these increases to draw the eye upward along a sleek, uninterrupted slope, your whole approach to fiber forms changes.
Quick Access
To skip directly to the step-by-step instructions, expand the interactive dropdown menus below. For material recommendations and stitch guides, continue reading the full article.
Understanding the Basics of Sci-Fi Amigurumi
Tight stitch tension is crucial for creating the solid, sculptural shapes required in sci-fi amigurumi.
Forget traditional toy-making. Sci-fi amigurumi is spatial engineering with yarn. You pull tight single crochet rounds into dense, non-yielding fabric. It's about dramatic anatomical sweeps and color blocking that looks like polished chrome. Loose stitches ruin the illusion. We are using wire and tension to build high-end gallery pieces. Pushing yarn to act like plastic. Seriously.
To understand why we cannot use standard craft-store acrylic for this project, I have mapped out how different fibers hold up under the extreme tension required for sculptural amigurumi.
My Take
As you can see, mercerized cotton is the only fiber that gives you the structural integrity needed to prevent sagging. Do not compromise on this if you want that crisp, clean look.
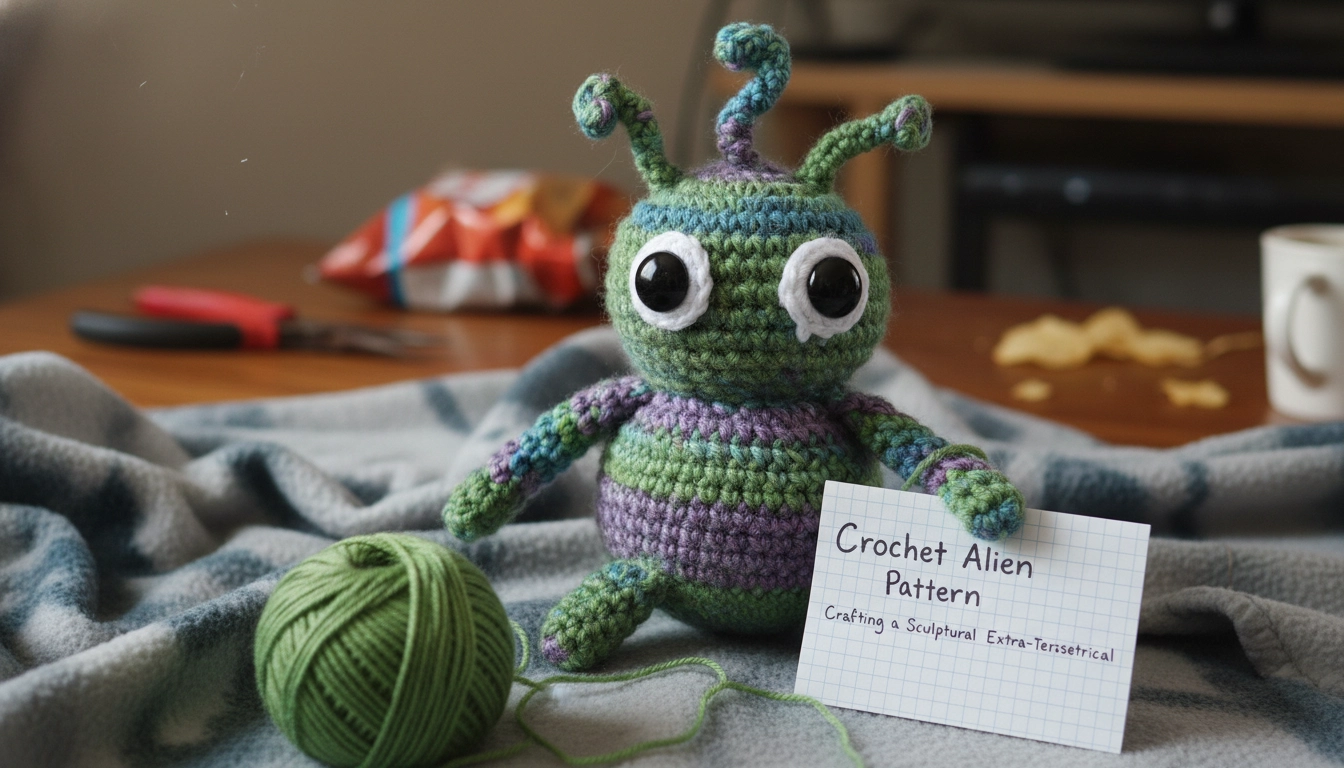
Why You Will Love This Crochet Alien Pattern
The unique, asymmetrical lines and sleek design make this a highly rewarding project to display.
Symmetry is comfortable. This pattern ruins that by throwing asymmetrical increase lines where you least expect them. It forces you to control tension like a machine. By the time you finish the head, your hands will understand the invisible decrease on a molecular level. It's a frustrating piece of math that sits on your shelf looking like poured liquid.
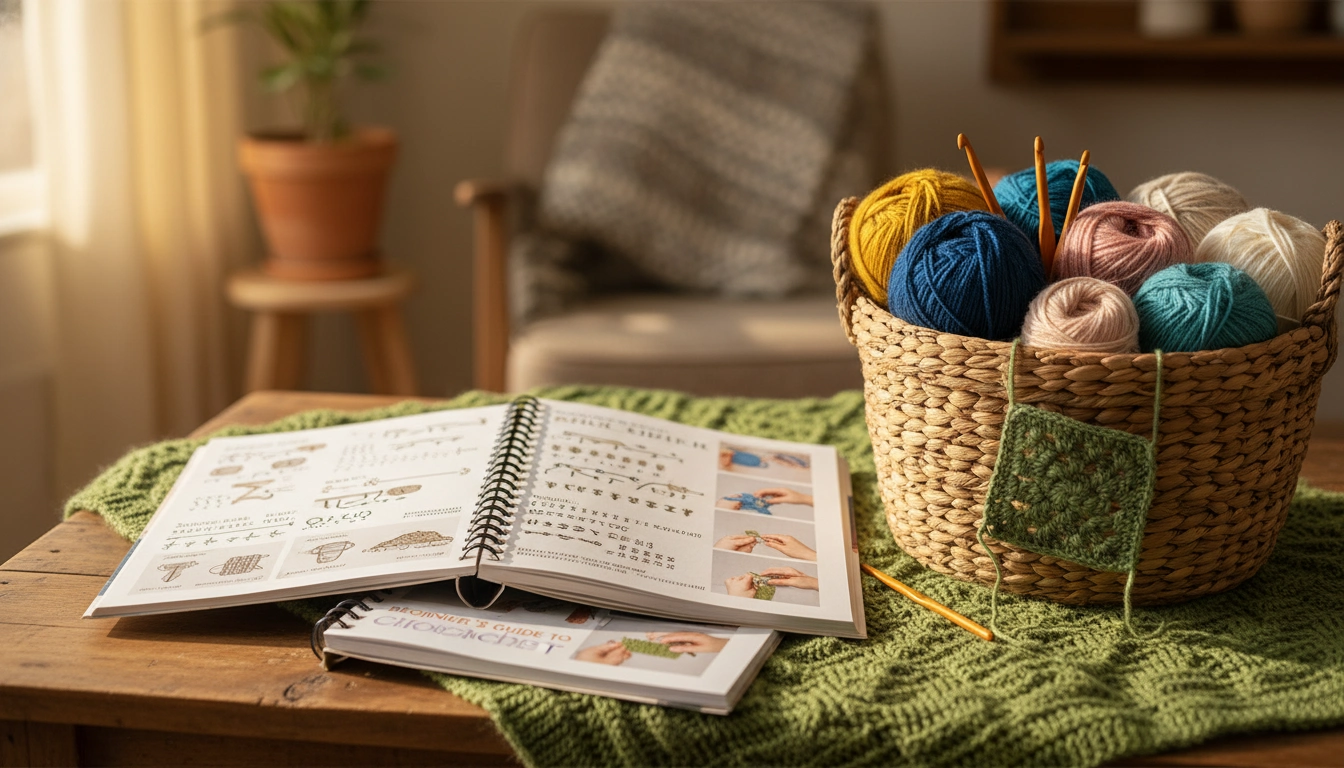
Materials and Tools Needed
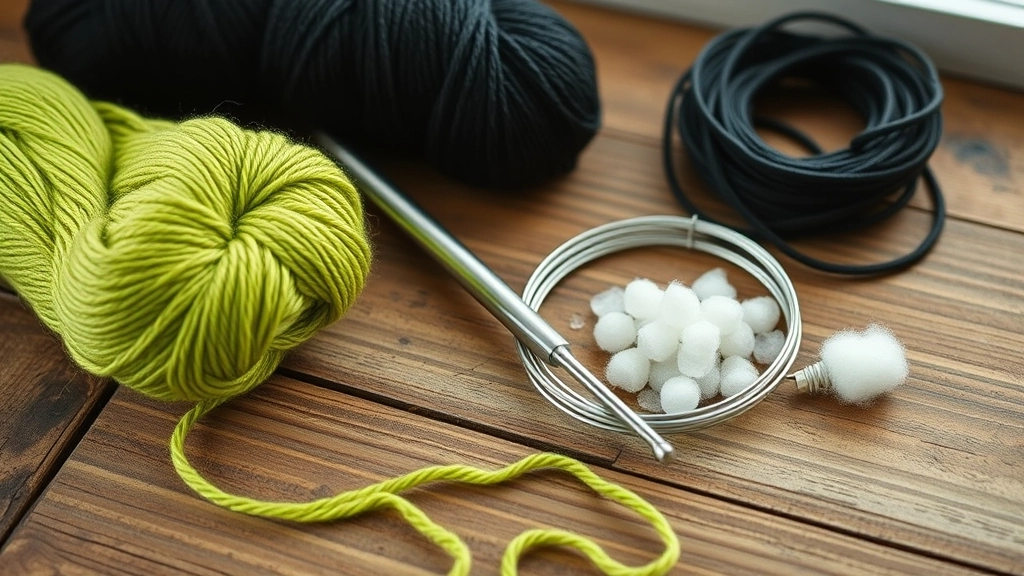
Gather your high-quality materials, including mercerized cotton and armature wire, before starting.
No cheap acrylic. You need the crisp, unforgiving stitch definition of double-gassed, mercerized sport-weight cotton. Lime green and obsidian black. Get a steel 2.25mm hook. It makes your fingers ache, but that's the price of texture. Pack it with dense polyester fiberfill. You also need aluminum armature wire. Don't cheap out on the wire—it's the skeleton holding up this entire posture.
Let us break down the exact physical components you need to assemble this extra-terrestrial specimen without any structural failure.
| Tool or Material | Specific Grade | Primary Architectural Function | Jennifer's Necessity Rating |
|---|---|---|---|
| Mercerized Cotton | Sport weight double-gassed | Creates a rigid and smooth outer skin | Non-negotiable |
| Crochet Hook | 2.25mm steel | Forces stitches into an ultra-dense weave | Essential |
| Armature Wire | Aluminum bendable | Serves as the poseable internal skeleton | Recommended |
| Fiberfill | Premium polyester | Provides consistent internal pressure | Non-negotiable |
My Take
Think of these materials as your building blocks. Substituting even one of them is like using wet cardboard to build a skyscraper. Stick to the specifications.
Essential Crochet Abbreviations and Stitches
The magic ring is the essential foundation for starting your alien's head and limbs without leaving any gaps.
Here is the shorthand: MR is magic ring, sc is single crochet, inc is increase, dec is invisible decrease. Make sure it is actually invisible, not the bulky standard decrease that ruins the skin of the alien. Stitch markers are your lifeline. Lose one stitch and your neat alien skull ends up looking like a deflated balloon.
To keep our blueprints clean, we use a specific shorthand that dictates how the fabric will bend and curve in three-dimensional space.
| Abbreviation | Stitch Name | Structural Action |
|---|---|---|
| MR | Magic Ring | Secures the closed starting point without leaving a gap |
| sc | Single Crochet | Builds the dense foundation fabric of the body |
| inc | Increase | Expands the diameter to create outward curves and slopes |
| dec | Invisible Decrease | Pulls the fabric inward smoothly without creating unsightly bumps |
My Take
Mastering the
Step-by-Step Crochet Alien Pattern Instructions
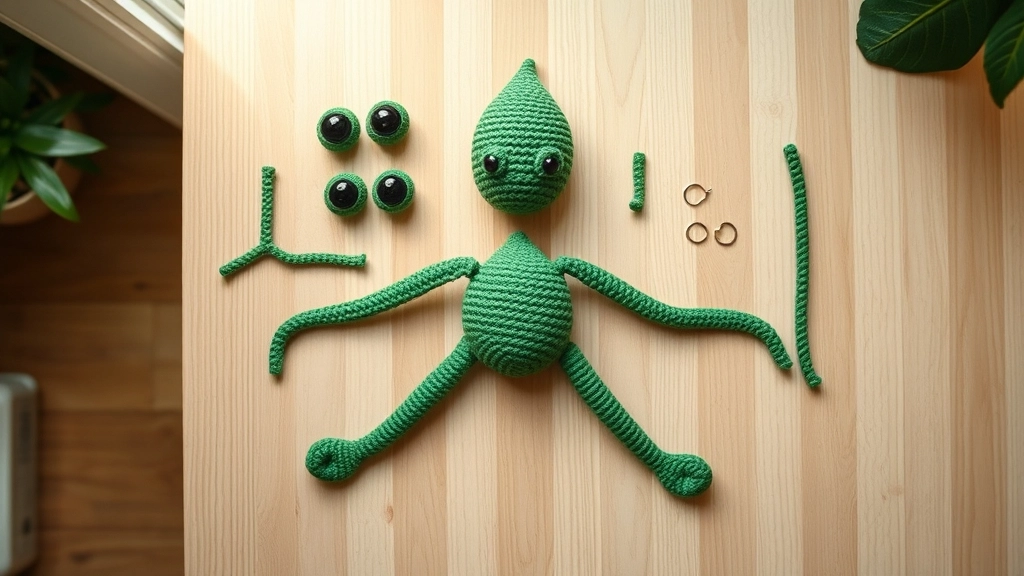
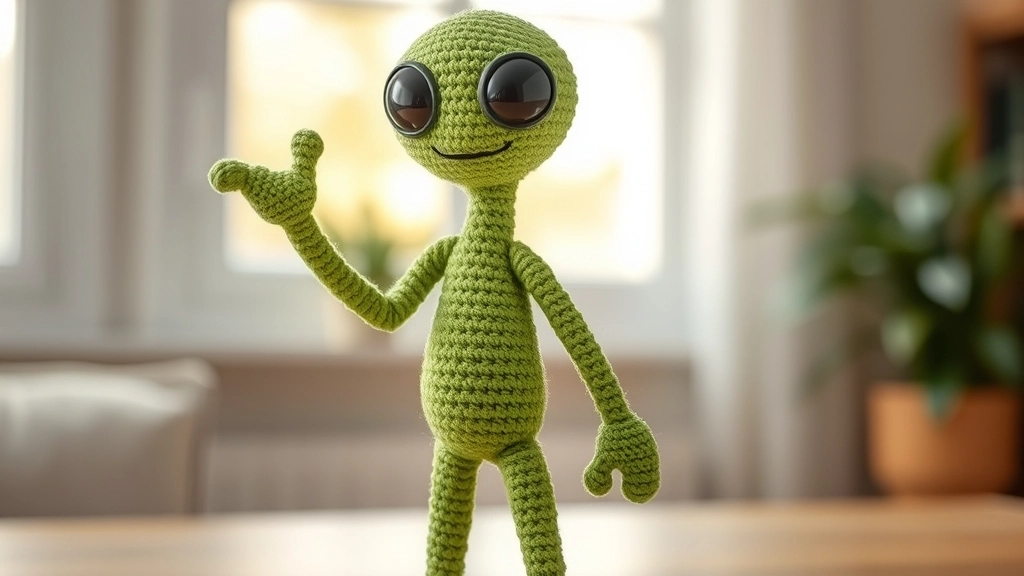
Your crocheted components will look like this before you begin the final assembly and wiring process.
Get coffee. Turn off your phone. Read these steps with absolute focus, stitch by stitch.
Tips for Perfecting Your Amigurumi Alien
Carefully slide the aluminum wire into the limbs to give your alien a sturdy, poseable structure.
If I see gaps in your stuffing, I will cry. Use the invisible decrease. Always. Stuff that massive head until it feels like a firm plum. If you are using wire, leave the neck column slightly under-stuffed initially so you can slide the aluminum spine through without snagging.
When you are working at this level of precision, minor errors in tension or stuffing can lead to major structural defects, so use this guide to diagnose and calibrate your work.
| Structural Defect | Root Cause | Immediate Calibration |
|---|---|---|
| Visible fiberfill showing through stitches | Loose hand tension or hook size is too large | Drop down half a hook size and pull your working yarn tighter |
| Alien head drooping or tilting forward | Weak neck support or insufficient stuffing | Insert a double-strand wire skeleton and pack the neck column firmly |
| Lumpy or uneven body curves | Uneven stuffing distribution | Use a stuffing tool to break up clumps and pack fiberfill in small layers |
| Distorted shape after assembly | Crooked limb placement or uneven sewing | Use dressmaker pins to secure limbs and check symmetry before sewing |
My Take
Always keep a set of metal dressmaker pins handy. Pinning every limb in place before you stitch a single thread ensures your alien does not end up looking lopsided.
Tension Mastery
Keep your yarn tension tight and consistent. If you notice your stitches stretching and showing the white fiberfill inside, drop down half a hook size immediately to tighten the fabric weave.
Creative Ways to Customize Your Space Traveler
Don't be afraid to experiment with custom colors, extra eyes, or bead embellishments.
Get weird. Go find some variegated neon yarn. Try using generative AI tools like Midjourney to dream up color palettes you'd never think of—maybe a shimmering iridescent chrome look. I once added some tiny metallic beads along the spine to mimic bioluminescent nodes. If you want to make it look even more retro-futuristic, a third eye works wonders.
Safety Warning
If you are gifting this toy to a child under three years old, do not use plastic safety eyes or wire armatures. Embroider the eyes with black yarn instead to prevent choking hazards.
Conclusion
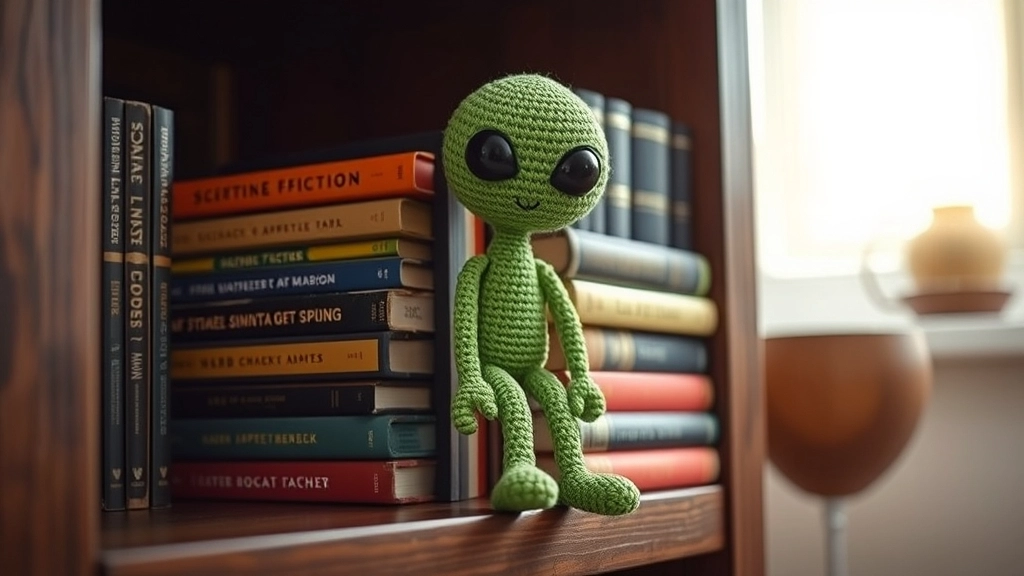
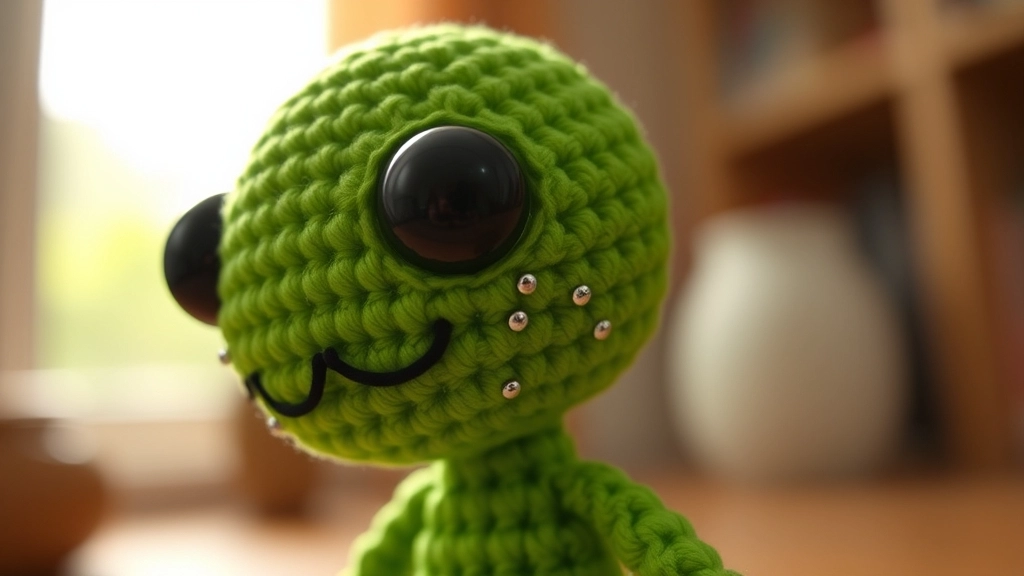
Once completed, your sculptural alien makes a fantastic, eye-catching addition to any shelf.
When you finish this project, you aren't just holding a toy. You've physically mapped out advanced geometry with a hook and some string. The teardrop head, those impossibly long, spindly legs—it's sculptural art. Show me your photos. I want to see how that tension held up under pressure.
Complete Resource Library
Dive into our resource library to master advanced amigurumi techniques and structural wiring.
If you want to push these techniques further, I've got some deeper material for you. These will help you lock down the trickier structural mechanics.
You can access our Ultimate Amigurumi Guide to learn more about flawless stitching.
Additionally, check out our Wire Armature Tutorial for step-by-step instructions on making your toys poseable.