
Architecture is not just for buildings; it is for the silhouette you hold in your hands when the hook finally drops. I was talking to Gavin Wagner at his spot on The Avenue in Newcastle—beautiful light in that studio, by the way—and we were obsessing over how a Crochet Dragon Pattern should not just be a soft toy. It is about the geometry. If the math of your increases is not hitting right, the dragon does not look mythical; it just looks like a sad, lumpy sock. We are hacking the traditional vibes here and treating yarn like a structural material, because honestly, most people do not respect the physics of a chunky stitch enough.
Understanding the Basics of 3D Amigurumi
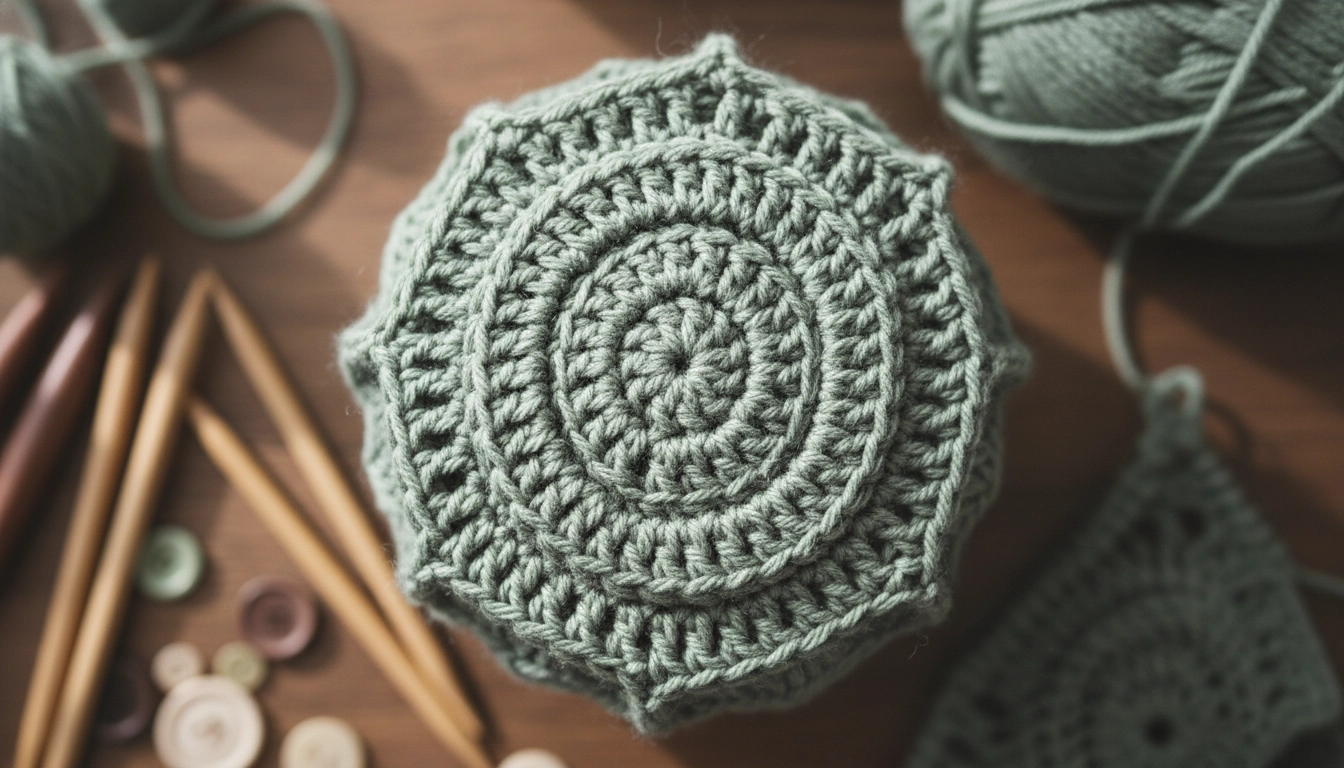
Precision in your rounds is the foundation of a successful 3D sculpture.
The whole Crochet Dragon Pattern thing is basically a technical blueprint for a 3D sculpture. Forget flat blankets. This is about building volume in continuous rounds, which is basically like 3D printing with a hook and some organic fiber. This structural approach to building volume is identical to the techniques used in our Crochet Hippo Pattern to ensure the snout maintains its architectural integrity and surface tension. You are manipulating the single crochet stitch to create a fabric so dense it could probably stand up to a gale.
Math is the hero here. Or the villain if you lose count. You start with a magic ring—do not call it a granny circle, please—and you use specific ratios to expand the diameter. If your tension is all over the place, the dragon's snout is going to look wonky. We want sharp, clean lines. Slow-fashion is not about being crafty, it is about being better than the garbage you see in fast-fashion bins. Precision is the number one thing. Period.
I put together a quick breakdown of how the sculptural approach differs from the basic stuff you see on most craft blogs.
| Feature | Basic Amigurumi | Sculptural Amigurumi |
|---|---|---|
| Fabric Density | Soft and pliable | Rigid and self-supporting |
| Stitch Choice | Standard single crochet | Tight, uniform x or v stitches |
| Silhouette | Rounded and generic | Sharp, anatomical, and geometric |
| Goal | Cuddly toy | Modern decor and art |
My Take
The sculptural approach is what makes people ask 'where did you buy that' instead of 'did you make that'.
The Science of Shape
Amigurumi relies on the ratio of stitch height to width. Using a hook that is slightly smaller than the yarn label recommends ensures your fabric is tight enough to hide the stuffing completely.
Selecting Premium Natural Fibers for Your Crochet Dragon Pattern
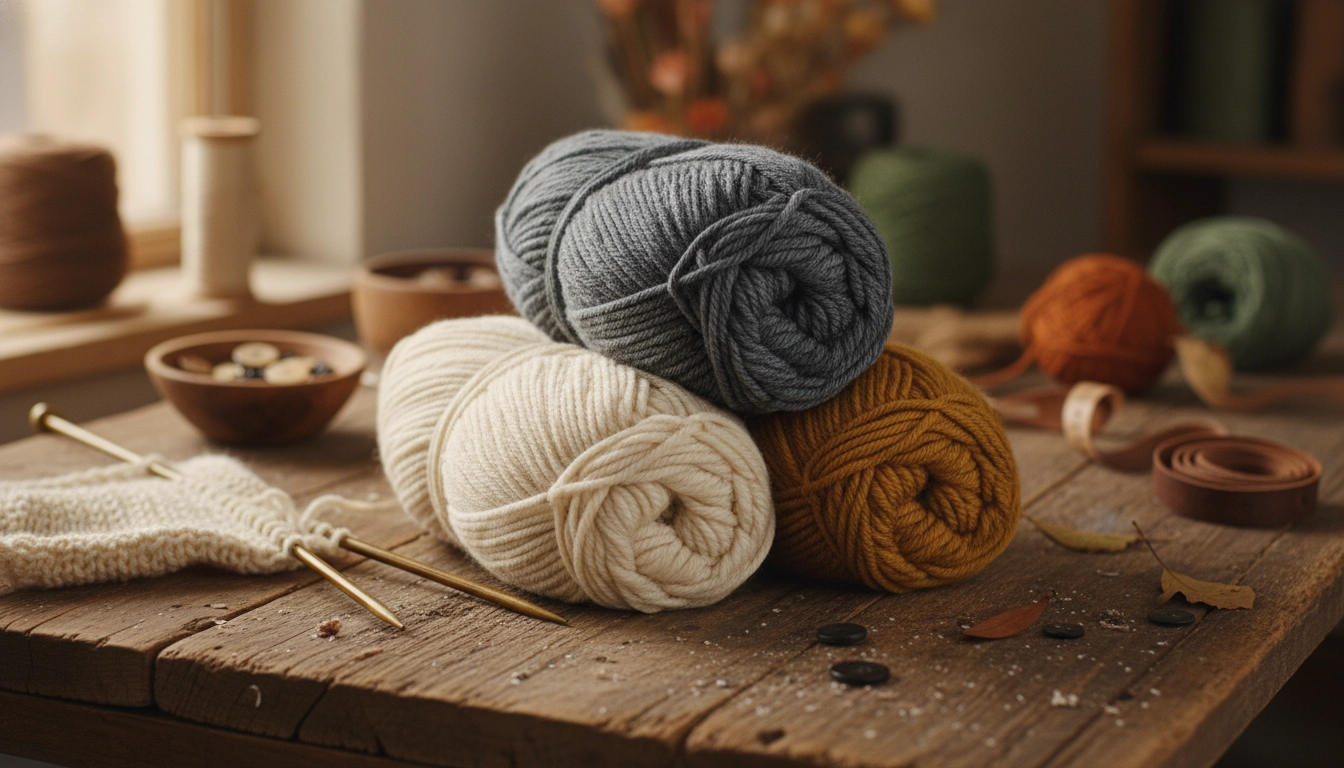
Choosing the right fiber is the first step toward a gallery-quality finish.
Stop buying cheap acrylic. Seriously. It pills, it feels like plastic, and it ruins the Crochet Dragon Pattern aesthetic immediately. If you want that high-end, gallery-ready finish, you go for organic cotton or a heavy merino blend. We utilized these same premium fiber standards in our Crochet Hippo Pattern to achieve a matte, weighted finish that resists pilling and highlights stitch definition. Natural fibers have this matte, weighted vibe that synthetics just cannot touch. It is the difference between a designer coat and something you find in a dumpster.
Organic cotton gives you this insane stitch definition. Every scale, every ridge on the wing—it pops. I usually go for a worsted weight because it is the sweet spot for detail without taking a literal century to finish. Plus, it is durable. This is an heirloom, not a disposable toy. When the yarn has actual soul, the dragon looks like it is about to breathe fire.
Here is a look at how different fibers stack up when you are trying to get that high-definition look.
My Take
Cotton is king for a reason; it holds the line so your stitches do not sag over time under the weight of the stuffing.
Materials and Technical Tools
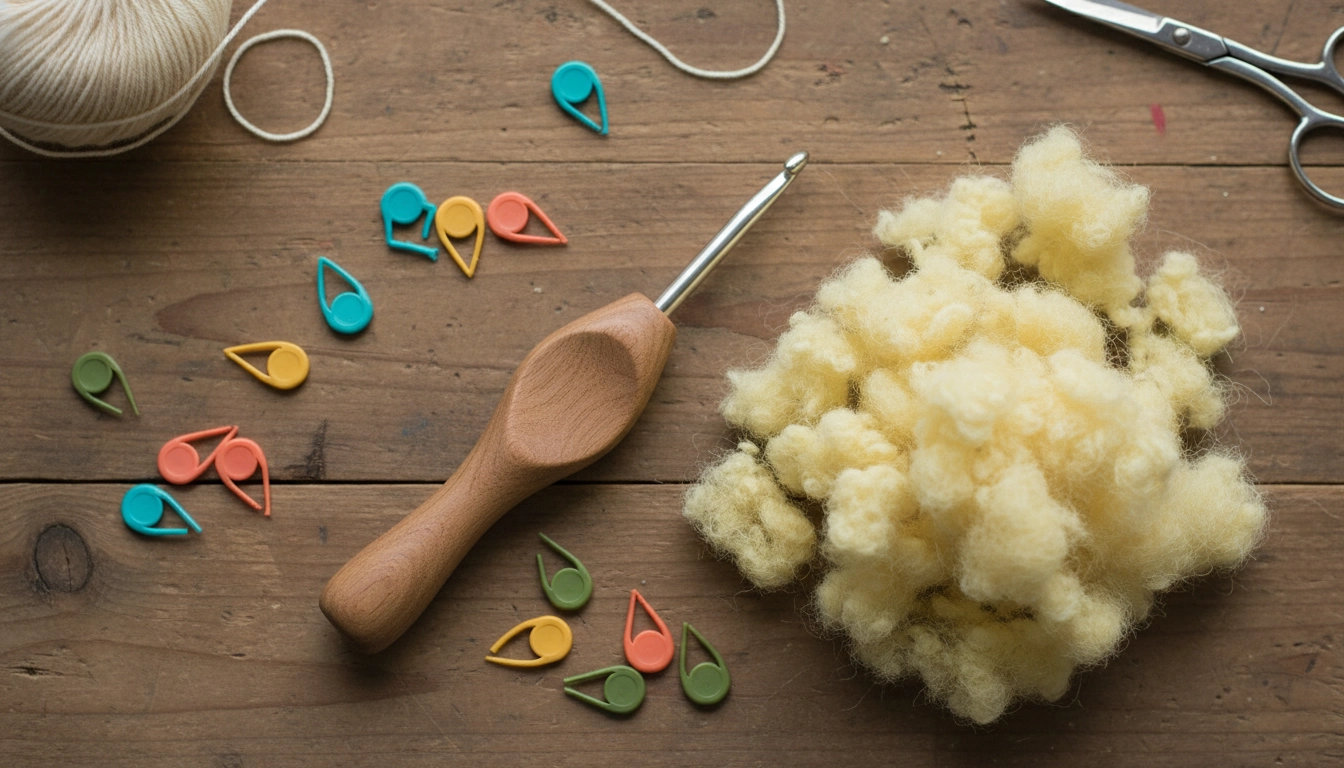
Having the right tools ensures your dragon has structural integrity and your hands stay fatigue-free.
You need the right kit or do not even bother starting. I use ergonomic hooks, usually 3.5mm or 4.0mm, because we are going for a heavy-duty fabric. If the hook is too big, you will see the stuffing, and that is a massive failure in my book. Use stitch markers. If you lose your place in a 24-stitch round, you are going to end up with a dragon that has a lopsided tail.
For the guts? Sustainable corn fiber stuffing. It is firmer. It has weight. Polyester fill is for cheap pillows, not for sculptural amigurumi. You will also need a tapestry needle for the assembly and some safety eyes. Just make sure those eyes are locked in tight before you close the head. A loose eye is a structural disaster waiting to happen.
I have mapped out the essential kit so you do not have to guess what to grab at the shop.
| Tool | Recommended Type | Purpose |
|---|---|---|
| Hook | 3.5mm Ergonomic | Prevents hand fatigue and keeps tension tight |
| Stuffing | Corn Fiber | Provides a heavy, premium feel to the body |
| Yarn | Worsted Weight Cotton | Ensures every stitch is crisp and visible |
| Markers | Locking Plastic | Keeps your place in complex round counts |
My Take
Good tools are an investment in your sanity and the final structural integrity of the dragon.
Tension Alert
If you notice your stitches look loose or 'holy', drop down another half millimeter in hook size to maintain the structural integrity of the dragon body.
The Step-by-Step Crochet Dragon Pattern Tutorial

Focus on the snout; it's the most character-defining part of your mythical beast.
This is not for total beginners who cannot hold a hook. You need to know how to do an invisible decrease. It is a game-changer for the surface texture. Keep your hands steady and follow the logic. My coffee is cold again, but we are pushing through this.
Sculpting with Precision and Tension
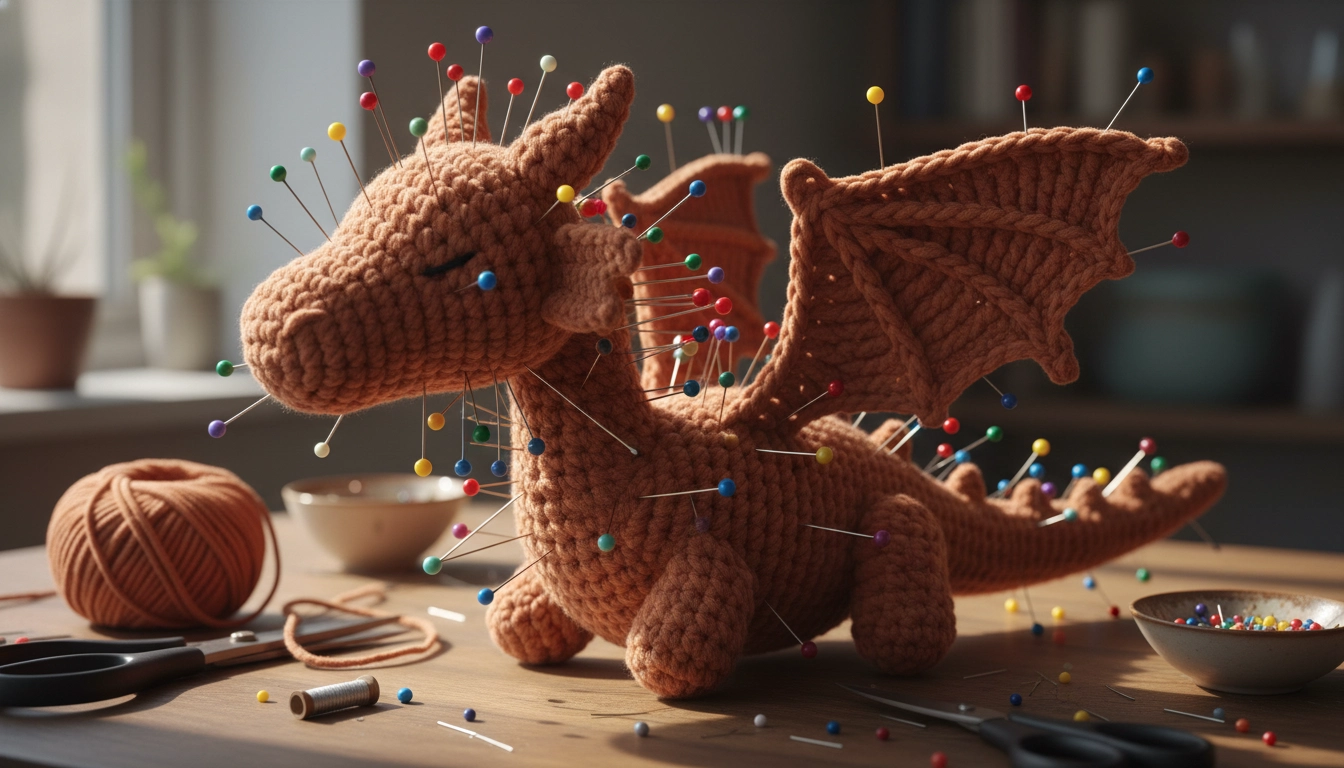
Pinning your components first allows you to perfect the dragon's posture before the final stitch.
The Crochet Dragon Pattern really comes down to how you sew it together. Use a ladder stitch. If I see a messy seam, I am going to lose it. This is where your math meets your artistic eye. If that head is tilted even a tiny bit, the whole vibe goes from fierce to I need a nap.
Keep the tension tight. Like, super tight. Especially on the spikes. These details are what separate the innovators from the people just following a script. If your hands hurt, take a break. Do not sacrifice the quality because you are tired. Consistency is everything in slow-fashion. Just do not settle for okay. Perfection is the goal.
Pro Assembly Hack
Use long sewing pins to position all limbs and wings before you start stitching. This allows you to check the dragon's balance and symmetry from every angle.
Customizing Your Mythical Beast
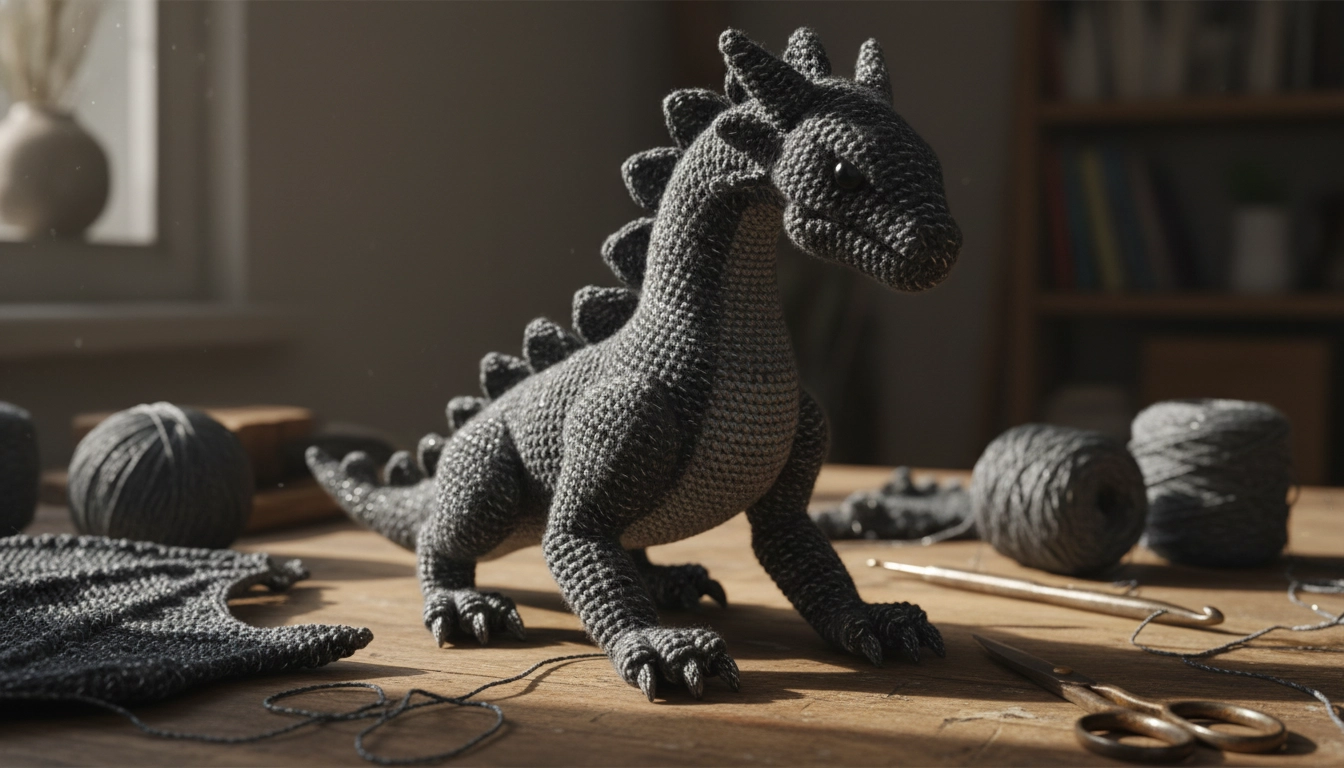
Break the mold by experimenting with sophisticated, monochromatic color palettes.
Once you have nailed the basic Crochet Dragon Pattern, start hacking it. I am huge on color-blocking. Forget green dragons. Try charcoal and slate. Or a monochromatic cream-on-cream look. It moves the project from toy to decor.
Surface crochet is your friend here for adding texture. Crochet right onto the body. It is a way to flex your skills and create something one-of-a-kind. Fast-fashion could never do this. It is too complex for their machines. Add some metallic thread if you are feeling extra. Why not?