
The curve of a rodent's spine isn't just a line. It's a series of vectors captured in mercerized thread. I was talking to Alfred Pena over in Nowra—he's on Shady Ln Dr—about this exact thing last week because his amigurumi kept slumping over like sad little sacks of grain. Most people think crochet is this soft, fuzzy hobby, but it's really about the tension of the soul and the hook. If you aren't obsessed with your gauge, you're just making a mess. You have to treat the yarn like a structural material. I actually use AI image generators to map out how light hits a mouse's flank before I even pick up my hook. It's about pushing the imagination past what we think a toy should be and moving into the world of miniature sculpture. This Crochet Mouse Pattern is my answer to the floppy, shapeless rodents that plague the internet.
We are going to build something that feels solid. Something that has weight and presence. To get there, you need to stop thinking about rounds and start thinking about mass. If the stitch density isn't perfect, the whole thing fails. This rigorous focus on stitch density and silhouette is the same architectural approach I take in my Crochet Bird Pattern to ensure the piece holds its structural integrity. It's a discipline. It's about making sure the fiber behaves exactly how you want it to, using tech to visualize the goal and steady hands to execute the math.
Why You Will Love This Crochet Mouse Pattern
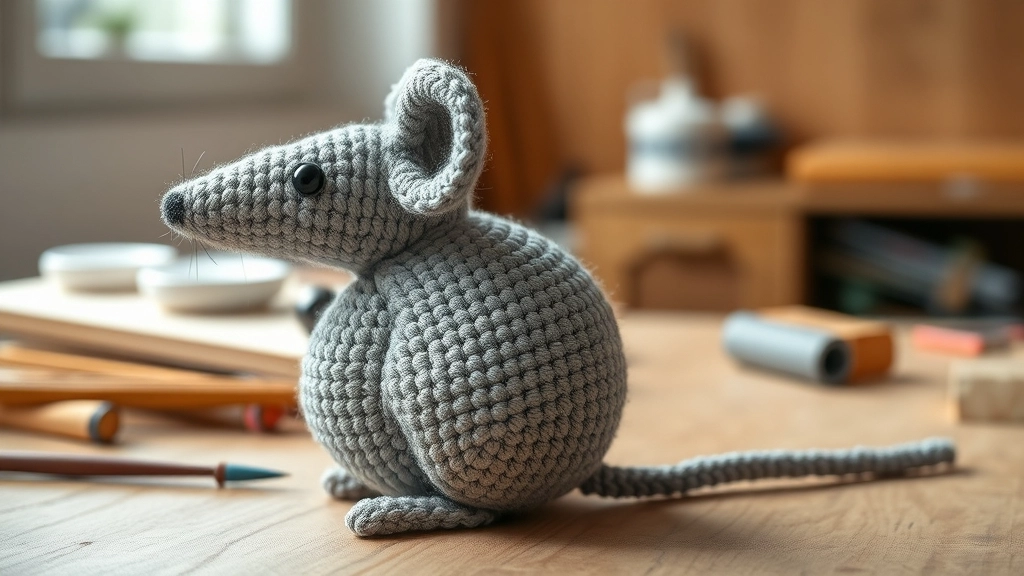
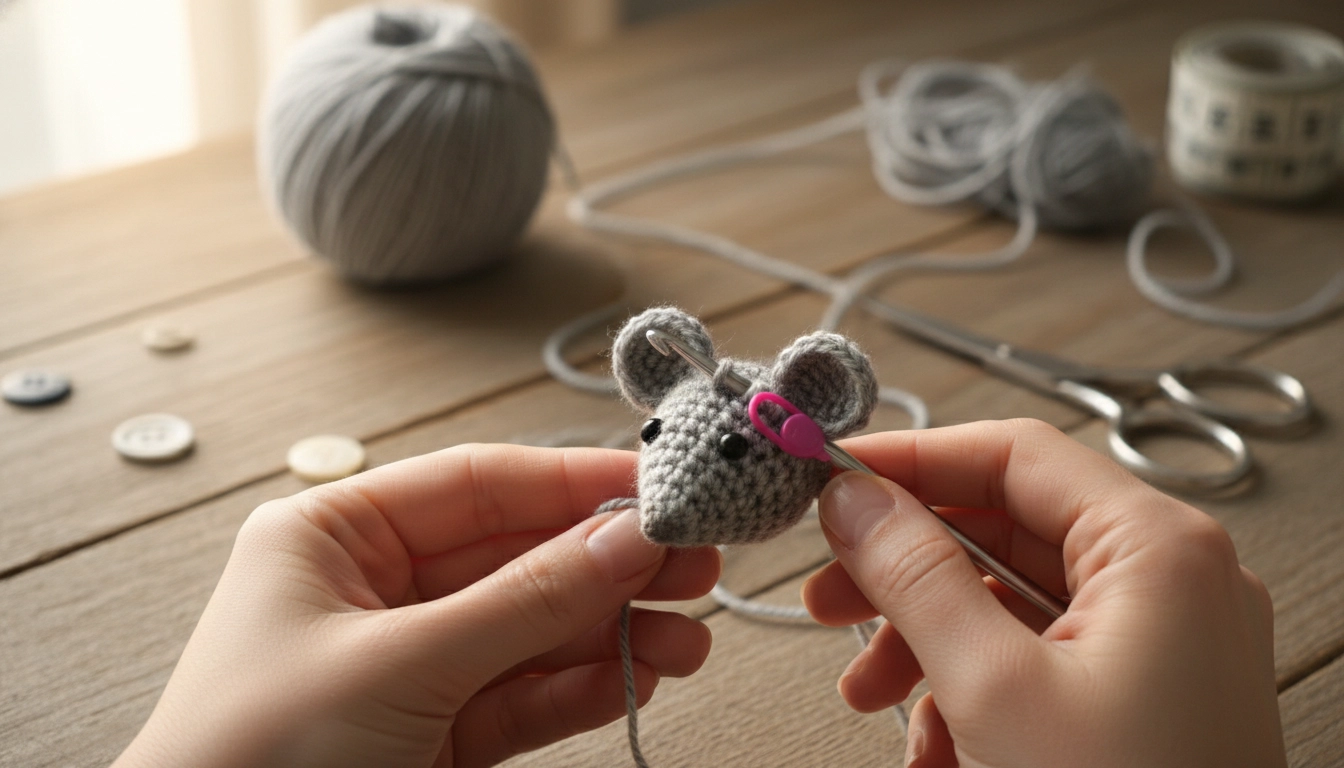
Notice the shift in weight toward the rear—this isn't just a potato shape; it's a calculated design.
The beauty of this Crochet Mouse Pattern is in the anatomy. Most patterns just give you a potato shape and call it a day. That's boring. I want to see the haunches. I want to see the way the neck tapers. This design uses specific increase placements that act like a skeletal framework. This method of building a sculpture through math and fiber is a concept I also explore in depth within my Crochet Dog Pattern. It's poetry in single crochet. When you finish, you won't have a plushie; you'll have a specimen that looks like it belongs in a high-end boutique or a modern art gallery.
I want to show you exactly why we are moving away from the potato shapes of the past and embracing an engineered aesthetic.
| Feature | Common Pattern | The Architect Approach |
|---|---|---|
| Shape | Generic Oval | Anatomically Accurate Teardrop |
| Seams | Multiple Sewn Parts | Integrated Seamless Transitions |
| Texture | Fuzzy and Loose | Dense and Defined |
My Take
The goal here is 'structural integrity'. If you can squish the mouse and it doesn't bounce back to its calculated shape, you haven't achieved the proper density yet.
It's also surprisingly efficient. I hate sewing. I think most sewing in amigurumi is a sign of poor design. This pattern is built to be as seamless as possible. We're going to use transitions that are mathematically balanced to provide a smooth, aesthetic gradient from the tip of the nose to the base of the tail. It's a project for someone who likes the way a clean line looks. Someone who appreciates when the engineering matches the art.
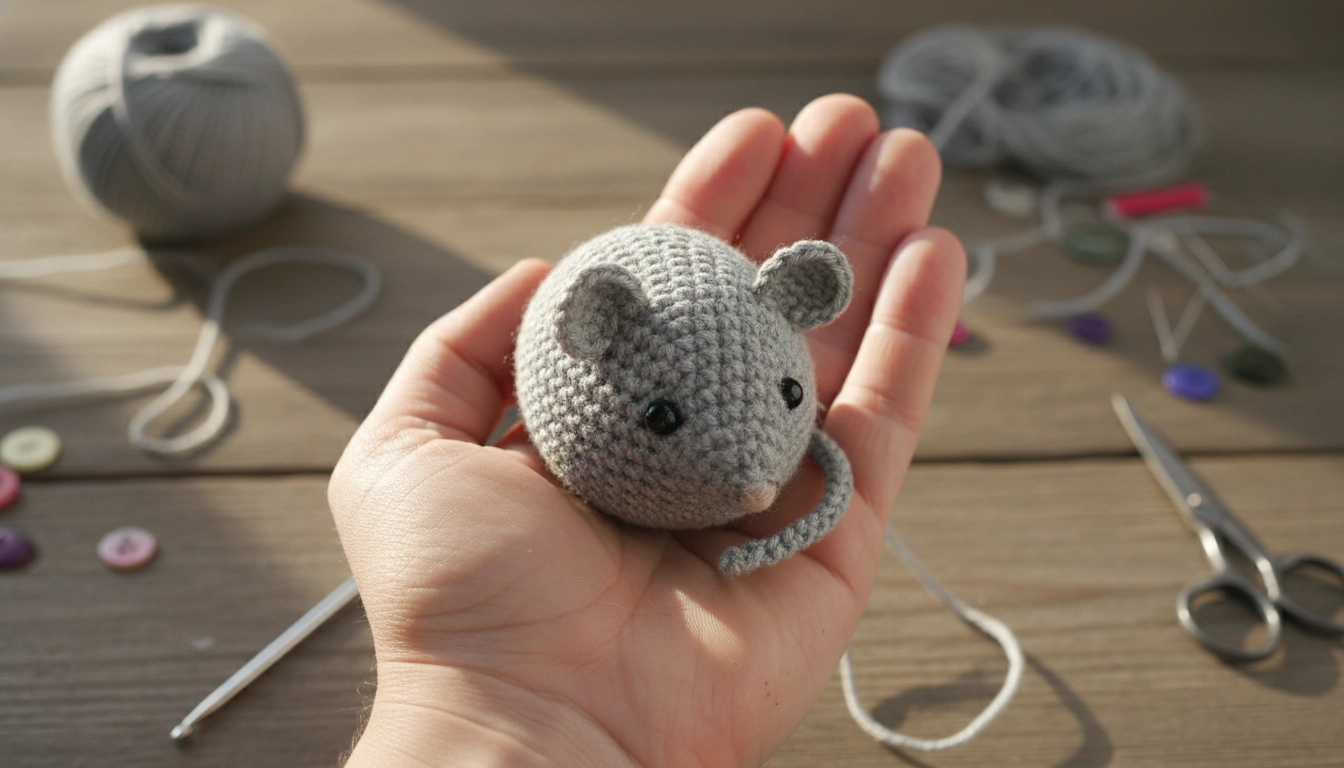
Anatomical Precision
Mice in nature have a teardrop shape that shifts weight toward the rear. This pattern replicates that center of gravity to ensure your finished piece sits perfectly without tipping.
Materials and Tools Needed for Professional Results
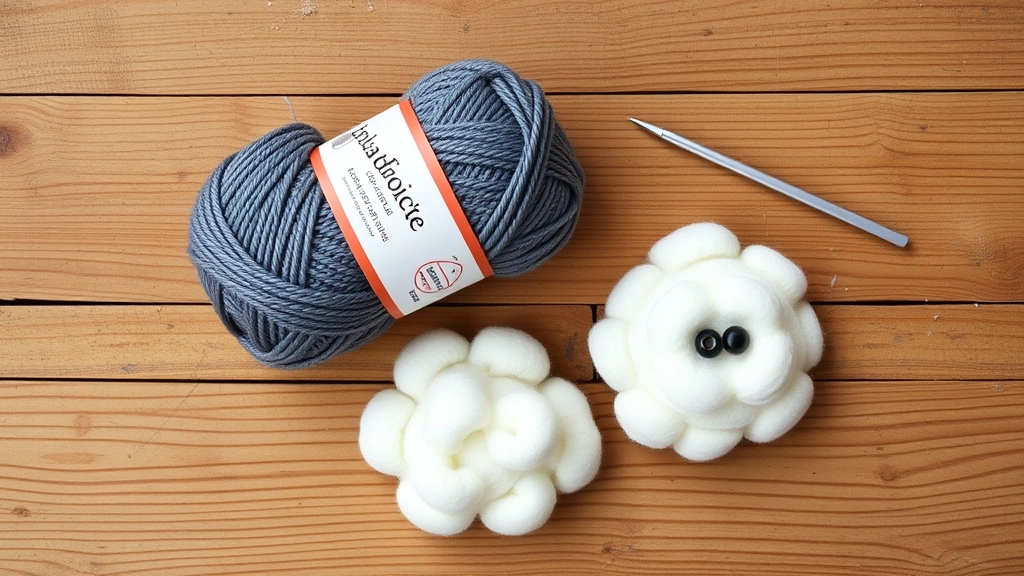
Your rebar and concrete: high-quality cotton and a precision steel hook are essential for structural success.
You can't build a skyscraper with mud. For the results I'm talking about, your yarn choice is everything. No fuzzy acrylic here. I demand mercerized cotton. It has a sheen that catches the light and reveals every single stitch you make. It shows the world you didn't hide your mistakes in the fuzz.
Let's break down the inventory you need to achieve this level of structural perfection.
| Material | Technical Specification | Engineering Purpose |
|---|---|---|
| Yarn | Mercerized Cotton | Eliminate stretch and maximize stitch definition |
| Hook | 2.25mm Steel | Create high-density fabric to contain stuffing |
| Stuffing | Premium Poly-fill | Maintain internal structural pressure |
| Eyes | 6mm Safety Eyes | Provide a focal point for the facial geometry |
My Take
Think of your yarn as 'rebar' and your stitches as 'concrete'. If the rebar is weak, the building falls. Always choose high-twist cotton for this specific build.
Requirement number one is fifty grams of high-quality cotton. Slate grey is classic, but a soft taupe or even a dusty lavender works if you want to be more fashion-forward. Requirement number two is a 2.25mm or 2.5mm steel hook. This is non-negotiable. We need the tension so tight that the stuffing couldn't escape even if it wanted to. Requirement number three is premium polyester fiberfill, or if you really want that high-end feel, use clean sheep wool for weight.
Requirement number four is 6mm safety eyes. If you're making this for a tiny human, use black embroidery floss instead. Requirement number five includes the basics: a sharp tapestry needle, some stitch markers, and those fine-tipped scissors that look like they belong in a surgery suite. Using the right gear makes this Crochet Mouse Pattern feel like a professional commission rather than just a weekend project.
Key Stitches and Abbreviations
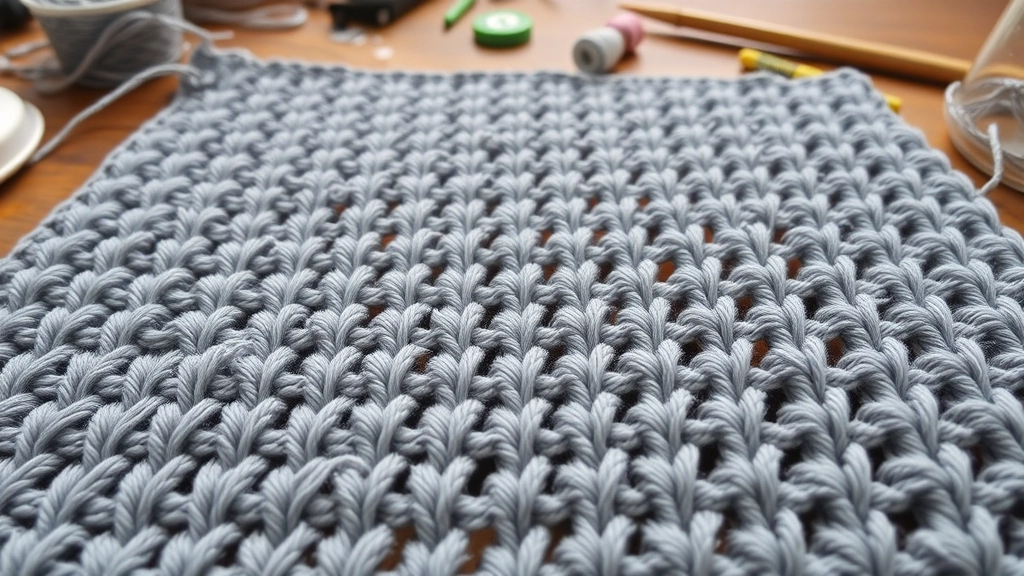
The invisible decrease should be exactly that—invisible. Aim for a continuous field of grain.
Let's get the terminology straight. If we aren't speaking the same language, the sculpture will fall apart. This isn't a beginner project—it's intermediate because of the tension requirements. My hands usually ache after a mouse, but that's the price of perfection. Understanding tension as mechanical energy stored in fiber is the silent language of the craft, a principle I detail further in my Crochet Owl Pattern.
MR is the Magic Ring. It is the only way to start. Sc is our Single Crochet, the brick of our building. Inc is the Increase, adding volume where we need it. Inv Dec is the Invisible Decrease. If I see a standard decrease on a professional piece, I cringe. Use the front loops only. Sts are Stitches and Rnd is the Round. Keep your count perfect.
If you look at the data of the build, you'll see why the single crochet is our primary load-bearing element.
My Take
The high volume of 'single crochet' stitches is what creates the canvas. The 'increases' and 'decreases' are simply the hinges that allow us to bend the fabric to our will.
Tension Alert
If you can see the white stuffing through your stitches, your hook is too large or your tension is too loose. Drop down a hook size immediately.
Step-by-Step Instructions for Success
Follow the math: each round builds the mass needed for a professional finish.
Follow the math. Don't deviate. These dropdowns contain the code for your mouse. Watch the stitch count at the end of every round. One mistake early on and the whole snout will look crooked. Achieving the correct snout shape is a matter of mathematical precision, much like the techniques required to prevent sagging in my Crochet Elephant Pattern.
Expert Tips for Perfect Amigurumi Results
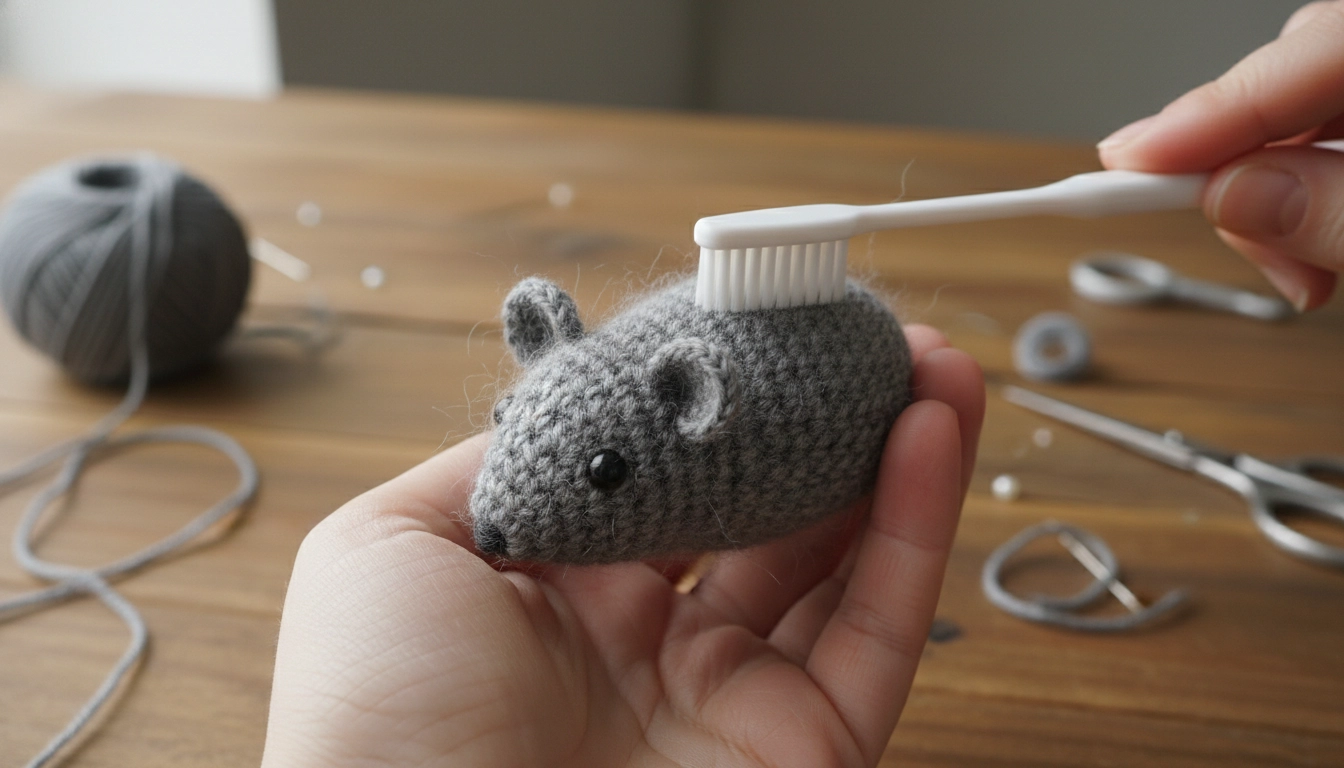
A simple toothbrush can transform a toy into a specimen with a subtle, realistic fuzz.
Listen, the invisible decrease is your best friend. If you do it right, the surface looks like a continuous field of grain. It's smooth. If you do it wrong, it looks like a scarred lump of coal. Practice it. Master it. Your Crochet Mouse Pattern deserves that much respect.
Even the best engineers face site failures; here is how to pivot when things go wrong during the assembly.
| Structural Failure | Root Cause | Corrective Action |
|---|---|---|
| Visible Stuffing | Low Tension or Large Hook | Downsize hook and increase pull strength |
| Asymmetric Nose | Incorrect Round 2 Count | Frogging and re-calculating the increase vector |
| Floppy Tail | Loose Chain Foundation | Tighten slip stitches for rigid flexibility |
My Take
Don't be afraid to 'frog' or rip out your work. A professional is defined by their willingness to restart until the math is right.
And please, for the love of the craft, watch how much you stuff the nose. I see people shove the fiberfill in there like they're packing a suitcase for a three-week trip. Stop. Use forceps. Put a tiny, pea-sized amount in the tip first. Then build the density as you go toward the back. You want the mouse to have a natural weight. It should feel balanced in your palm, not like a balloon.
Pro Surface Finishing
Use a clean toothbrush to lightly brush the surface of your finished mouse. This creates a subtle 'fuzz' that mimics real fur without losing the stitch definition.
Creative Customization and Color Ideas
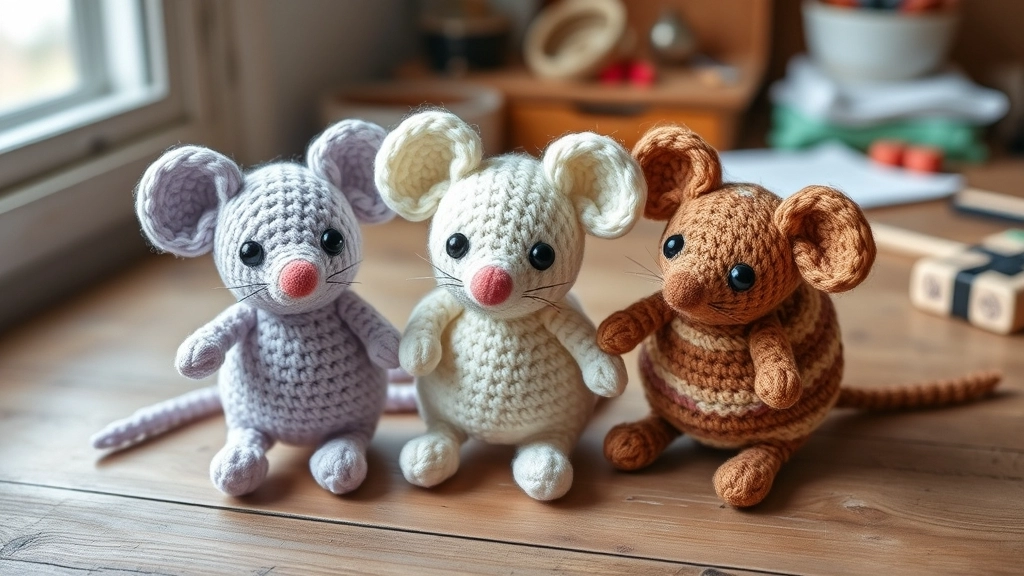
Don't stay safe; use this pattern as a launchpad for your most fashion-forward color choices.
A grey mouse is fine. It's safe. But why stay safe? This Crochet Mouse Pattern can be a launchpad for your weirdest ideas. Use cream yarn and maybe a bit of rose-gold thread for the nose. Suddenly, it's not a toy anymore—it's a piece of home decor that people will actually ask about.
I once used a variegated yarn that looked like a tortoiseshell cat. It was wild. You can also swap the tail. Instead of a chain, try a thin strip of leather or some braided silk ribbon. It adds a layer of sophistication that says you're a designer, not just a crafter. You're making choices. That's what fine art is all about—intentionality in every fiber.
Conclusion
It's not just a mouse; it's a study in volume, scale, and the power of a single hook.
At the end of the day, a Crochet Mouse Pattern is just a set of instructions until you breathe life into it with your tension and your taste. Every stitch you pull is a tiny brick in the house of your imagination. I hope this guide pushes you to stop seeing crochet as a simple hobby and start seeing it as a medium for building something truly incredible.
Go out there and make something that looks professional. Share it with people. Tell them it's not just a mouse; it's a study in volume and scale. Keep pushing the boundaries of what a single hook can do. If you follow this pattern with the focus it deserves, you'll end up with a masterpiece.