
Quick Access
Explore our curated collection of 'Crochet Puffin Patterns' to find your next weekend project. Use the interactive guides below to jump straight to the step-by-step instructions.
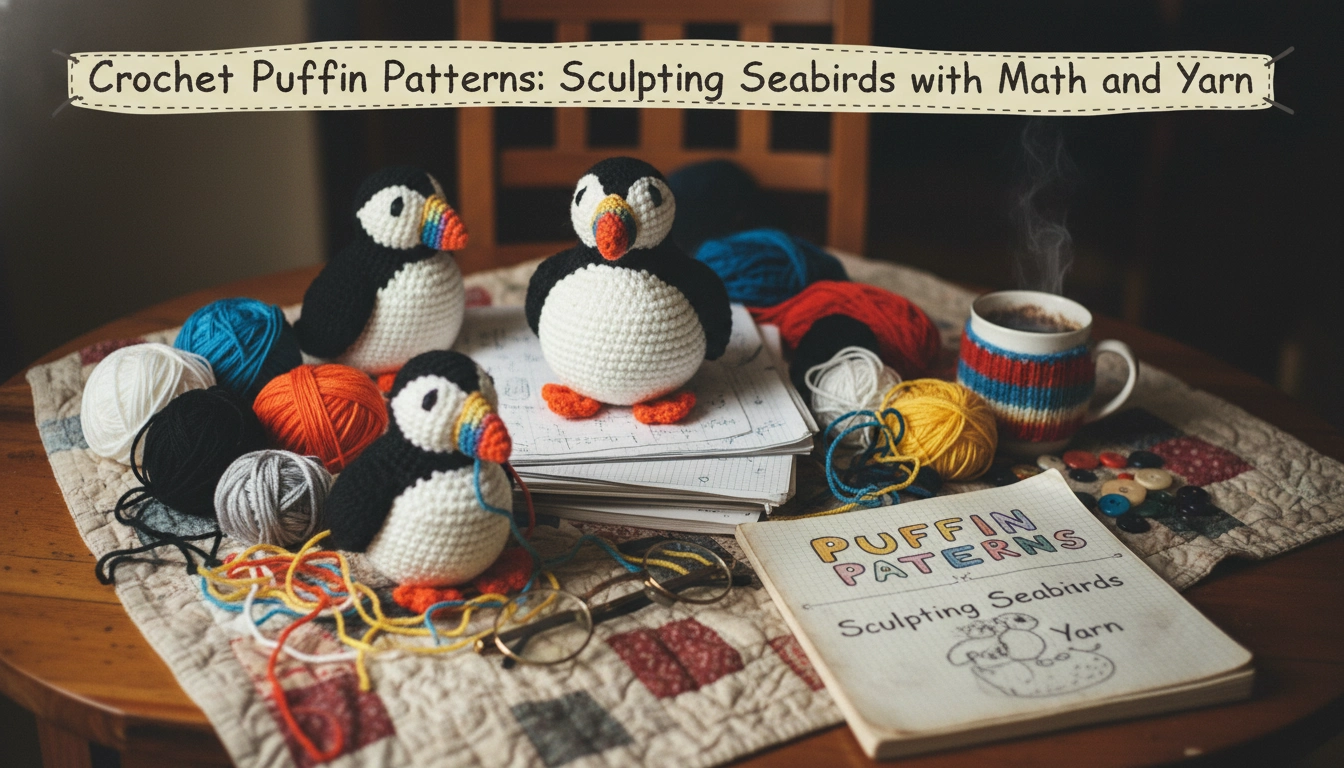
Look at a puffin. Seriously. Those sharp color blocks are pure vector geometry. Most people see a bird; I see tension equations begging to be hacked into 3D. My friend Ian Wright from Kings Road, Preston called because his attempt looked like a sad, lumpy potato. We do not do sad potatoes. We use math to bend organic cotton until it snaps into a perfect, self-standing aesthetic form.
Understanding the Basics of Crochet Puffin Patterns

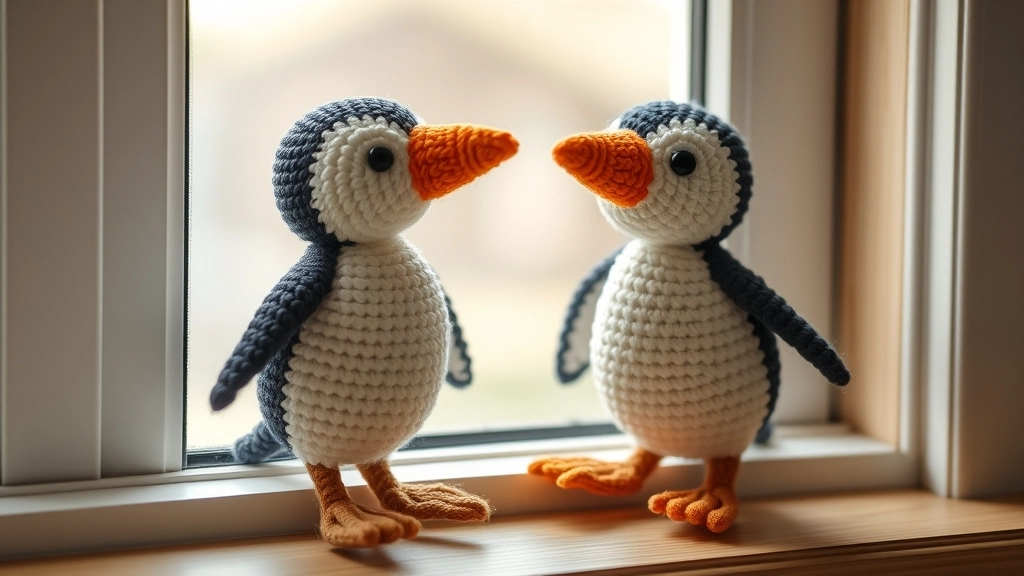
Amigurumi puffins rely on precise, geometric color-blocking to achieve their iconic shape.
What makes Crochet Puffin Patterns different from round blobs? The grid. You are plotting coordinates, not just looping yarn. For that white mask and angular beak, you need precise color-blocking in the decreases. If your math is off, the posture collapses. This mathematical approach to shaping is similar to how we construct a fluid, zero-gravity teardrop cranium in our Crochet Alien Pattern where stitch tension acts as pure architecture. We use strategic increases to turn corners sharply for that stable, flat bottom.
Why You Will Love Crafting a Crochet Puffin
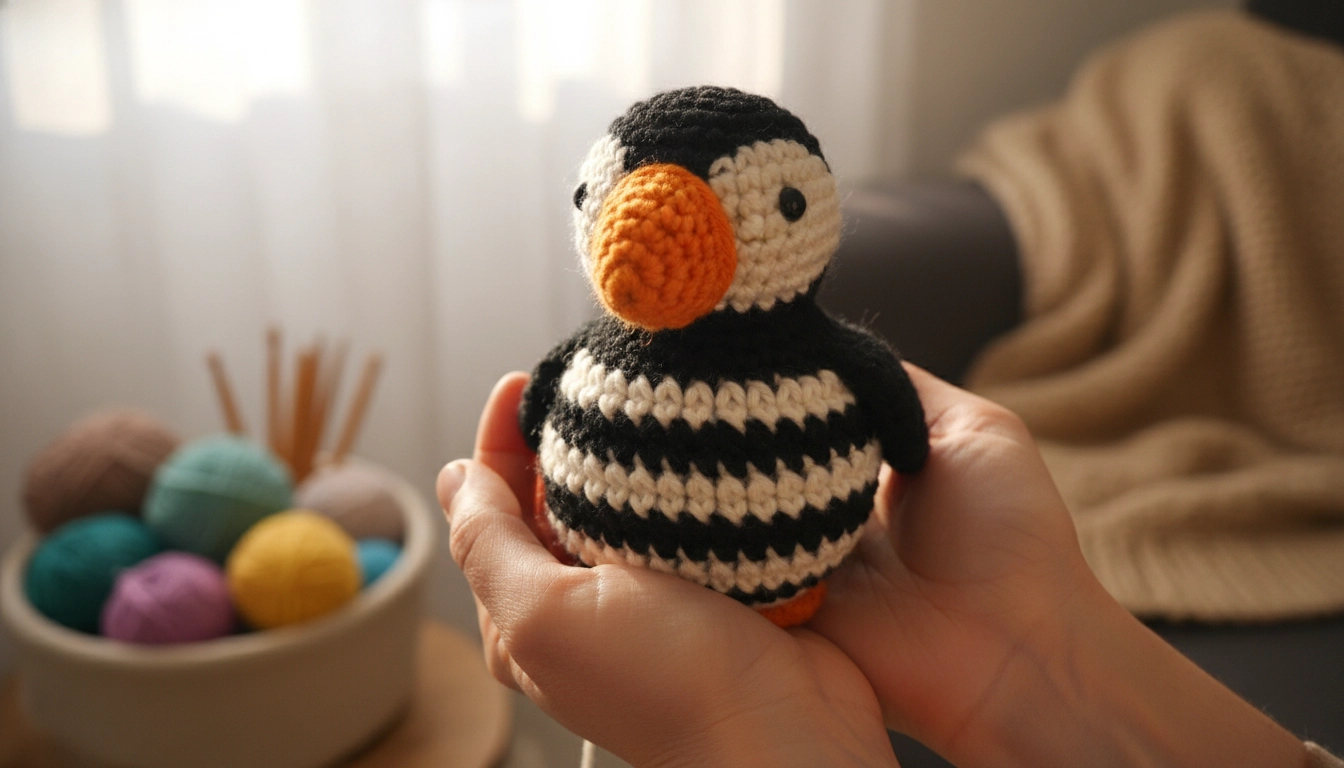
There is nothing quite like the feeling of holding your finished, high-contrast crochet puffin.
This is color-block therapy. Watching high-contrast black, white, and orange lock together is like high-end graphic design you can actually squeeze. It is the ultimate slow-fashion protest against cheap plastic junk. If you love making this kind of statement, you can also explore our Crochet Alien Hat which uses raw, dimensional geometry to fight back against fast-fashion garbage. You get a tactile, sophisticated object that looks gorgeous on an oak shelf.
Materials and Tools Needed
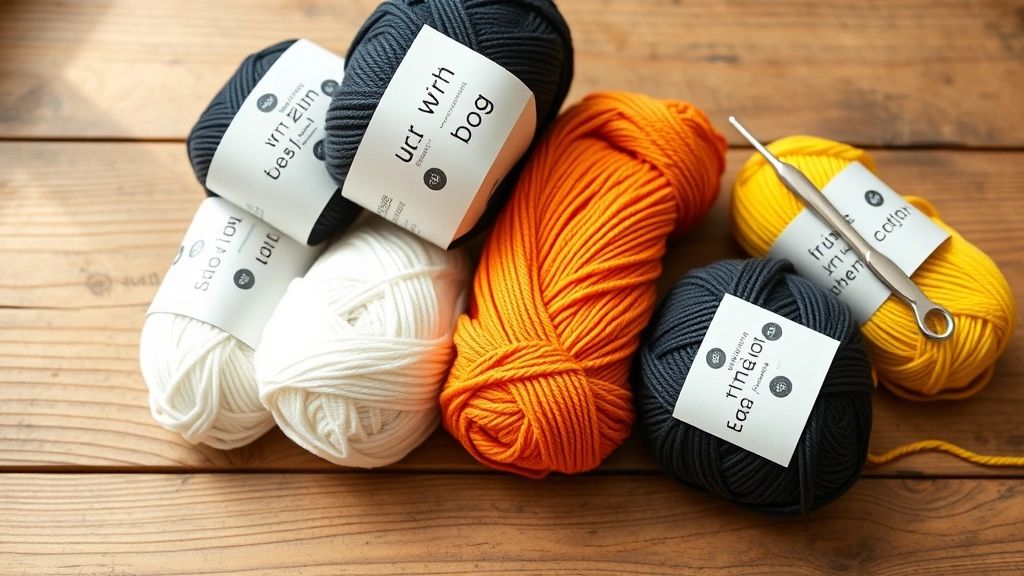
Gather high-quality organic cotton yarn and a 2.5 mm hook for crisp stitch definition.
Put down the cheap acrylic. Please. Squeaky synthetic yarn makes puffins look fuzzy and cheap. While puffins require a sleek, tight gauge, other projects demand a completely different tactile puzzle; for instance, when working with Crochet Lamb Patterns you must design the surface topography using boucle yarn to simulate actual wool. For this intermediate build, use sport weight organic cotton for sharp stitch definition. Grab black, white, bright orange, yellow, and a 2.5 mm hook. That tight gauge prevents stuffing from peeking through.
Let us break down the exact yarn and tool specifications you need so you do not end up buying the wrong stuff at the craft store.
| Material | Color | Suggested Weight | Purpose |
|---|---|---|---|
| Organic Cotton | Black | Sport | Head and Body |
| Organic Cotton | White | Sport | Face Panels |
| Organic Cotton | Bright Orange | Sport | Beak and Feet |
| Organic Cotton | Yellow | Sport | Beak Accent |
My Take
Seriously, do not skimp on the yarn. Organic cotton has that matte, high-end look that makes your puffin look like a designer toy rather than a dusty craft-fair leftover.
Essential Crochet Stitches for Puffin Patterns
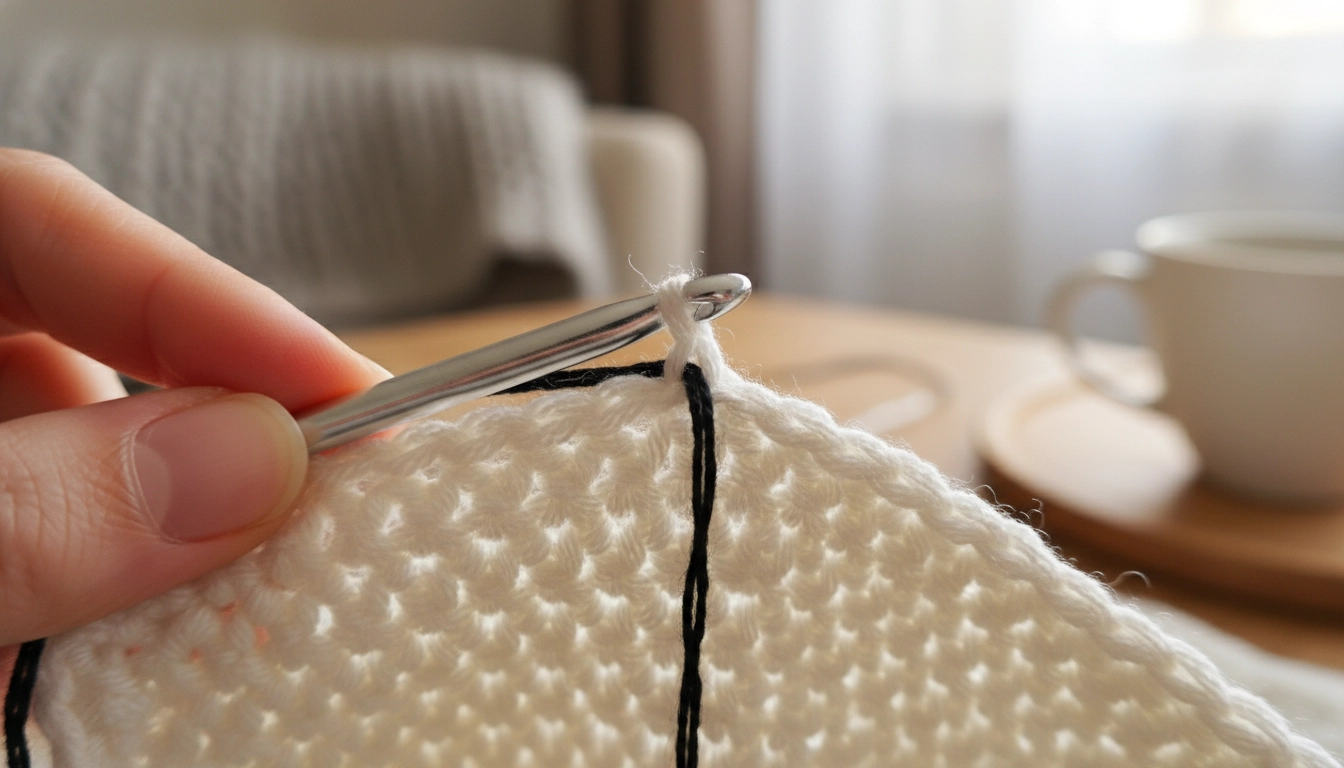
Consistent tension and clean color changes are the secret to flawless amigurumi.
Before starting, let us talk mechanics. Your foundation is single crochet, but the real trick is the invisible decrease—grabbing only front loops—to keep the surface smooth. For color changes, use the tapestry method, carrying inactive yarn inside the stitches to keep tension uniform so your bird is not lopsided.
Tension Control
Keep your tension tight. If your stitches are too loose, the stuffing will peek through, ruining the sleek, high-end look of your puffin.
Step-by-Step Instructions for Your Crochet Puffin
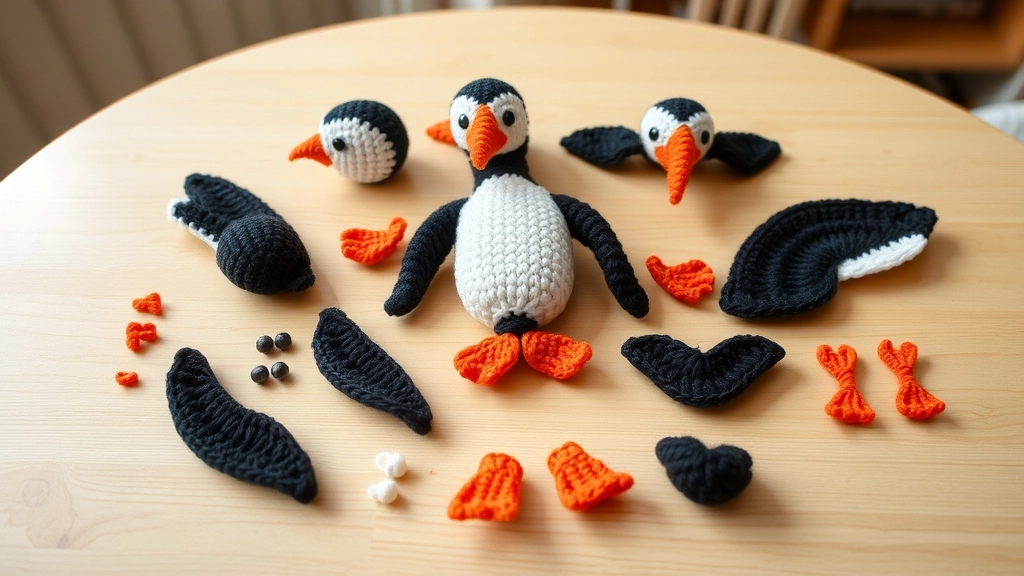
Having all your crocheted parts ready makes the final assembly much smoother.
Follow these structured steps using the interactive dropdowns below to bring your puffin to life.
To help you budget your crafting weekend, here is how I usually split my time across the different parts of this build.
My Take
Do not rush the assembly phase. Spending twenty percent of your time on perfect placement is what separates the masters from the amateurs.
Assembling Your Puffin with Seamless Joinery
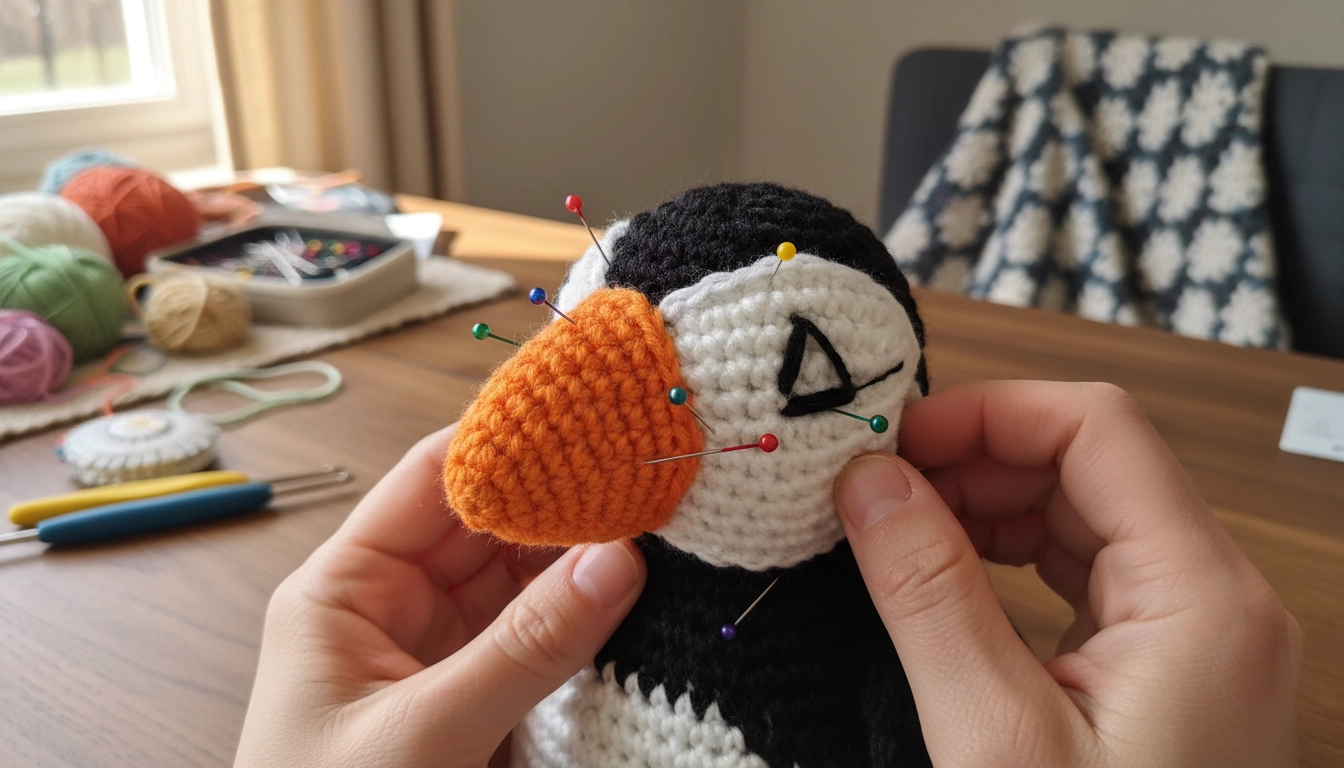
Use sewing pins to secure the beak and face panels perfectly before sewing them down.
Do not freehand the assembly. Use pins first. Sew the white face panels, then nestle that orange beak right in the center. Angle the wings back slightly, like he is caught in a sea breeze, and stitch the feet flat so he stands up proud.
Expert Tips for Perfect Amigurumi Shaping
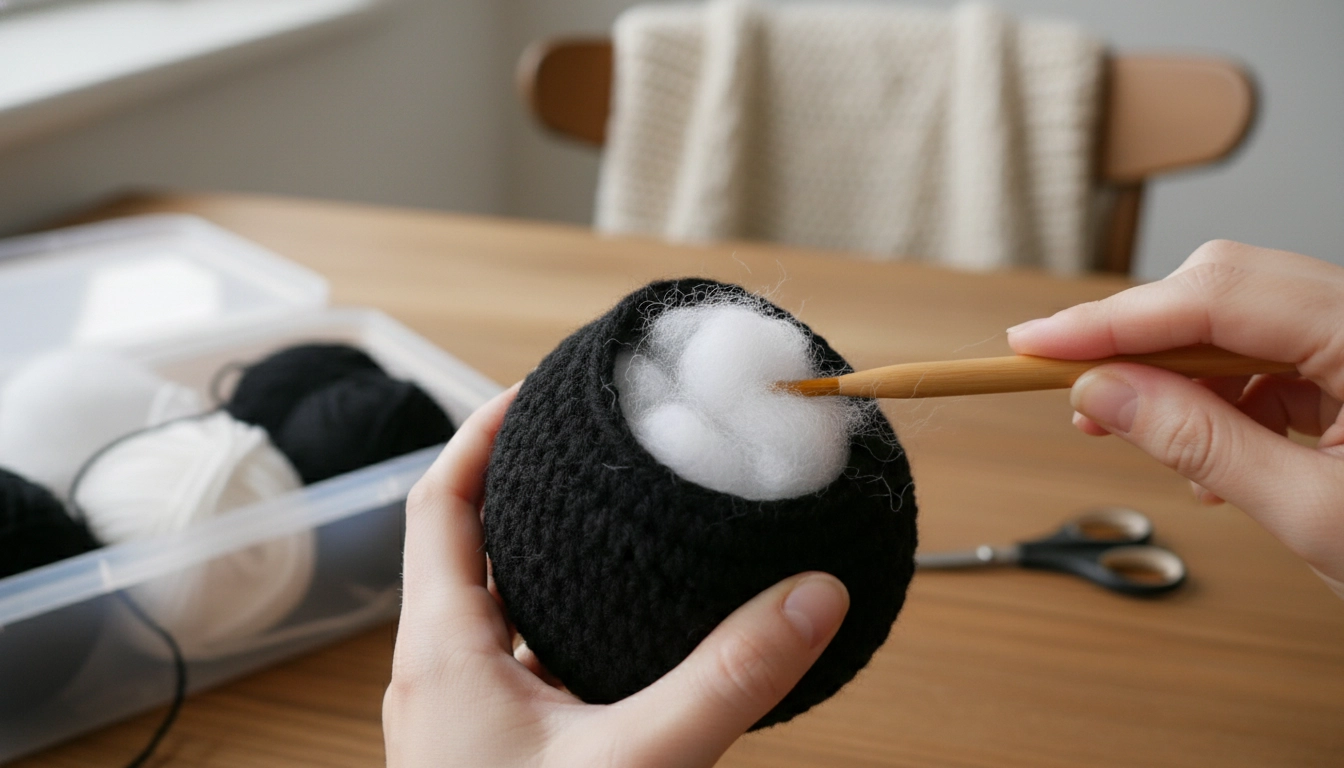
Stuff your puffin firmly in small clumps to create a stable, self-standing base.
Stuffing is an art. Do not just cram fiberfill inside. Take tiny clumps and use your hook to push them outward against the walls. If stuffing shows, drop down a half-millimeter hook size to keep stitches dense.
If your bird is starting to look a bit wonky, check out this quick troubleshooting guide to fix your tension and shaping issues.
| What You See | The Root Cause | The Easy Fix |
|---|---|---|
| White stuffing peeking out | Tension is too loose | Drop down a half millimeter hook size |
| Puffin falls over forward | Poor stuffing distribution | Pack more fiberfill into the flat base |
| Lumpy or uneven body shape | Stuffing crammed in too fast | Use small clumps and push them outward |
My Take
Amigurumi is all about structural integrity. If you treat the stuffing process like sculpting clay, you will get a perfect, self-standing bird every single time.
Where to Find the Best Crochet Puffin Patterns

Look for well-tested patterns from independent designers for the best results.
For complex variations, find independent designers who understand modern pattern drafting. Avoid dusty database sites filled with stolen, untested charts. Support creators who test their patterns so the math actually aligns.
Creative Ways to Display Your Finished Puffin
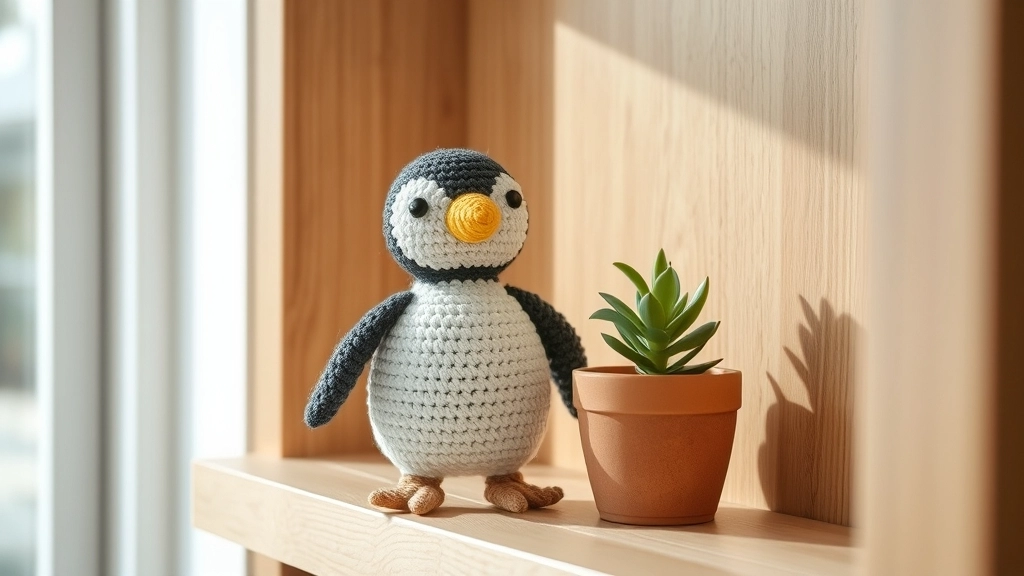
A handmade puffin makes a charming, modern addition to any shelf or workspace.
Do not toss him in a drawer. This is a sculptural art piece. Put him on your desk near a plant or on a clean shelf. He makes a gorgeous, sustainable gift for anyone obsessed with coastal aesthetics.
Conclusion
Mastering these patterns lets you create a whole colony of charming coastal companions.
Working through Crochet Puffin Patterns is a masterclass in spatial design. By combining math with clean color-blocking, you turn organic cotton into a modern sculpture. Share your birds online and prove yarn is not just for itchy blankets.