
The math of a perfect sphere is usually where everyone fails when they first try a Crochet Lion Pattern. It is basically physics. If your tension is loose by even a hair, that king of the jungle stops looking like royalty and starts looking like a sad, lumpy potato that cannot even hold its own head up. I was actually hanging out with Carolyn Jennings near The Green, Brighton and Hove, just watching her fight with a ball of cheap yarn. Her tension was all over the place, and I told her straight up—this is the number one reason your stuff looks like a middle school project instead of something you would find in a high-end boutique. We are not doing the saggy, plastic-feeling toys anymore. That era is dead. We are moving into organic fibers and technical precision because that is what slow fashion actually means. It is about building something that lasts, not just something that looks okay in a thumbnail.
Quick Access
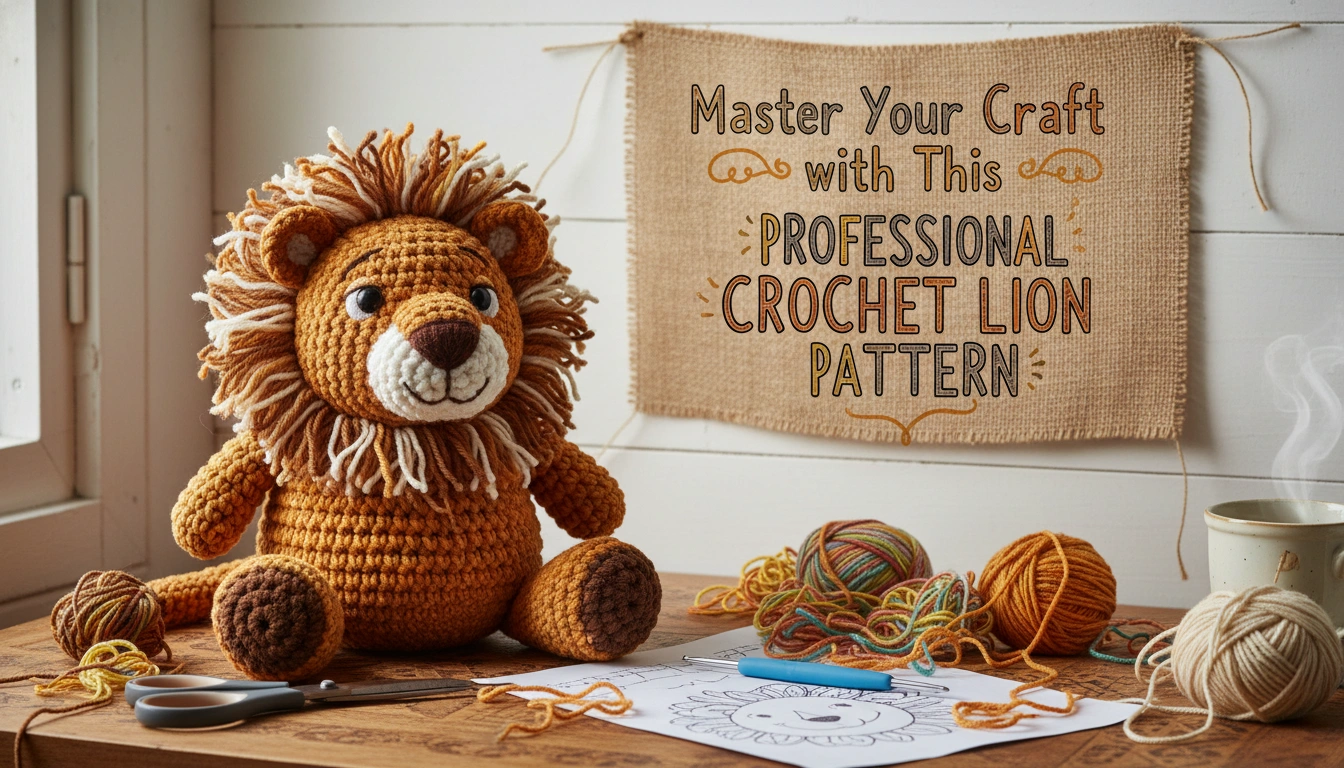
This tutorial covers the complete construction of a lion amigurumi, including head, body, mane, and assembly tips for a professional finish.
Understanding the Basics of Amigurumi Engineering
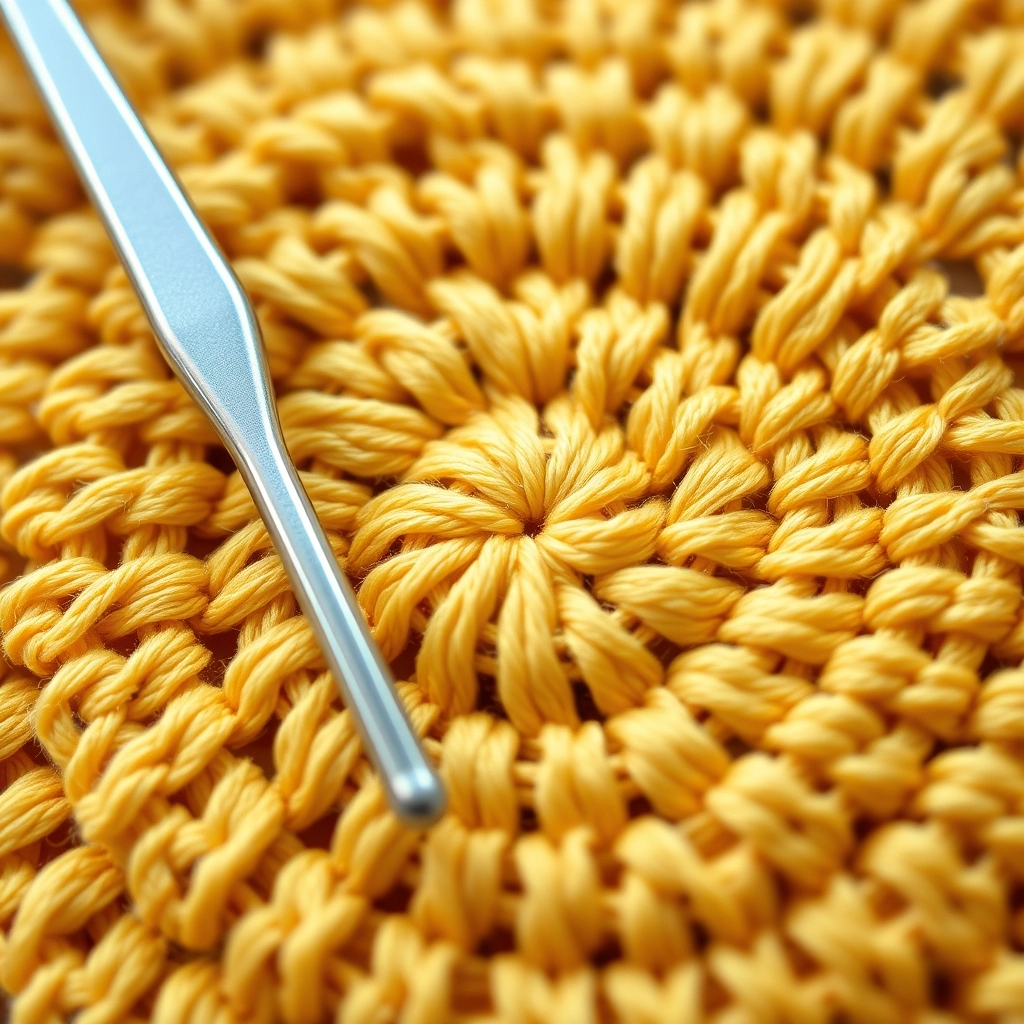
Precision is key: tight stitches prevent stuffing from peeking through and give your lion a professional structure.
Amigurumi is just 3D sculpture but with a hook. You are working in a continuous spiral, which is why your gauge has to be incredibly tight. If it is loose, the stuffing leaks out, and it looks cheap. Nobody wants that. When you master the magic ring and the invisible decrease, you are basically a soft-goods engineer. This Crochet Lion Pattern is for people who care about how things are made.
It is about the intersection of geometry and aesthetics. I think about it like building a house. If the foundation—your first few rounds—is shaky, the whole thing is going to lean. When you understand how adding one stitch per round changes the circumference, you stop following rules and start making them. You get the power to change any shape to fit your specific vision.
I honestly think people underestimate the math here, so I broke down the core pillars of what actually makes a plushie look high-end.
| Engineering Concept | Mechanical Function | Aesthetic Impact |
|---|---|---|
| Continuous Spiral | Eliminates the seam line | Seamless, professional finish |
| Tension Control | Compresses the fiberfill | Prevents stuffing peek-a-boo |
| Stitch Stacking | Controls the lean of the fabric | Ensures facial symmetry |
My Take
The invisible decrease is basically the holy grail of amigurumi. If you skip this, your lion will look like it has scars.
The Science of Stuffing
Always use more stuffing than you think you need. Over time, fiberfill compresses, so 'over-stuffing' slightly during assembly ensures your lion maintains its regal posture for years.
Materials and Tools for Your Crochet Lion Pattern
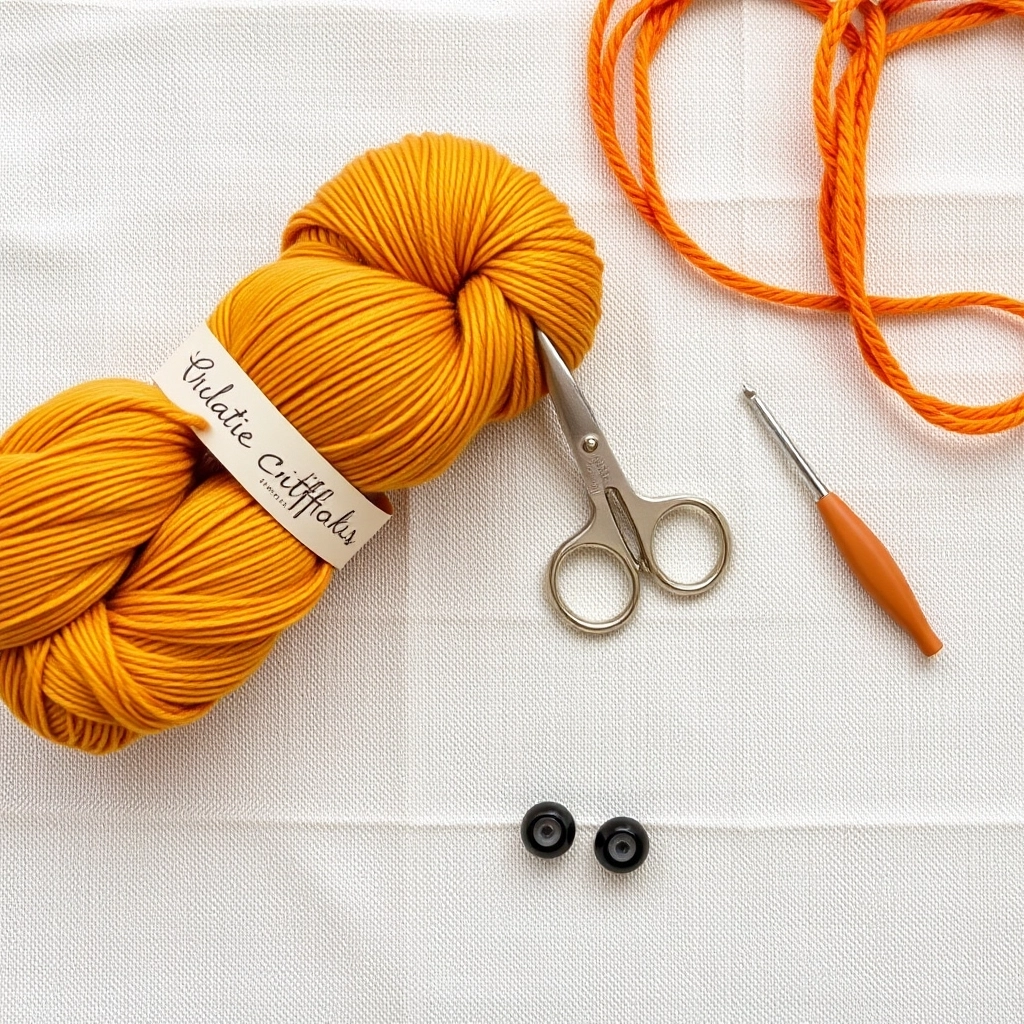
Choosing organic cotton over synthetic yarn is the first step toward a high-end, durable finish.
If you want a high-end finish, stop using synthetic yarn. It is plastic. It stretches too much and loses its shape after a week. Use organic cotton or a solid wool blend. For this lion, grab about 100g of a golden-yellow cotton and 50g of a burnt orange for that mane energy.
Get a 3.5mm hook. I know the label says bigger, but ignore it. The undersized hook is the secret to that dense, expensive-looking fabric. You will also need a tapestry needle, some stitch markers so you do not lose your mind, and safety eyes to keep things looking modern and sharp.
Before you go buying the cheapest yarn on the shelf, look at how these fibers actually perform under the pressure of a tight gauge.

Data visualization showing Fiber Performance Comparison.
My Take
Cotton is king for a reason. It does not stretch, meaning your stuffing stays where it belongs.
Essential Stitches and Technical Abbreviations
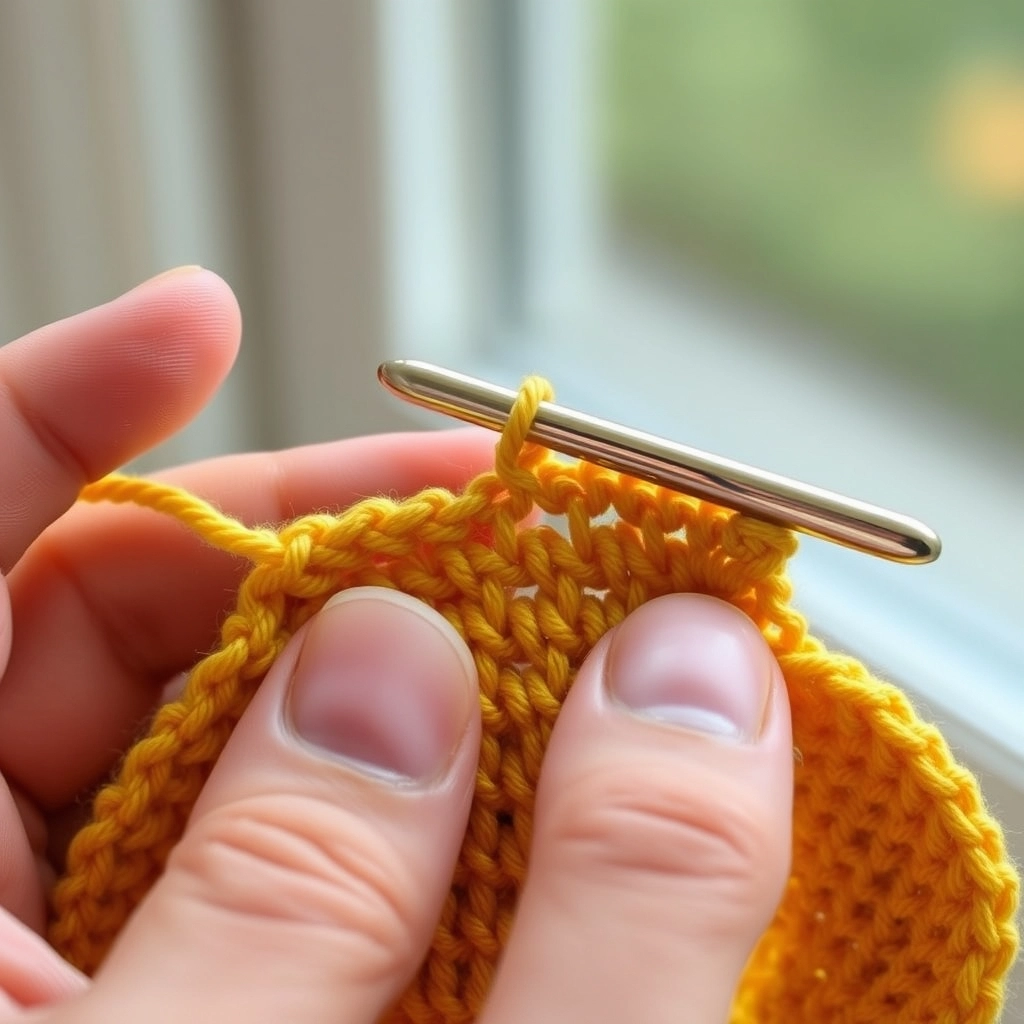
The invisible decrease is the secret to a smooth, scar-free surface on your amigurumi.
Let us talk the language of the Crochet Lion Pattern. If you get these right, your work stays consistent. Consistency is everything.
Sc: Single crochet.
Inc: Increase (two single crochets in one stitch).
Inv Dec: Invisible decrease (only use the front loops).
MR: Magic Ring.
Sts: Stitches.
Here is a quick cheat sheet for the stitches we are using so you do not have to keep scrolling back and forth.
| Abbreviation | Full Name | Technical Focus |
|---|---|---|
| Sc | Single Crochet | Maintain even height |
| Inc | Increase | Avoid gaps at the base |
| Inv Dec | Invisible Decrease | Front loops only for smoothness |
| MR | Magic Ring | Pull tight to close the center |
My Take
Keep your yarn under instead of yarn over for those single crochets. It creates a cleaner X shape.
Tension Check
If you see gaps between your stitches where the white stuffing is visible, your hook is too large or your tension is too loose. Drop down a half millimeter in hook size immediately.
Step-by-Step Instructions for Your Amigurumi Lion

Keeping your pieces separate until the end helps maintain the structural balance of the final toy.
This is intermediate work because the mane is a whole situation. We do the head and body separately so the weight is balanced. If you do it all as one piece, it usually flops over.
Visualizing the Structural Integrity of Natural Fibers

Natural fibers like cotton provide the memory needed to keep your lion's shape for years.
Choosing yarn is a math decision. It literally changes the silhouette. I have looked at how fibers act under high tension. Acrylic is cheap but has zero memory, so the mane will eventually just sag. Cotton holds.
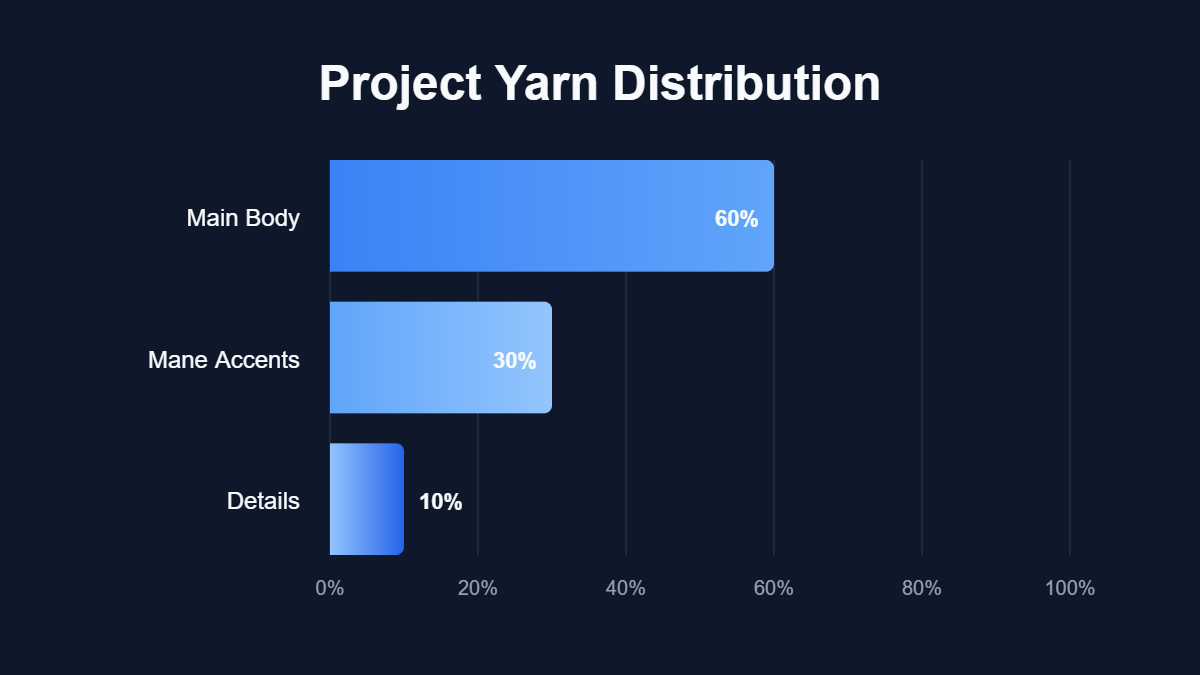
Data visualization showing Project Yarn Distribution.
How to Create a Majestic and Fluffy Lion Mane
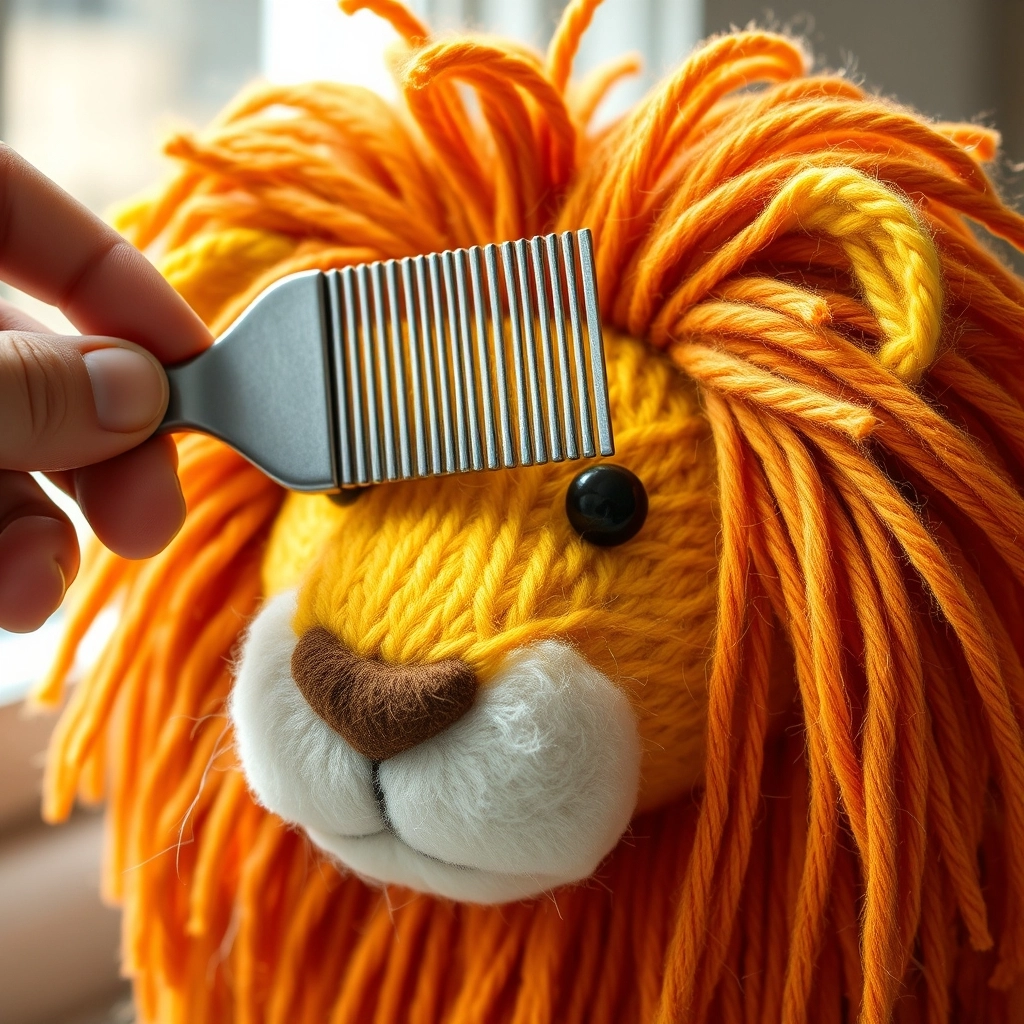
Brushing the yarn transforms simple fringe into a soft, professional-looking mane.
The mane is the whole point. Do not do those boring loops. I use fringe-knotting. It takes forever, but the result is fire. Cut a ton of three-inch strands. Fold them, hook them through the head, and pull the ends through. It is tedious. Do it anyway.
Start at the front and work back in circles. It looks like a shag carpet, which is the exact vibe we want. Brush it out with a comb. It separates the fibers and gives it this soft, glowy look. It looks like real fur but without the gross microplastics.
The mane is a marathon, not a sprint. Here is the workflow I use to keep it from becoming a tangled mess.
| Phase | Action | Pro Tip |
|---|---|---|
| Cutting | Cut strands in bulk | Use a cardboard template for speed |
| Knotting | Work in concentric circles | Start from the face and move back |
| Grooming | Metal comb brushing | Work from ends to roots to avoid pulling |
| Sculpting | Precision trimming | Use sharp scissors for a rounded look |
My Take
Brushing is the secret sauce. It turns yarn into something that looks like actual fur.
Mane Grooming
After brushing the mane, use a pair of sharp fabric scissors to trim the yarn into a uniform spherical shape. This 'sculpting' phase is what gives the lion its designer look.
Expert Tips for a Professional Amigurumi Finish
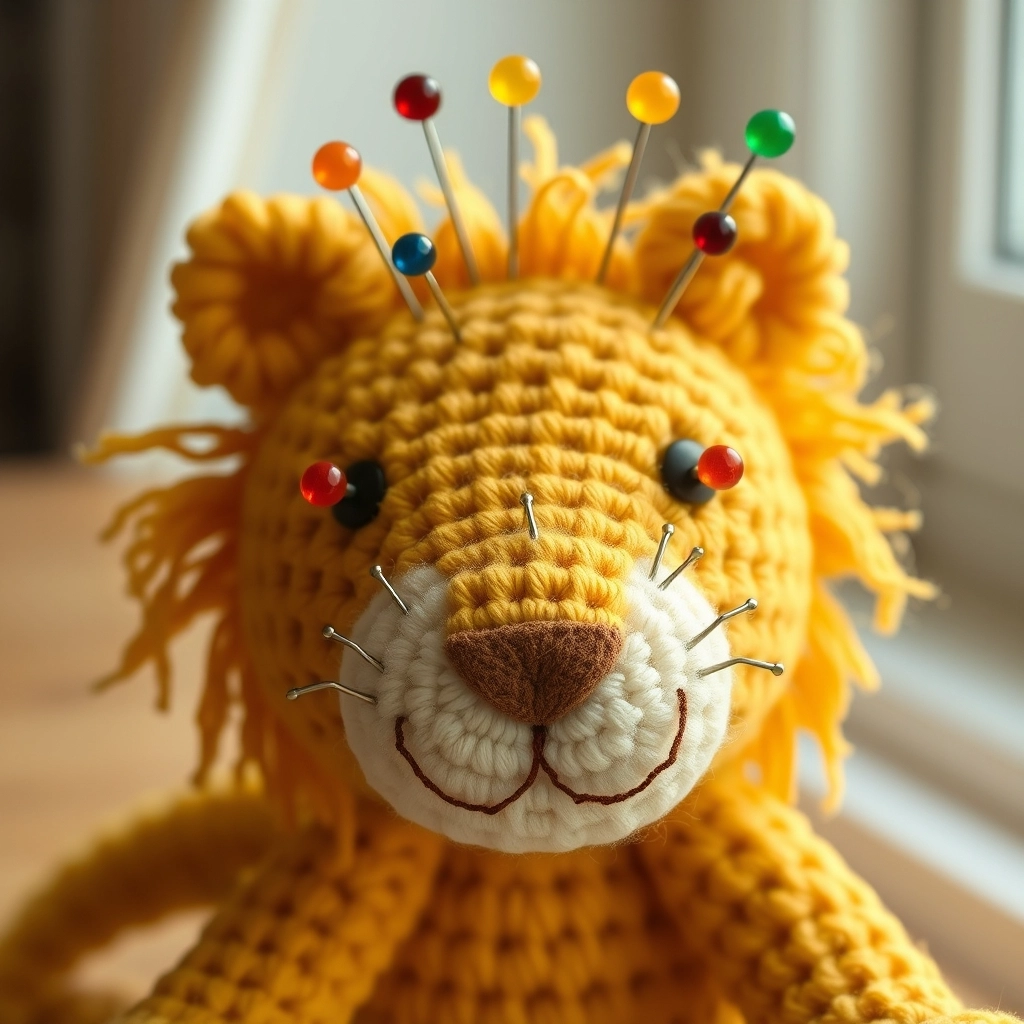
Use pins to map out the face before sewing; even a millimeter of difference can change the lion's expression.
Facial symmetry is make-or-break. Use pins first. If the eyes are off by even one row, your lion goes from majestic king to staring into the void. It is those tiny details.
When you are sewing limbs, use a whip stitch. Go through the inner loops. It makes the legs look like they belong there instead of just being slapped on. This is how you go from making a toy to making art.
If things are looking a bit wonky, check this table before you start frogging your entire project.
| Issue | Likely Culprit | The Fix |
|---|---|---|
| Leaning Limbs | Incorrect placement | Use glass-head pins to secure before sewing |
| Lumpy Body | Uneven stuffing | Use a chopstick to distribute fiberfill |
| Visible Knots | Poor yarn management | Bury tails deep inside the body cavity |
My Take
Symmetry is psychological. Use pins to map out the face before you commit to sewing anything.
Conclusion
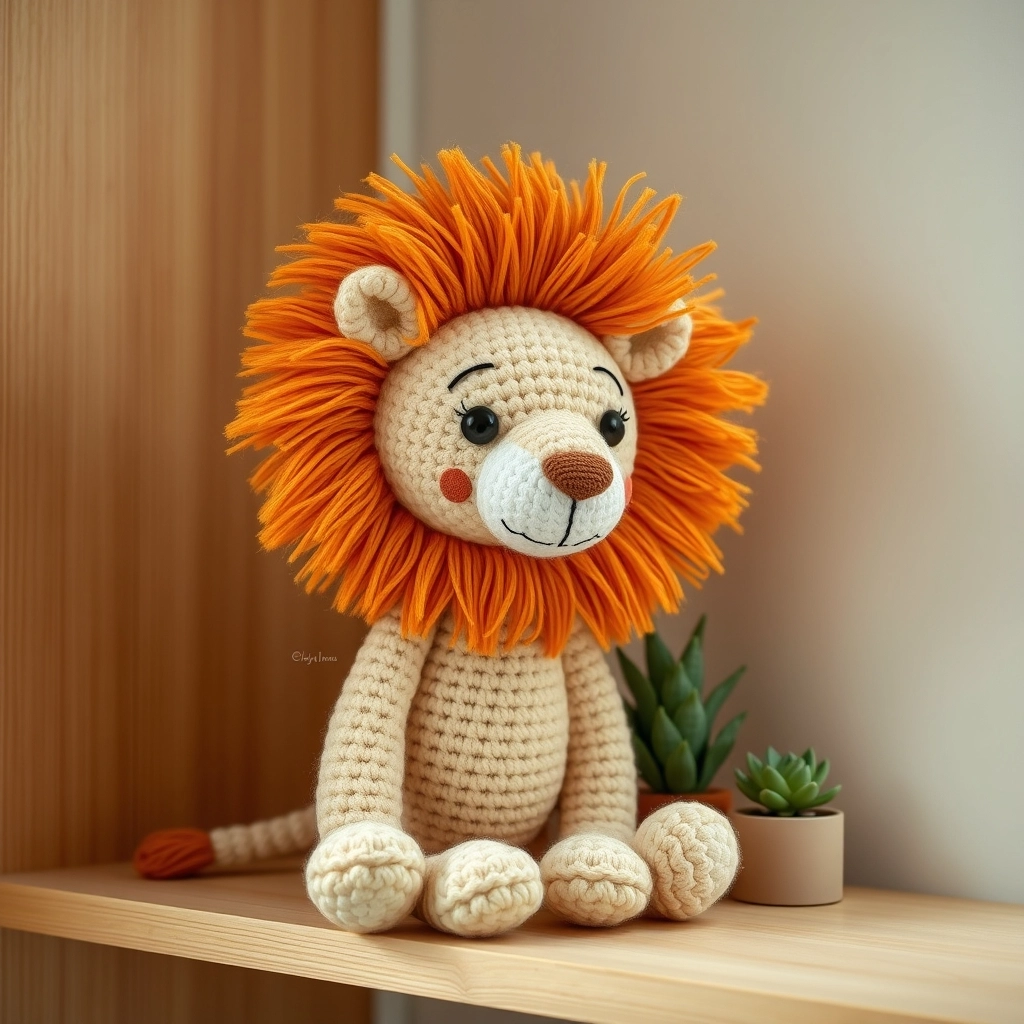
The final result: a piece of slow fashion that is as much a work of art as it is a toy.
Making this Crochet Lion Pattern is really about choosing slow fashion over the fast, disposable junk we see everywhere. When you use real materials and focus on the math of the stitches, you are making something that actually matters. Whether it is for a kid or just a piece for your shelf, the quality shows. Do not rush it. Think like an engineer, but keep the soul of an artist in there. Go make something cool.