
The tension in your yarn determines whether a wing lifts in flight or sags like a heavy cloth. It is physics, really. Gravity does not care about your intentions if your gauge is loose. When I was visiting Ronnie Mckinney over on Windsor Road in Sheffield, we spent three hours debating the structural integrity of a single increase. We looked at how the slightest shift in hook size transforms a basic Crochet Bird Pattern into something that belongs in a gallery, not a toy box. Precision is everything. If you are off by a millimeter, the bird looks tired. We do not want tired birds. We want sculptures that breathe.
Achieving this level of architectural stability requires you to stop thinking about yarn as string. It is a building material. You are an engineer here. This guide focuses on the technical architecture of amigurumi. It is designed to help you build a bird that looks ready to take flight from your palm. Pure math. Pure texture.
Quick Access
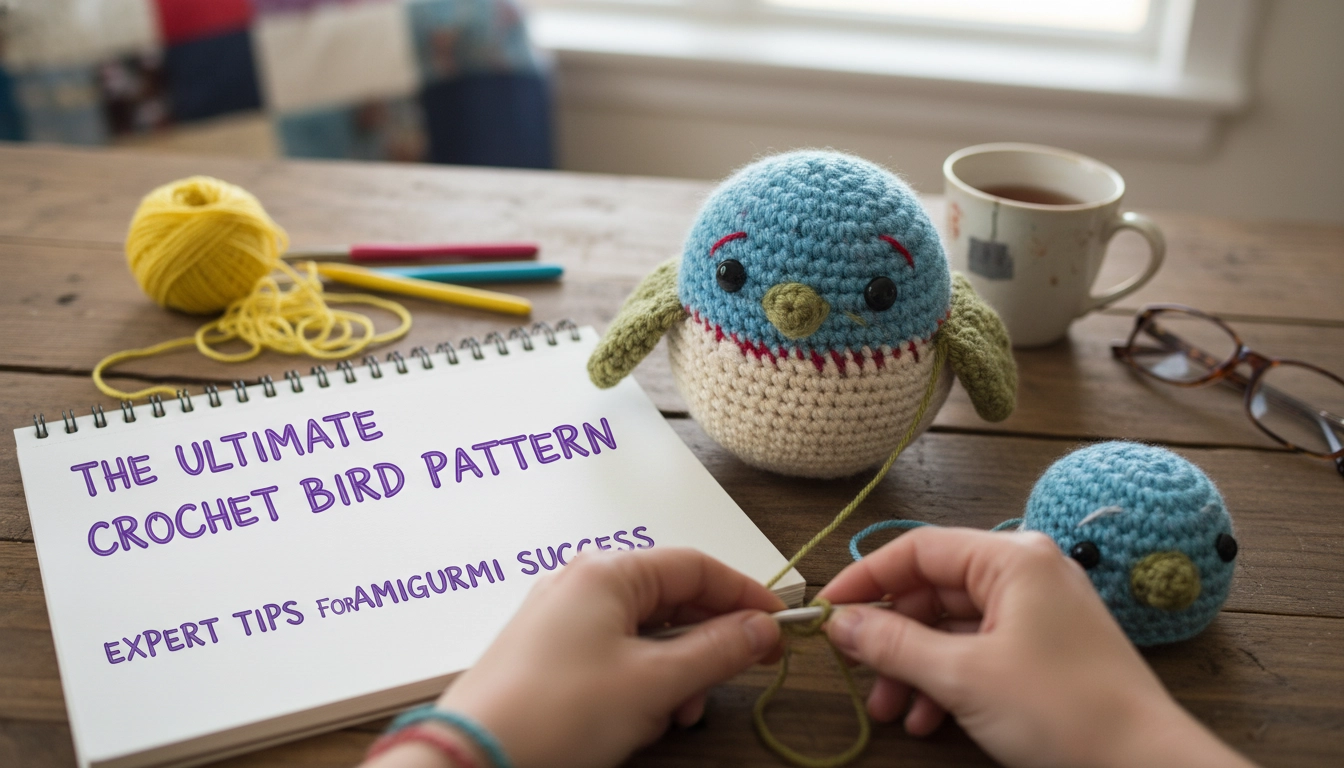
This comprehensive 'Crochet Bird Pattern' guide includes detailed instructions for the body, wings, and assembly, optimized for intermediate crocheters seeking professional results.
Understanding the Basics of Three Dimensional Crochet
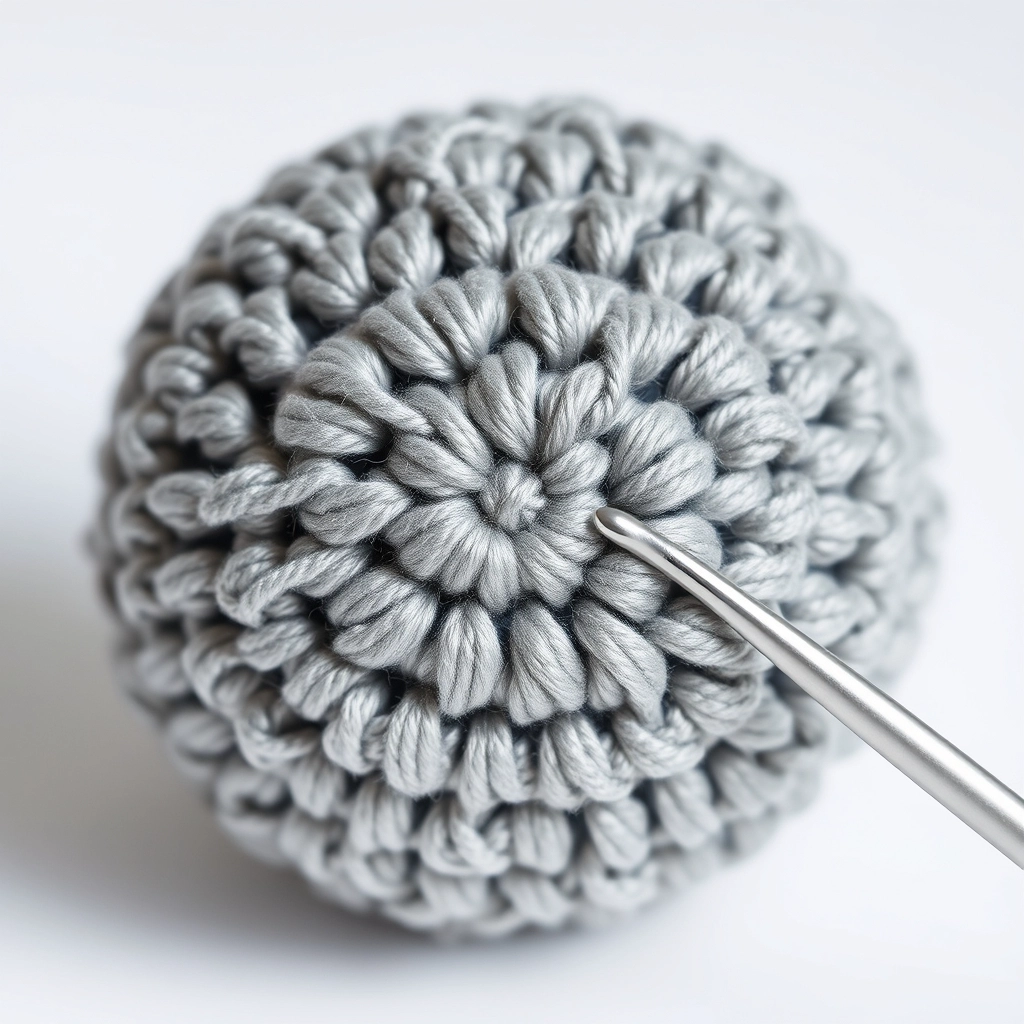
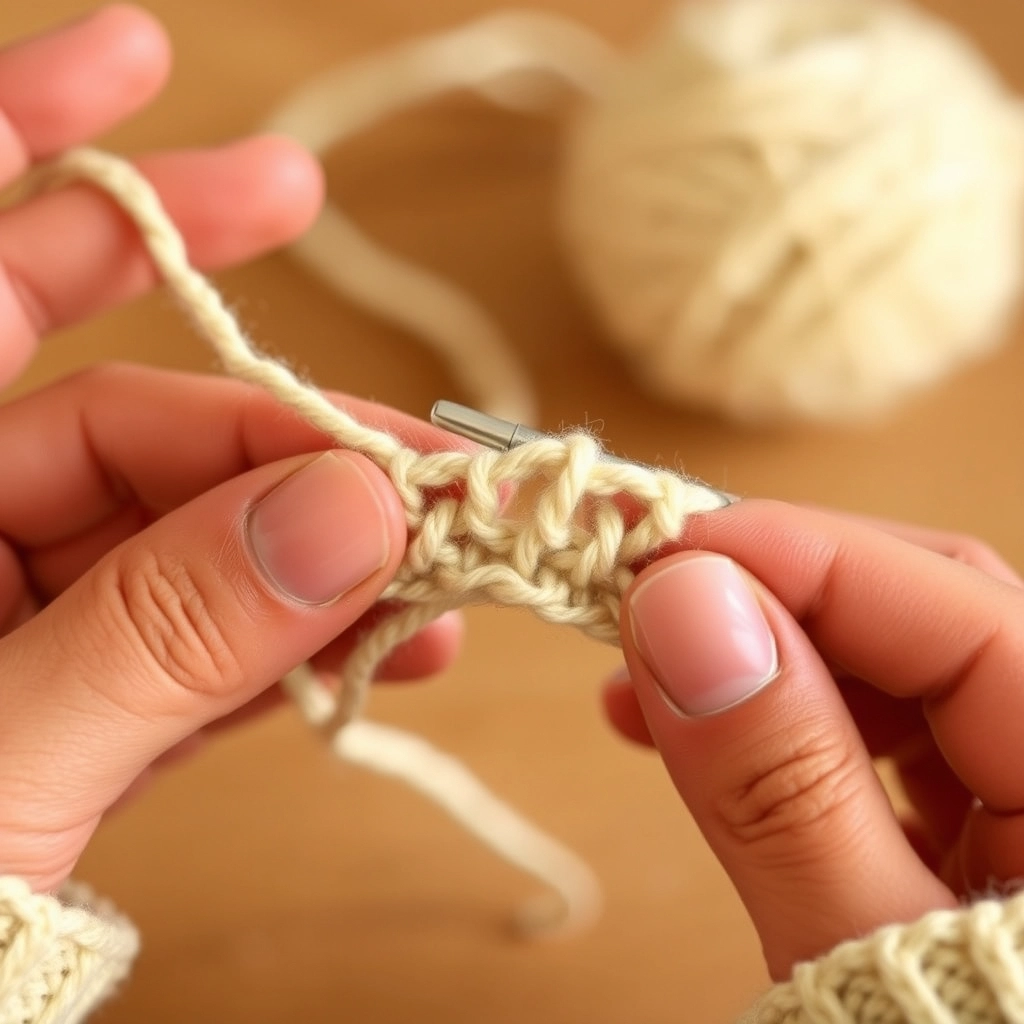
Amigurumi is essentially 3D geometry; notice the lack of gaps between the stitches.
Before you even touch that hook, realize that amigurumi is geometric manipulation. That is it. A Crochet Bird Pattern is just a series of strategic increases and decreases designed to fight the flat nature of the medium. We are creating spheres, ovoids, and sharp angles. I often use AI image generators to map out the topography of a bird’s breast before I stitch. It helps me see where the light hits the hills of the stitches.
Unlike flat crochet where you want drape, architectural crochet needs a stiff, dense fabric. Tight. It must be tight. This density makes sure the stuffing stays inside and provides the bones of the piece. If I can see your polyester filling through the stitches, we have a problem.
By treating every single stitch as a coordinate on a 3D map, you control the curve. You control the taper of the tail. This shift in how you see the work is what separates a floppy toy from a fiber sculpture. It is about the poetry of the stitch.
Why You Will Love This Crochet Bird Pattern
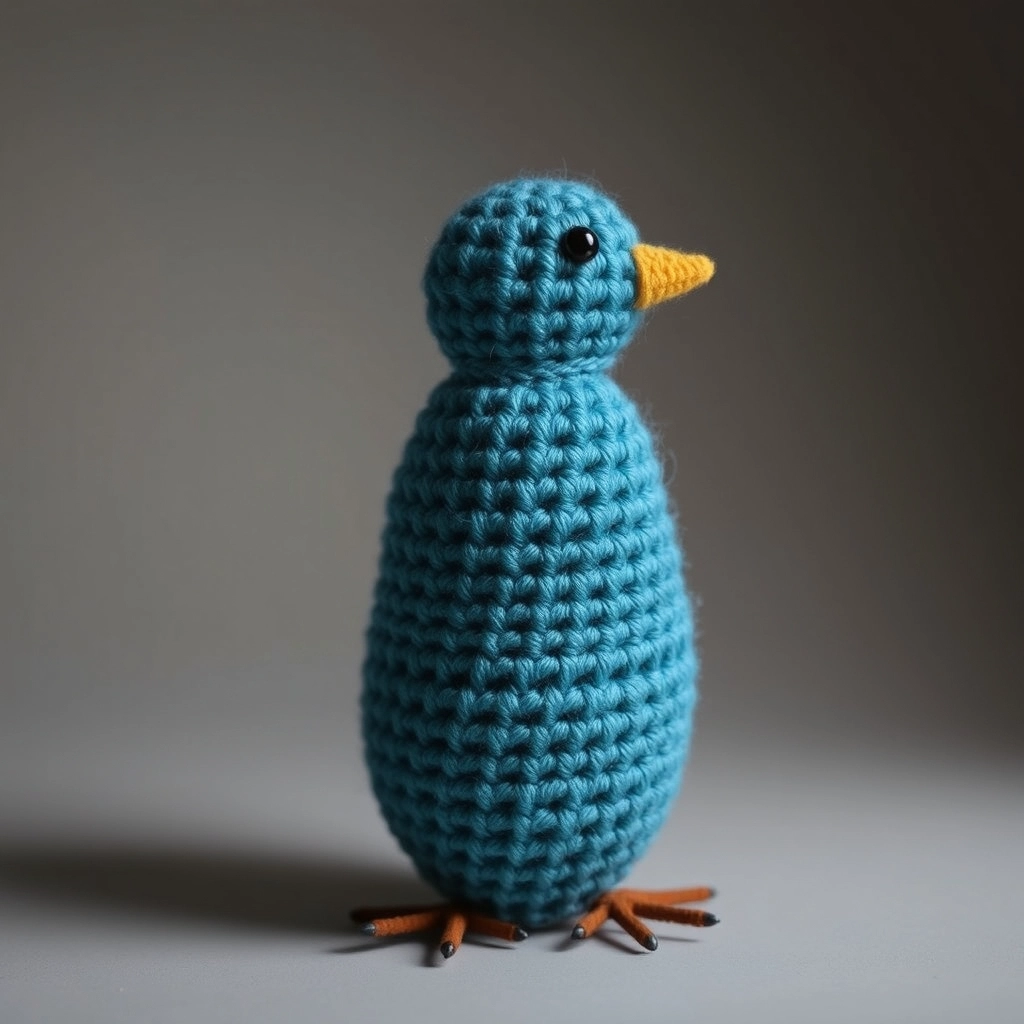
Staggered increases create the smooth, organic curves found in nature rather than blocky edges.
This Crochet Bird Pattern is for people who appreciate biology. It is for those who look at a sparrow and see the math. We are avoiding that blocky, pixelated look you see in beginner patterns. How? Staggered increases.
Standard increases create a hexagon. Nature does not do hexagons on a bird’s head. By staggering where we put those extra stitches, we get a perfect, smooth curve. The transition from the head to the body becomes fluid. It mimics the actual anatomy of an avian skeleton.
This is an Intermediate project. Do not be intimidated. It just means you need to care about where your wings go. The assembly is the hard part. But the result is a sophisticated piece. It is fashion. It is art.
Materials and Tools Needed
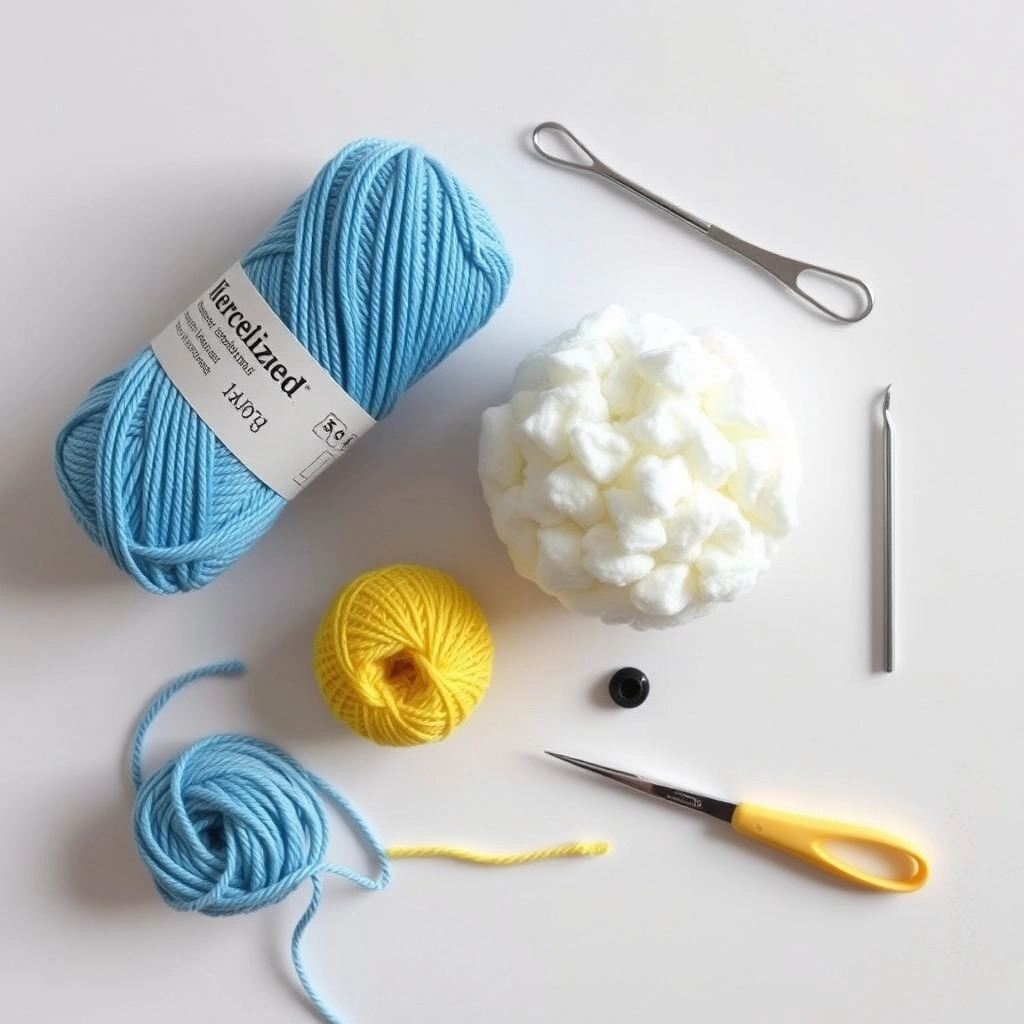
The right tools are the building materials for your avian engineering project.
You cannot use fuzzy yarn for this. The fuzz hides the stitches. We want to see the stitches. I recommend a mercerized cotton. Specifically a Sport weight. It has a sheen that looks like feathers in the light.
1. Yarn: 50 grams of primary color, 20 grams of accent color, and yellow for the beak.
2. Hook: A 2.25mm or 2.5mm steel hook. Nothing larger. We need that high-pressure tension.
3. Stuffing: High-quality polyester. Or wool roving if you want it heavy.
4. Eyes: 6mm safety eyes. Or black glass beads for a haute couture look.
5. Tools: A sharp needle. Stitch markers are mandatory. Fine-tipped scissors.
Choosing the right material is the first step in any engineering project, and in crochet, the fiber determines the structural load the bird can carry.
| Material Type | Structural Integrity | Visual Finish | Best Use Case |
|---|---|---|---|
| Mercerized Cotton | High | Sharp and Defined | Professional Sculptures |
| Acrylic Blend | Medium | Soft and Fuzzy | Childrens Toys |
| Wool Roving | Low | Textured and Organic | Decorative Art Pieces |
My Take
I always lean toward mercerized cotton because it behaves like a solid wire rather than a soft cloud, ensuring the bird holds its shape for years.
Yarn Choice Matters
Mercerized cotton is superior for bird sculptures because it lacks fuzziness, allowing the clean lines of your 'Crochet Bird Pattern' to remain sharp and visible.
Essential Crochet Stitches and Abbreviations
The Magic Ring: the essential foundation for any structural crochet project.
Foundation first. We use standard terms, but we execute them with sculptural intent.
To ensure we are speaking the same technical language, I have outlined the core components of our blueprint below.
| Abbreviation | Full Name | Architectural Function |
|---|---|---|
| MR | Magic Ring | The zero-point foundation |
| Sc | Single Crochet | The primary building block |
| Inc | Increase | Expanding the surface area |
| Dec | Invisible Decrease | Reducing volume without seams |
| Sl st | Slip Stitch | Seamlessly closing the circuit |
My Take
Think of the invisible decrease as a hidden weld; it provides structural strength without leaving an unsightly bump on the surface.
1. MR: Magic Ring. The only way to start.
2. Sc: Single crochet. The brick of your wall.
3. Inc: Increase. Expanding the topography.
4. Dec: Invisible decrease. This is non-negotiable.
5. St: Stitch.
6. Sl st: Slip stitch.
Step-by-Step Instructions: Sculpting the Round Bird Body
The completed body should be firm and hold its shape independently.
Step-by-Step Instructions: Crocheting the Wings and Tail

These small components provide the bird's aerodynamic silhouette.
Step-by-Step Instructions: Adding the Beak and Facial Details
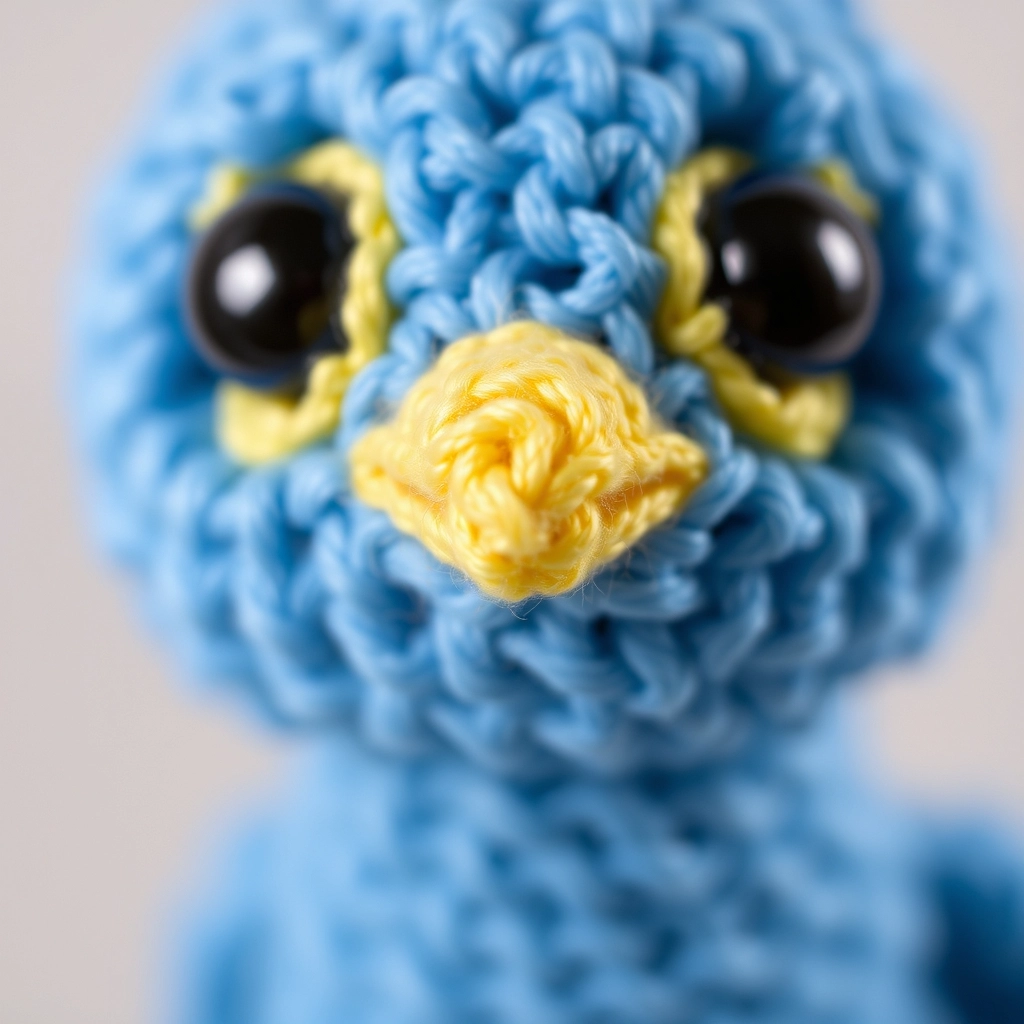
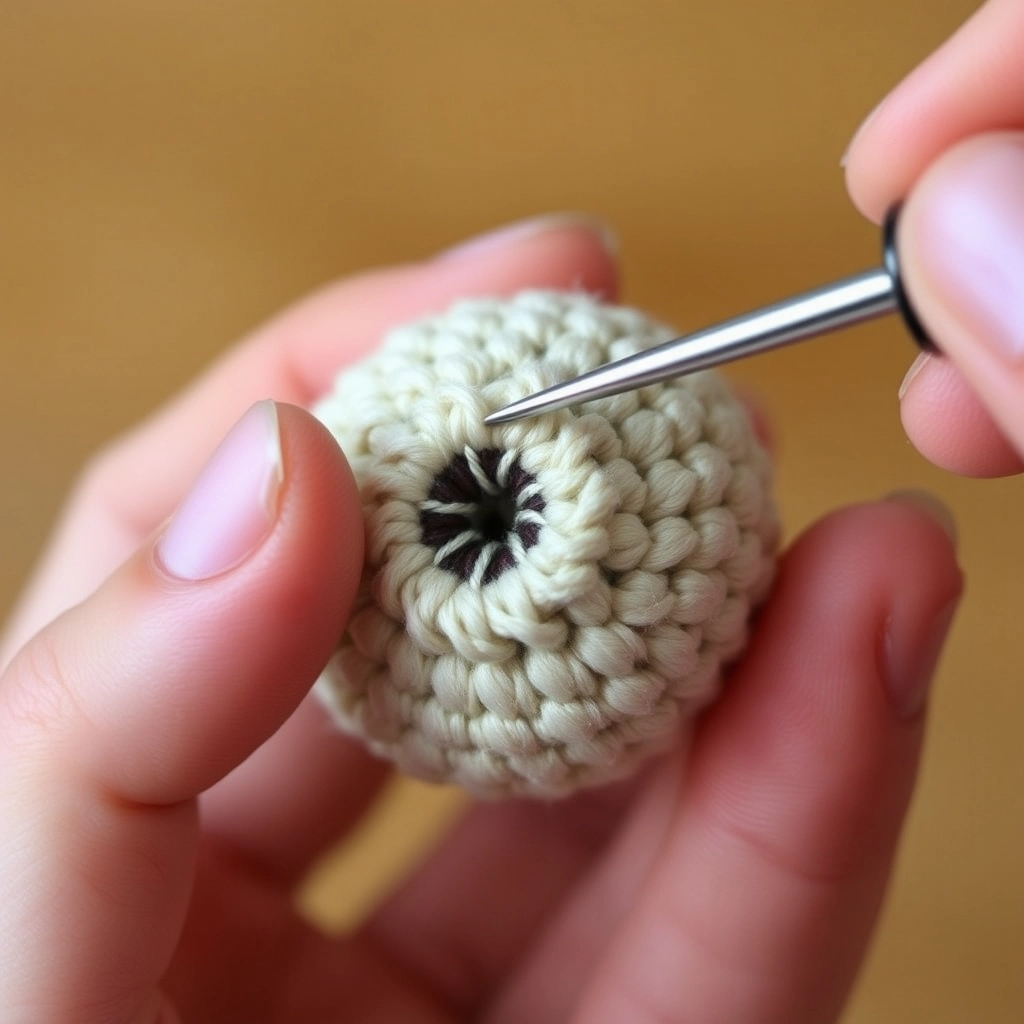
Precision in eye and beak placement gives your bird its unique personality.
Assembling and Stuffing Your Crochet Bird
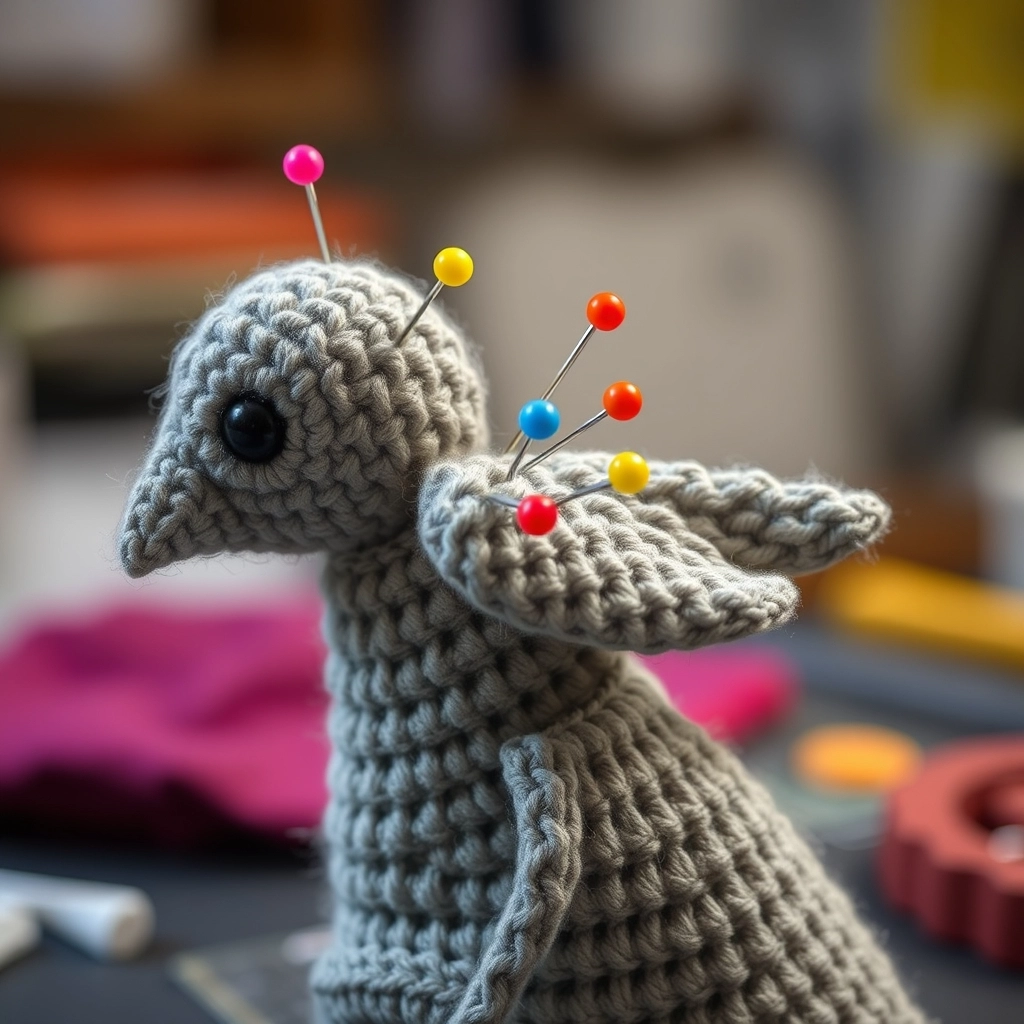
Use pins to test the center-of-gravity before you commit to the final stitches.
Assembly is where most people fail. They treat it like an afterthought. It is not. It is the soul of the bird. When you stuff the body, make the base firm. Rock hard. The head should be a tiny bit softer. Why? Because we are going to indent the eyes later. Use your needle to sew the wings at a downward angle. Between rounds 8 and 10 usually works.
If your bird is not looking quite right during the final assembly, consult this troubleshooting guide to identify the structural flaw.
| Symptom | Root Cause | Engineering Fix |
|---|---|---|
| Bird tips forward | Tail placed too high | Re-attach tail lower for balance |
| Eyes look bulging | Lack of thread sculpting | Pull yarn through head to sink sockets |
| Wings look uneven | Asymmetrical pinning | Use stitch markers to align both sides |
| Visible stuffing | Low tension or large hook | Move down a hook size for the next build |
My Take
If the bird leans, check your tail placement; it acts as a literal counterbalance to the head's weight and provides a tripod base.
This creates a perched silhouette. The tail is your tripod. It has to be at the bottom center. If it is too high, the bird falls over. Balance is a matter of center-of-gravity. It has to stand on its own. If it cannot stand, it is not finished.
Avoid Overstuffing
If you see the stitches stretching and revealing white stuffing, you have gone too far. Remove a small amount to maintain the smooth surface of the fabric.
Pro Tips for Achieving the Perfect Bird Shape
Thread sculpting adds depth and a realistic shadow to the bird's facial structure.
Thread sculpting is my secret weapon. Once the eyes are in, take a long piece of yarn. Thread it through the head. Pull the eye sockets toward each other. Just a little. It creates a facial dip. A realistic shadow. It makes the bird look like it is thinking.
Also, never use a standard decrease. It leaves a bump. A scar. Always use the invisible version. It keeps the Crochet Bird Pattern surface perfectly flat. Like a smooth stone.
To manage your project timeline effectively, I have calculated the approximate energy expenditure for each phase of the build based on my studio logs.
My Take
Do not rush the assembly; those final twenty percent of the time are what define the bird's personality and professional finish.
Creative Customization and Color Ideas
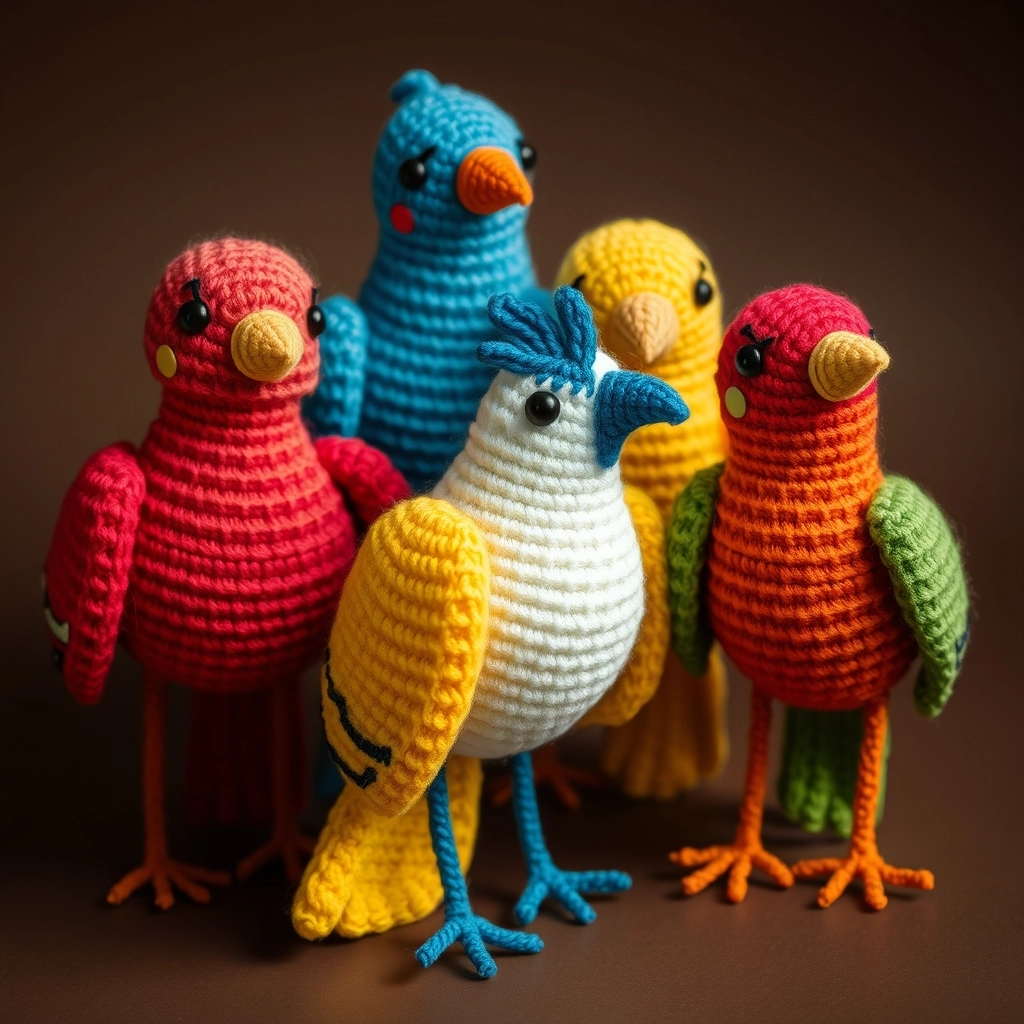
Once you master the bones of the pattern, you can recreate any species in yarn.
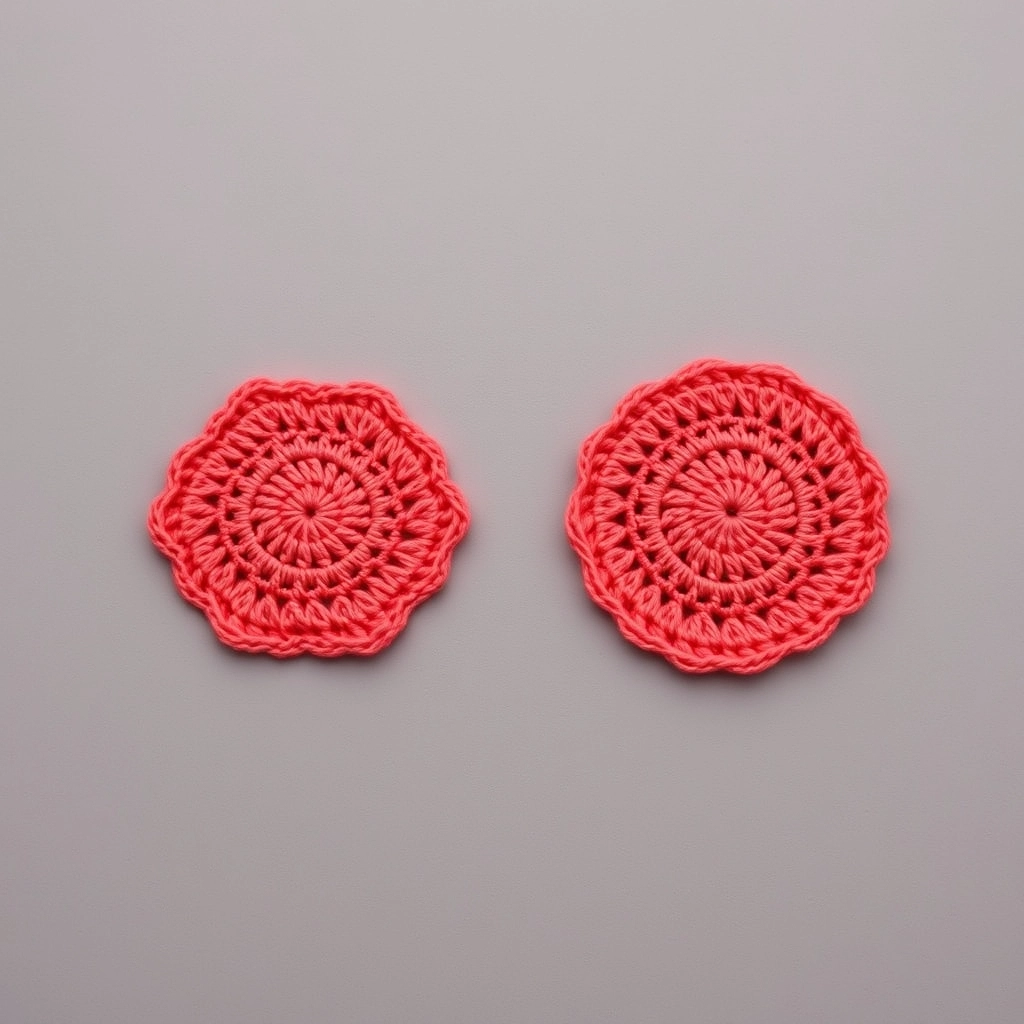
Once you have the base, go wild. Use surface crochet for feather texture. I sometimes use AI prompts to help me find weird color palettes. A Robin needs a red breast. A Blue Jay needs a crest. You can add those later by just stitching into the surface.
Variegated yarn is a gamble. Sometimes it looks like natural dappled light. Sometimes it looks like a mess. Test it first. I like to use a solid body and then add embroidery feathers on top. It adds depth. It adds poetry.
Conclusion
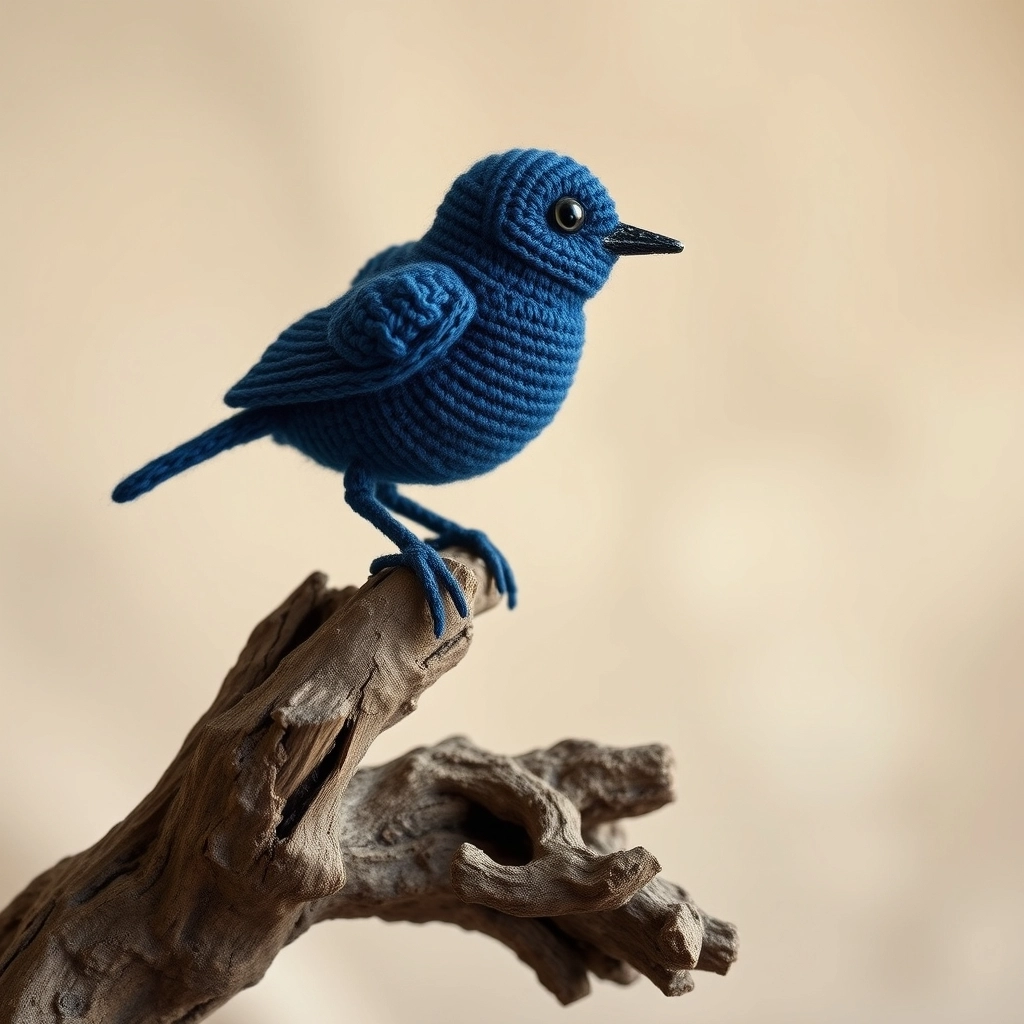
From engineering to art: your finished bird is ready for display.
Making a realistic bird is a journey through geometry. It is about being patient with the architecture of the yarn. By finishing this Crochet Bird Pattern, you have stopped being a hobbyist. You are now an artist.
Every bird is a new chance to fix your tension. Share what you make. Show the world that crochet is not just a soft thing. It is a structured, professional medium. Keep hooking.