
The way a 2.75mm steel hook bites into a heavy rust-colored cotton—it is not just a hobby. It is a vibration. This focus on stitch density and silhouette is the same architectural approach I take in my Crochet Bird Pattern to ensure the piece holds its shape. If you think a 3.0mm hook is good enough for this project, we probably need to have a long talk about structural integrity and why gauge actually matters in the real world. Every time that metal slips against the fiber, you are basically doing math with your hands. I spent three hours yesterday looking at AI-generated concepts of textural bioluminescence in fiber, trying to figure out how to translate that digital glow into a physical stitch. That is the level we are playing at here. We are not just making toys. We are building architecture.
Antonio Lambert and I were actually arguing about fiber density the other day. He lives over in Londonderry and has this incredibly sharp eye for how a silhouette holds up over time. We realized that most people just crochet, but they do not really sculpt. They do not feel the tension of a single crochet stitch as a load-bearing element. This guide is my way of showing you how to balance that soft feel with a rigid, professional frame.
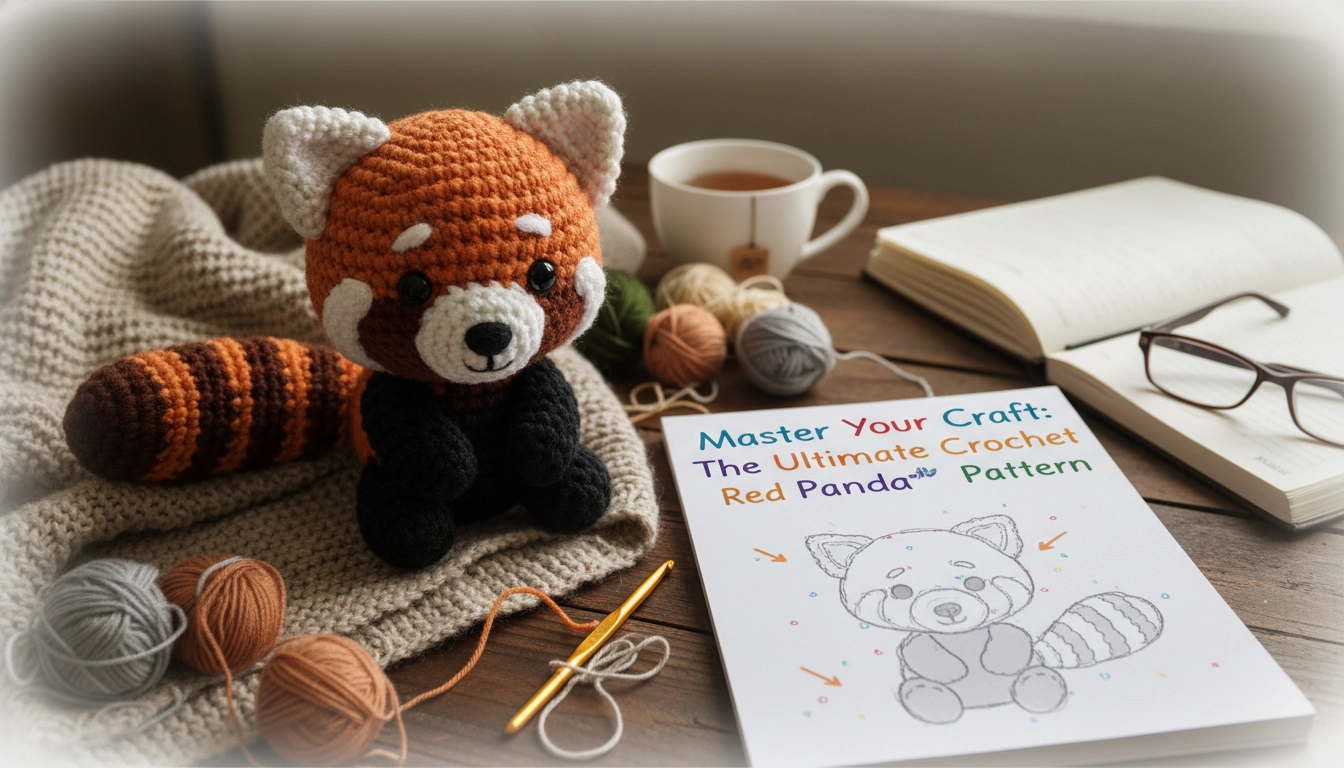
Quick Access
This guide includes a complete materials list, a custom stitch guide, and interactive pattern dropdowns for the head, body, and limbs of your red panda.
Understanding the Basics of Amigurumi Construction
Starting with a tight magic ring ensures your red panda has a professional, seamless finish.
Amigurumi is basically the sophisticated art of building 3D shapes out of tensioned loops. It is a system. Unlike the flat stuff your aunt might make, this uses a spiral method. You do not join rounds with slip stitches here. If you do, you are just putting a scar on a masterpiece. The continuous spiral creates a seamless, skin-like fabric. Using this architectural mindset prevents your work from looking like a lump of yarn, a concept I detail further in my Crochet Dog Pattern. It has to be strong enough to handle the internal pressure of high-density stuffing without stretching out and looking sloppy.
In this Crochet Red Panda Pattern, we are using the magic ring. It is the only way to make sure there is not a giant hole at the start of your spheres. It keeps the aesthetic professional. By working in a circle that never ends, you avoid that ugly seam that ruins the visual flow. Your tension is the only tool that actually matters. If it is loose, the whole thing looks like a saggy sock. Keep it tight.
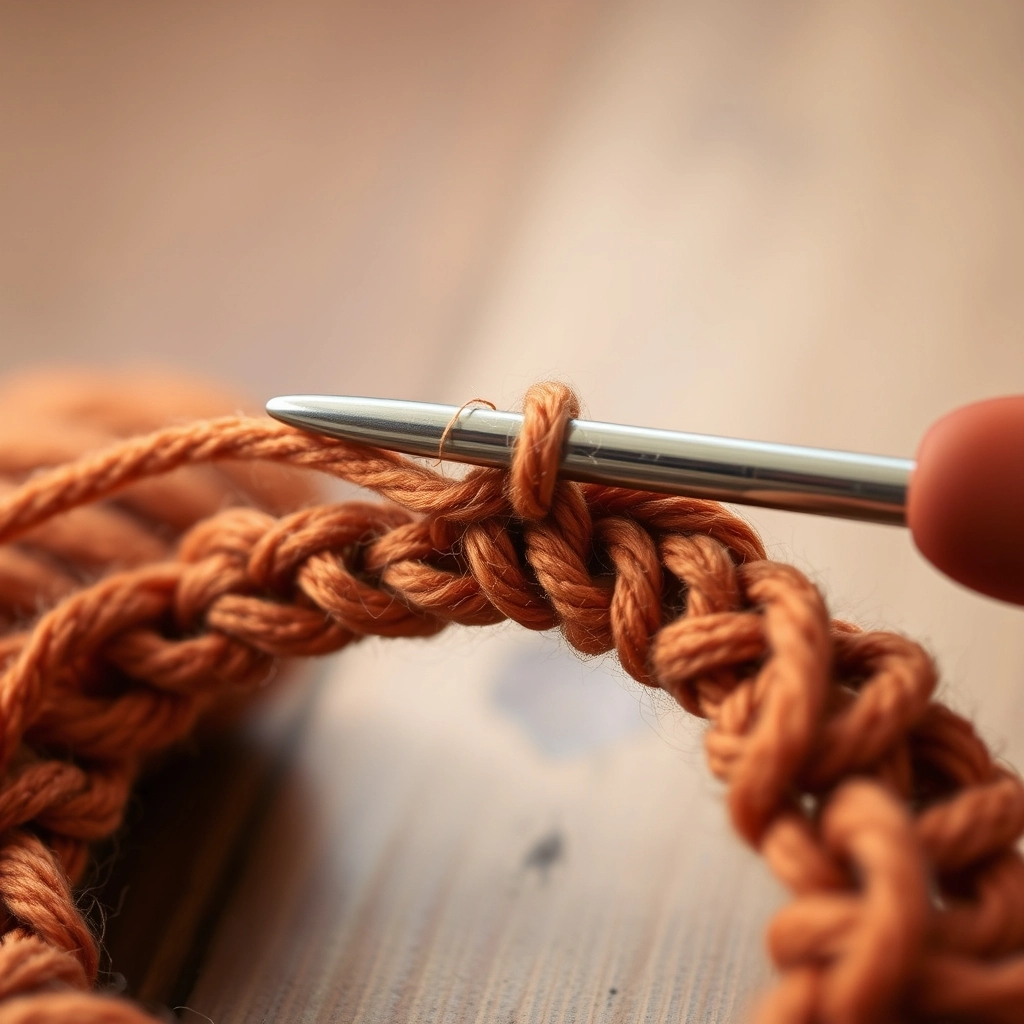
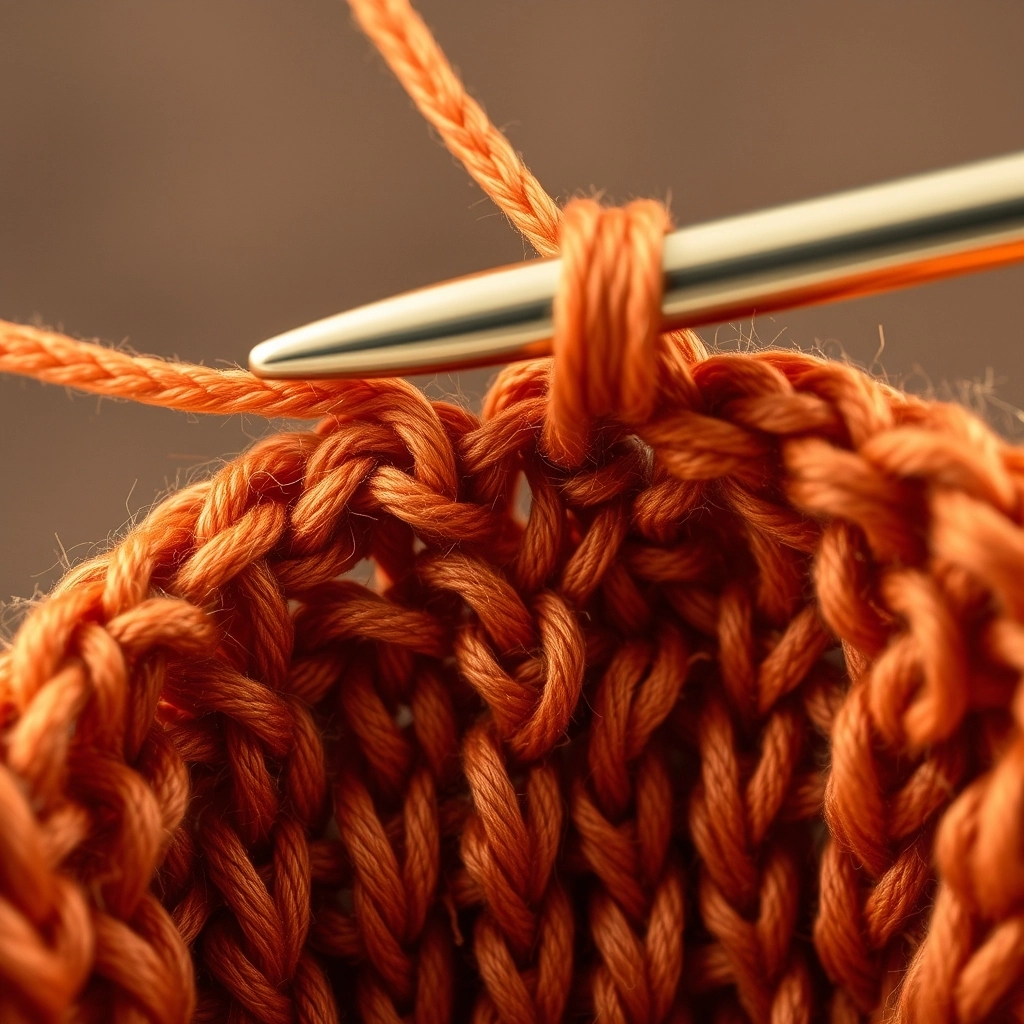
Anatomy of a Stitch
The height of your single crochet should ideally match its width to create a perfect square, which is the secret to a uniform fabric.
Why You Will Love This Crochet Red Panda Pattern
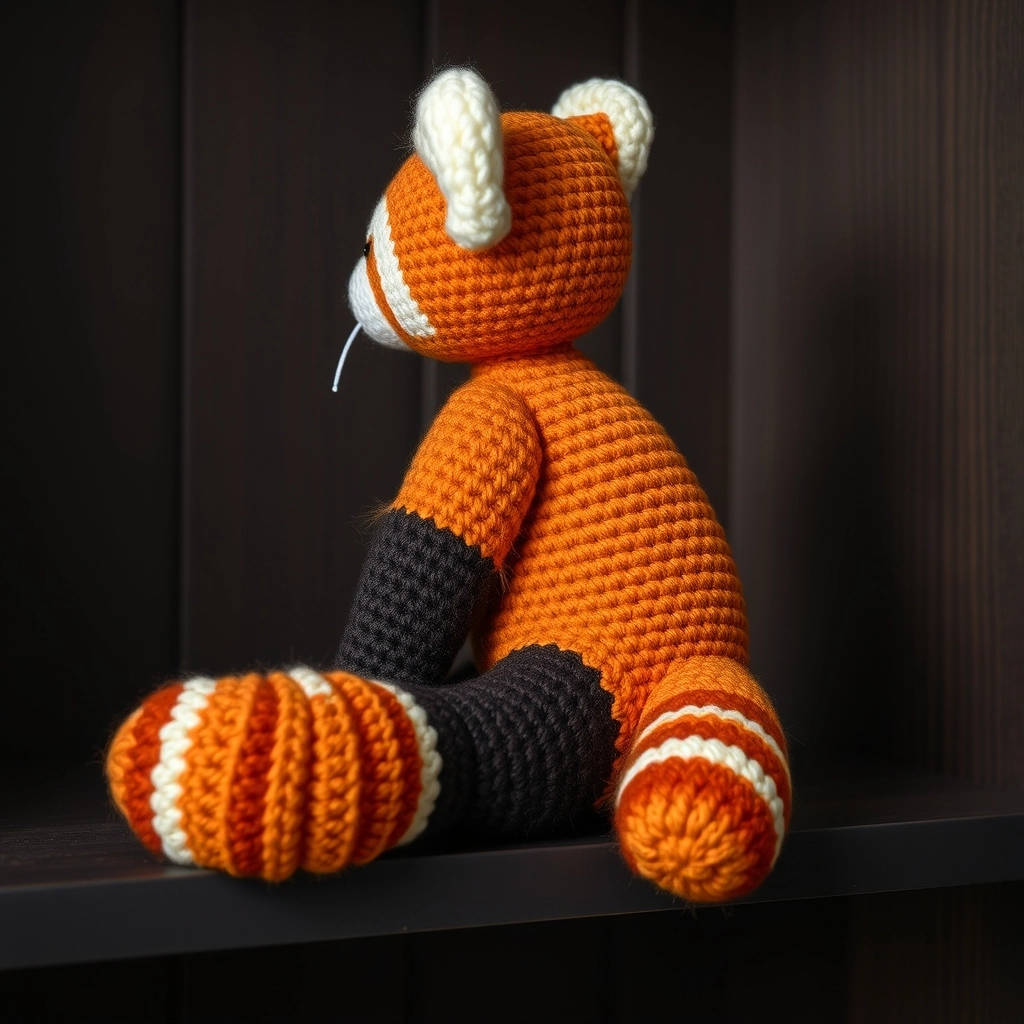
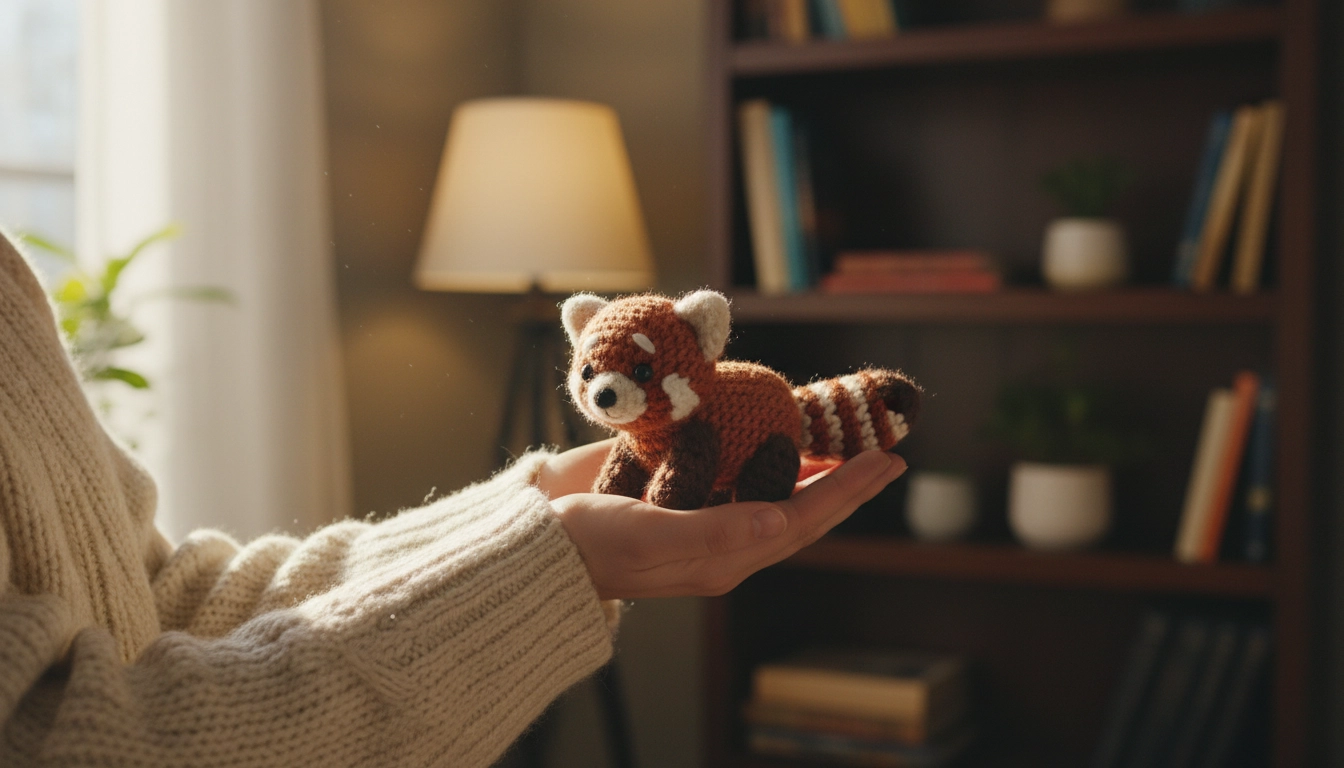
The high-contrast white facial markings and ringed tail bring the Ailurus fulgens to life.
This project is a bit of a beast when it comes to color transitions. It is a challenge. We are looking at the Ailurus fulgens—the actual red panda—not some cartoon version. We need those high-contrast markings. The ringed tail. The tear-track features on the face. It is architectural. The way the limbs are set up provides a solid base so the little guy does not just tip over.
It sits by itself. That is a big deal for a display piece. It is an intermediate level project, sure, but it rewards you if you have the patience to get the facial mask right. When people look at it, they should not see yarn. They should see a sculpture.
Efficiency in the studio is about knowing where the bottleneck is, and with this red panda, the face and tail are your primary time sinks.
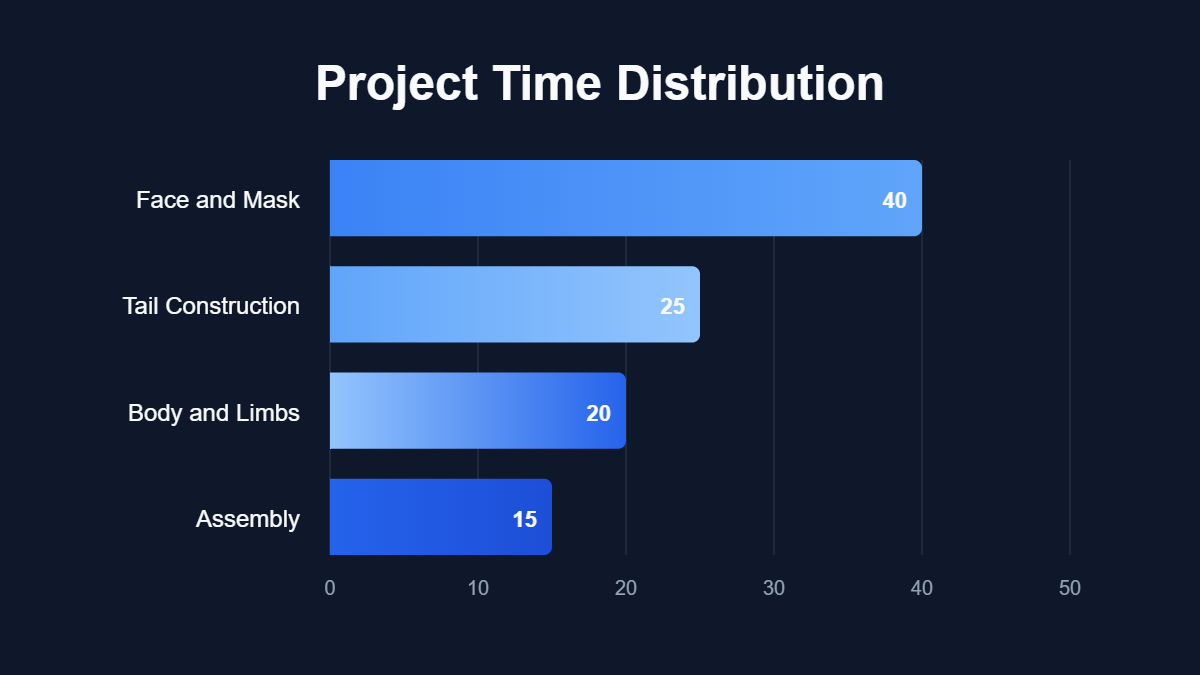
Data visualization showing Project Time Distribution.
My Take
Allocate the most brainpower to the facial mask; it is the focal point that determines the soul of the piece.
Materials and Tools Needed
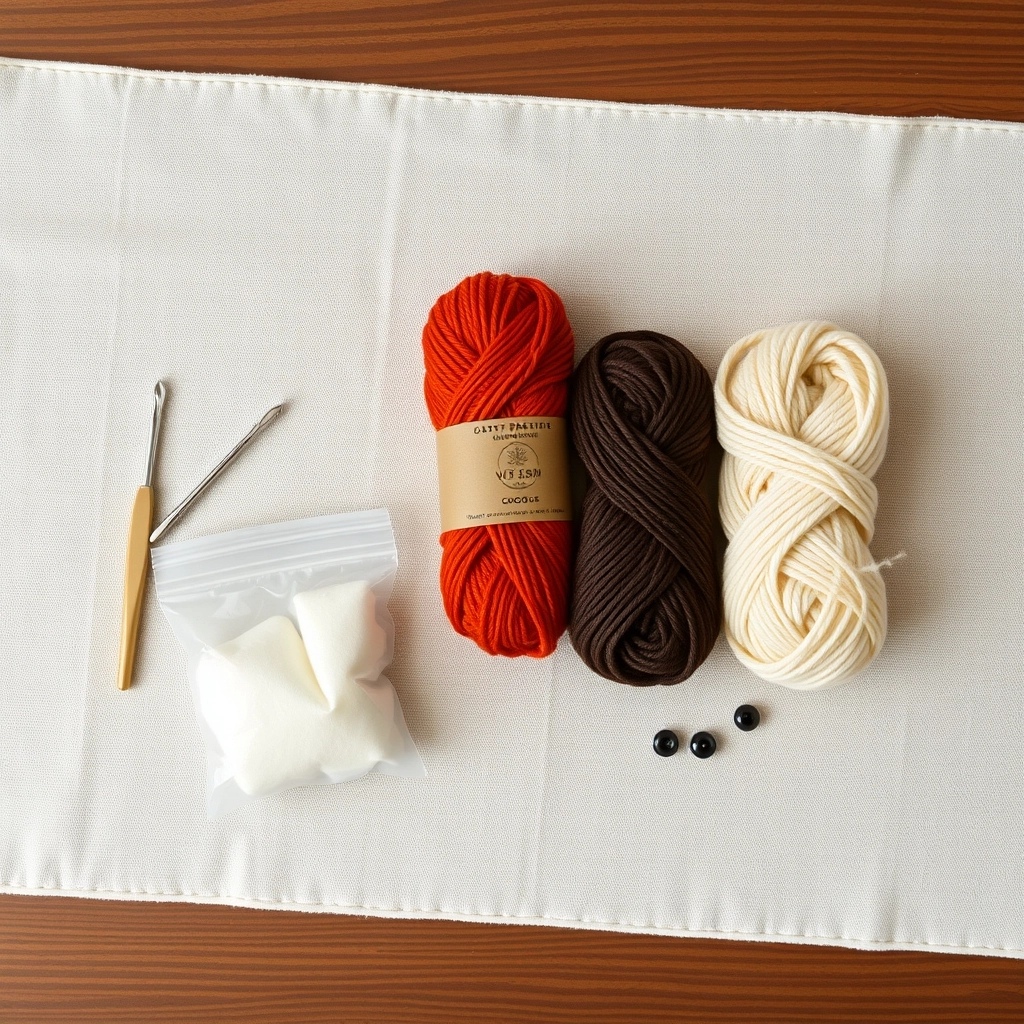
Using the right tools, like a 2.75mm hook, is essential for achieving the necessary stitch density.
To get a gallery-quality finish, you have to pick materials that care about stitch definition. I always tell people to go with mercerized cotton or a really high-end acrylic blend. You do not want pilling. For your Yarn, you need the Rust for the main body, Dark Brown for the legs, White for that mask, and a bit of Black for the nose.
The Hook has to be a 2.75mm (Size C). I am serious about this. It makes a tight gauge that hides the stuffing. You will also want 10mm black safety eyes. They give it a soulful look. Use premium polyester fiberfill—none of that cheap lumpy stuff. You will also need a sharp needle, some markers, and scissors that actually cut.
I have run the numbers on fiber performance more times than I care to admit, and it always comes down to how the loops interact under stress.
| Fiber Type | Stitch Definition | Durability | Structural Integrity |
|---|---|---|---|
| Mercerized Cotton | Superior | High | Excellent |
| Acrylic Blend | Moderate | Medium | Fair |
| Wool | Low | High | Poor |
My Take
Cotton is non-negotiable if you want that crisp, architectural look that defines high-end amigurumi.
Essential Crochet Stitches and Abbreviations
The invisible decrease is the secret to a smooth, gap-free surface in your amigurumi.
Get comfortable with these. Proportions are everything in this Crochet Red Panda Pattern. A mr is your Magic Ring. sc is a Single Crochet. If you see inc, that is an Increase—put two stitches in one spot.
The dec is the invisible decrease. You only use the front loops. It keeps the surface smooth so you do not get those weird bumps. st means Stitch and sts means Stitches. If you master these, you can actually focus on the art of the color changes rather than just struggling with the mechanics.
Let us break down the geometry of the stitches we are using so you can visualize the load-bearing capacity of each loop.
| Abbreviation | Full Name | Geometric Purpose |
|---|---|---|
| mr | Magic Ring | Zero-point foundation |
| sc | Single Crochet | Standard structural unit |
| inc | Increase | Expansion of surface area |
| dec | Invisible Decrease | Curvature without bulk |
My Take
The invisible decrease is the only way to maintain a smooth exterior shell when the geometry starts to taper.
Step-by-Step Instructions for Your Red Panda
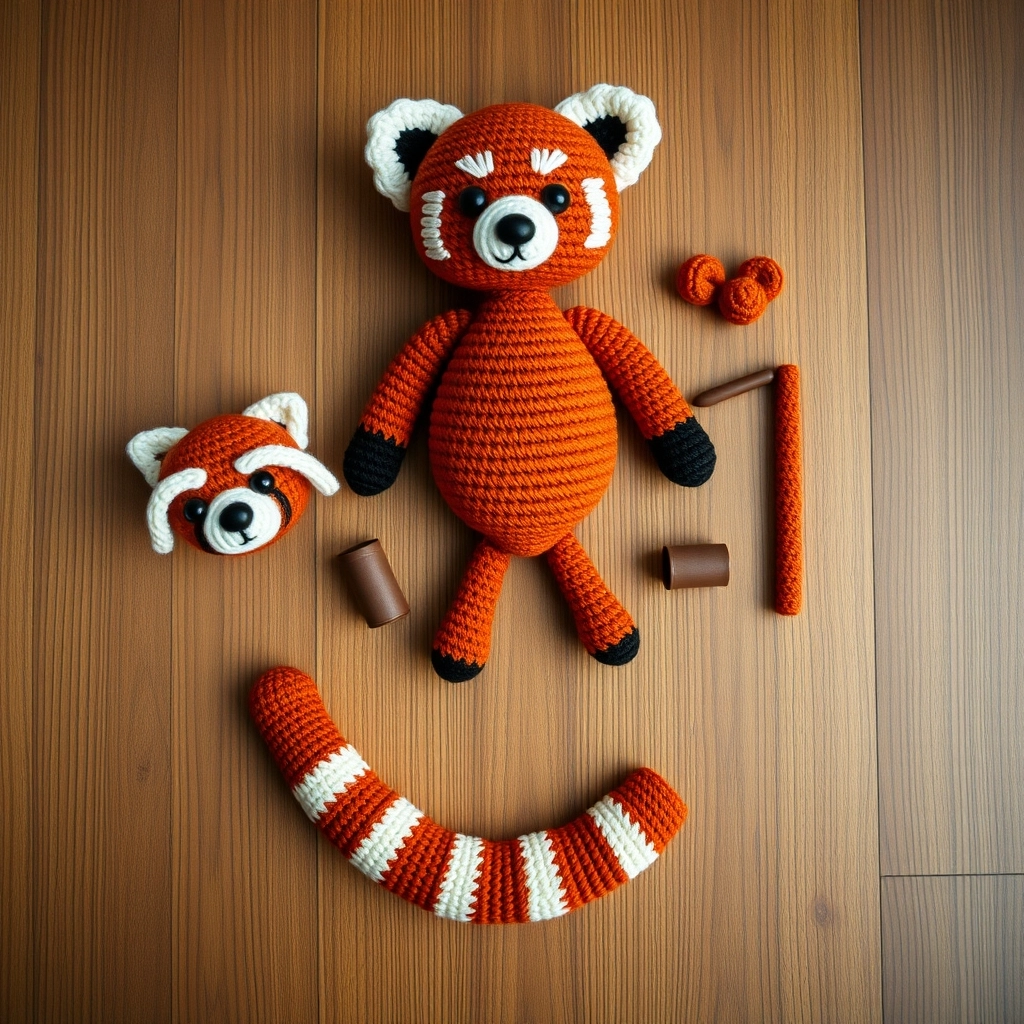
Once all your parts are crocheted, you'll have a collection of shapes ready for assembly.
Follow these. Do not skip. The geometry of the parts needs to match the architectural plan I have laid out. I have organized these to help you track the different anatomical sections of the creature.
Assembling Your Red Panda Pieces
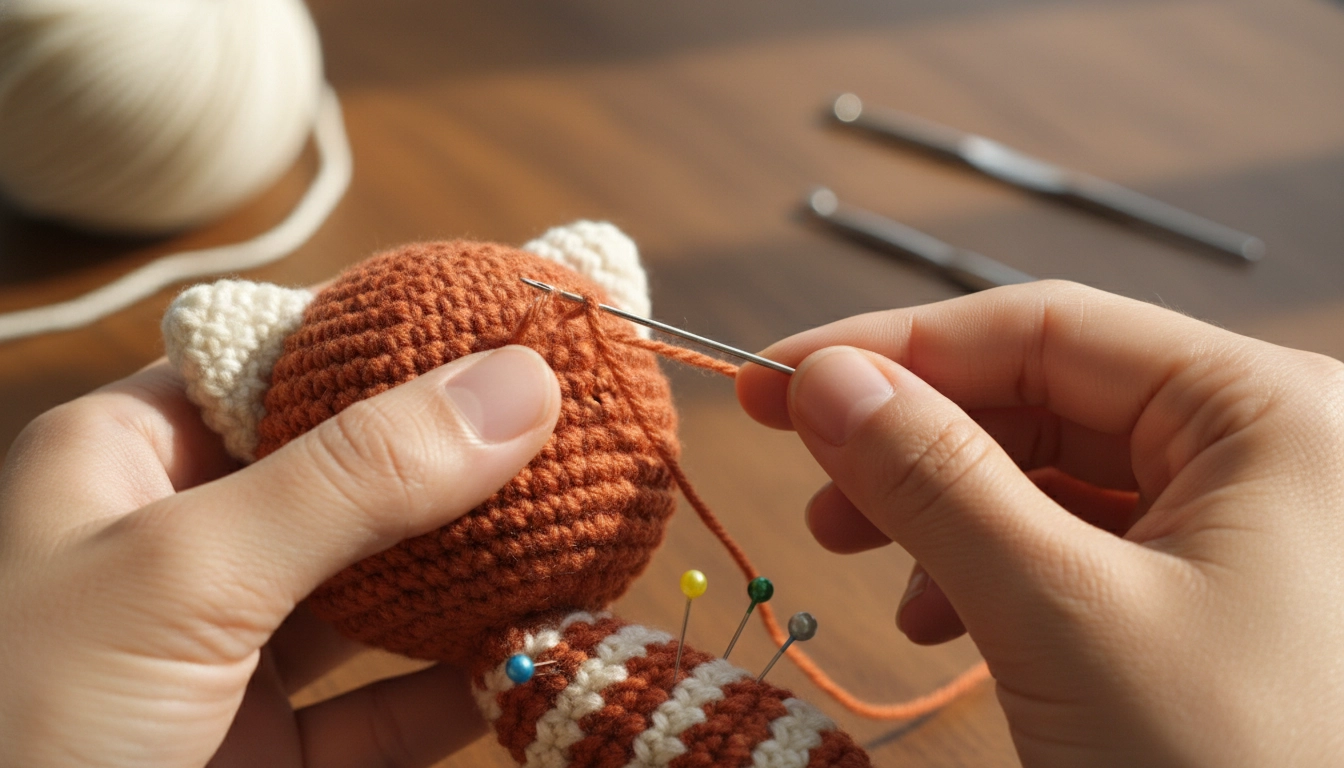
Careful pinning and a tight ladder stitch ensure your red panda is structurally sound and upright.
This is where the soul enters the object. Assembly. Pin the head to the body first to check the center of gravity. Getting the geometry of the sphere right is essential for a balanced piece, much like the physics involved in mastering a Crochet Lion Pattern. Use a ladder stitch. Pull it tight every two stitches. You want a bond that does not wobble. If the head flops, the piece is dead.
The limbs go at the base. It is like a tripod. When you do the tail, put it a bit higher than the very bottom so it has that nice, graceful curve. Hide the yarn tails deep in the stuffing. Do not let them poke out. That is just sloppy.
Even the best designs face structural failure if the execution is off, so here is a quick diagnostic for common assembly issues.
| Symptom | Probable Cause | Corrective Action |
|---|---|---|
| Floppy Neck | Insufficient stuffing | Add a reinforced core |
| Visible Stuffing | Gauge too loose | Drop down one hook size |
| Asymmetry | Inconsistent tension | Use a stitch regulator |
My Take
A floppy neck is a failure of the internal support system; never underestimate the power of high-density stuffing.
Stuffing Density
Overstuffing can distort the stitches, while understuffing leads to a wrinkled appearance. Aim for a firm, yet slightly yielding texture.
Tips for a Professional Amigurumi Finish
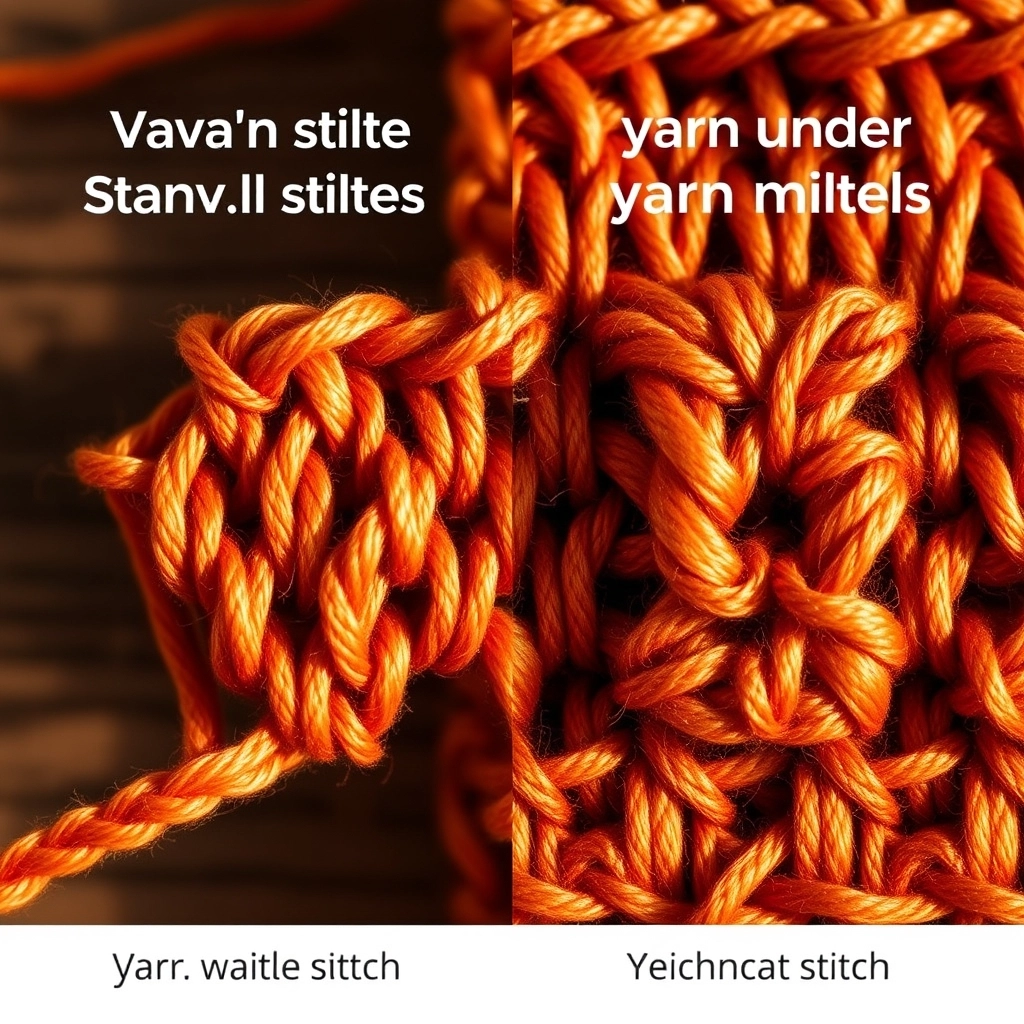
The yarn under technique creates an X shape that provides superior structural integrity.
If you want to move from hobbyist to artist, look at your hook movement. There is a technique where you grab the yarn from the bottom—instead of wrapping it over the top. It creates this X shape in the stitch. It is much more stable. It gives the rust sections a dense, professional look that does not stretch.
Always use a marker for the first stitch. If you lose your place in a spiral, you are basically guessing, and guessing is the enemy of symmetry. I use AI to help me visualize color gradients, but the physical execution is all about the X stitch and consistent pull.
How to Care for Your Handmade Crochet Plush
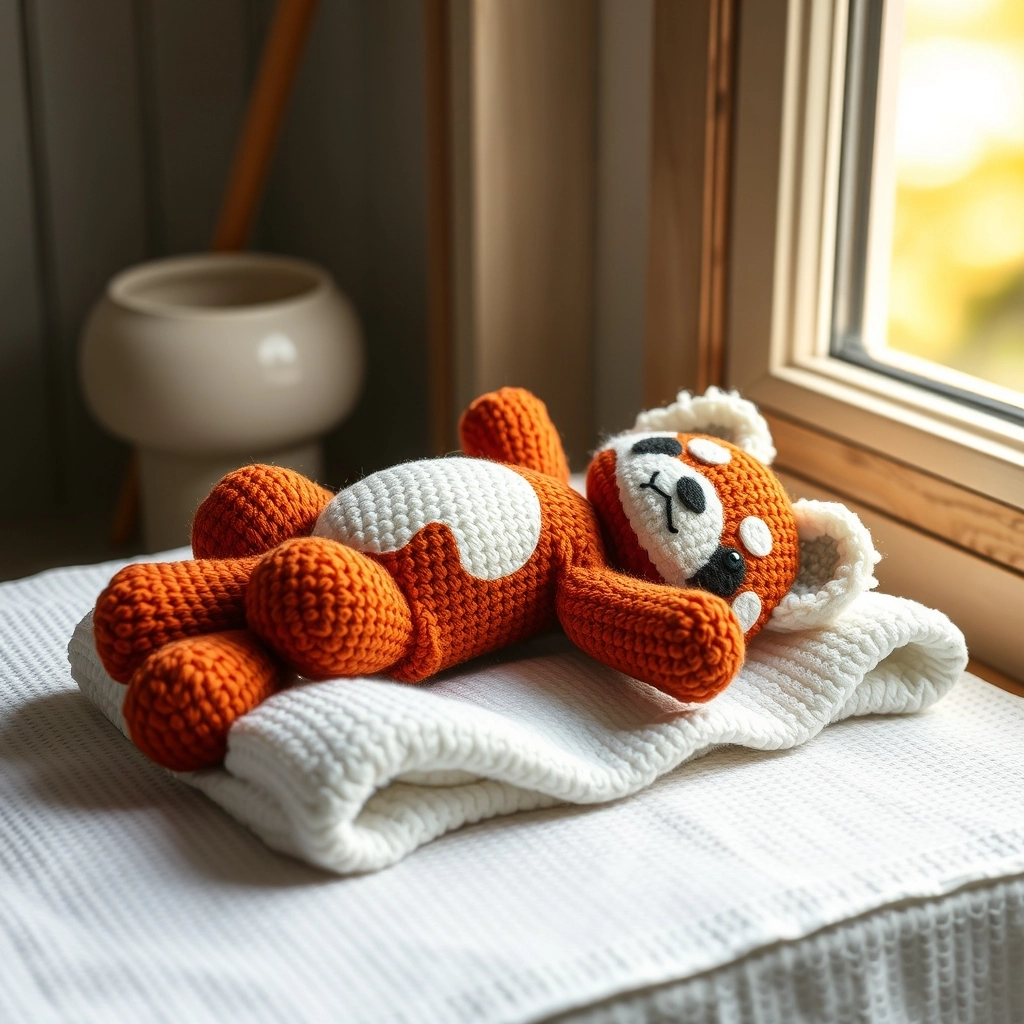
Always air dry your red panda on a flat surface to maintain its architectural shape.
This is art. Treat it that way. If it gets dirty, wash it by hand in cool water. Do not wring it out! That just moves the stuffing around and ruins the shape you worked so hard to build. Roll it in a towel. Be gentle.
Reshape it while it is still damp. Let it air dry away from the sun so the colors do not fade. If you take care of it, the structure will stay firm for years. It is an investment in your time and skill.
Conclusion
Your finished red panda is more than a toy; it's a masterpiece of geometry and texture.
Building a living thing out of string is a trip. It is all geometry and texture. When you focus on the tension and the right materials, you turn a ball of yarn into something meaningful. Experiment with different fibers. See how they change the shape.
Share what you make. It is the best way to get better and show people that crochet is not just a craft—it is fine art. Whether you have been doing this for years or you are just starting to get serious, this panda is the perfect way to test your limits.