

That specific weight of a well-spun organic cotton yarn feels like actual raw data in your palms. It is pure potential. Especially when you are chasing a sculptural silhouette that doesn't just sag. This focus on structural integrity is a concept I also dive deep into with my Crochet Bird Pattern, where stitch density is the ultimate test of a silhouette. I was actually just vibing with Joseph Bradley over on Woodland St in Overland Park about how textile art is crashing into modern interior design right now.
We were both agreeing that a Crochet Whale Pattern is basically the ultimate entry point for high-end amigurumi. It is a math thing. There is this very specific satisfaction you get watching a flat, boring circle transform into a 3D sphere just through calculated increases. It is like hacking the physics of the yarn. Mastering the math of a perfect sphere is essential, as I noted in my Crochet Lion Pattern, where even a slight tension slip can ruin the professional look of the piece.
When you ditch those flimsy, plastic-based yarns and grab some heavy, natural fibers, your work gets this structural integrity. It rivals anything you'd see in a boutique. This project is not about making some dusty toy. It is about engineering a soft sculpture. It respects the slow fashion vibe and geometric precision.
Understanding the Basics of a Crochet Whale Pattern
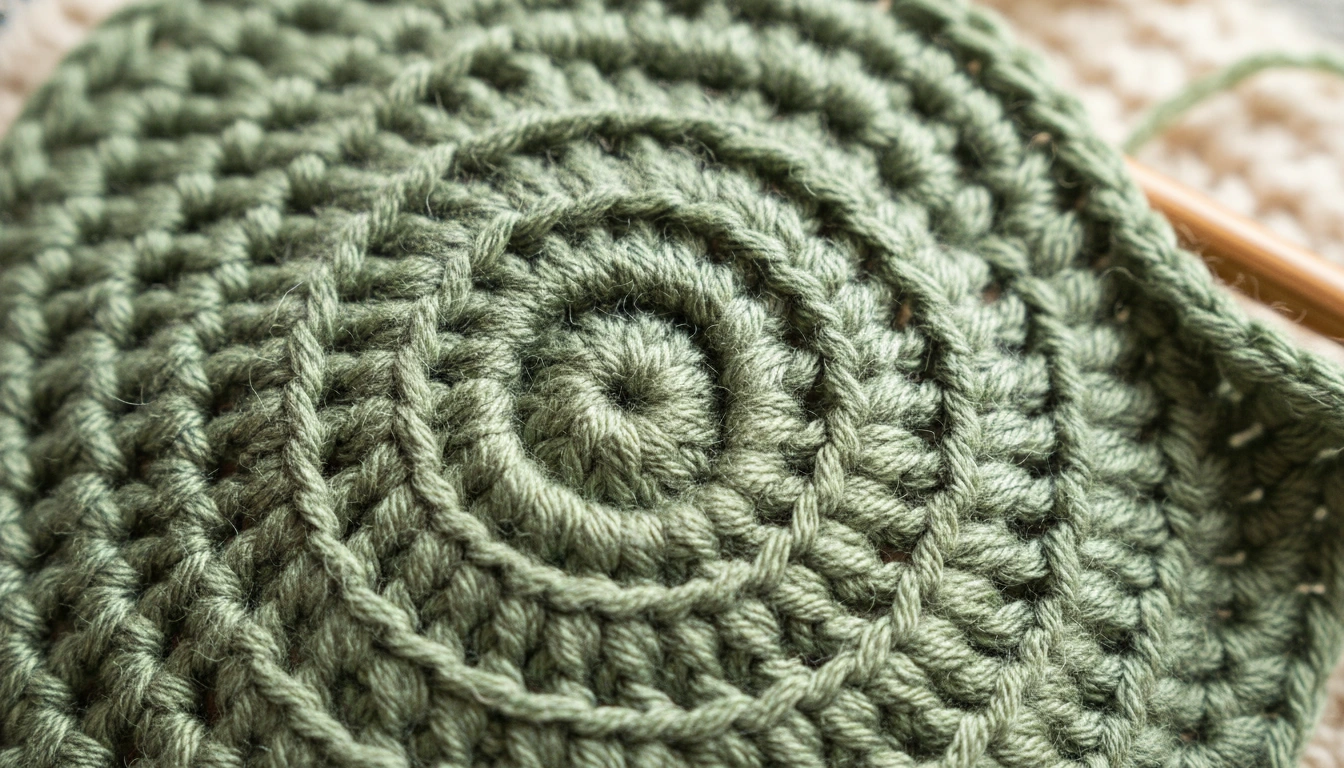
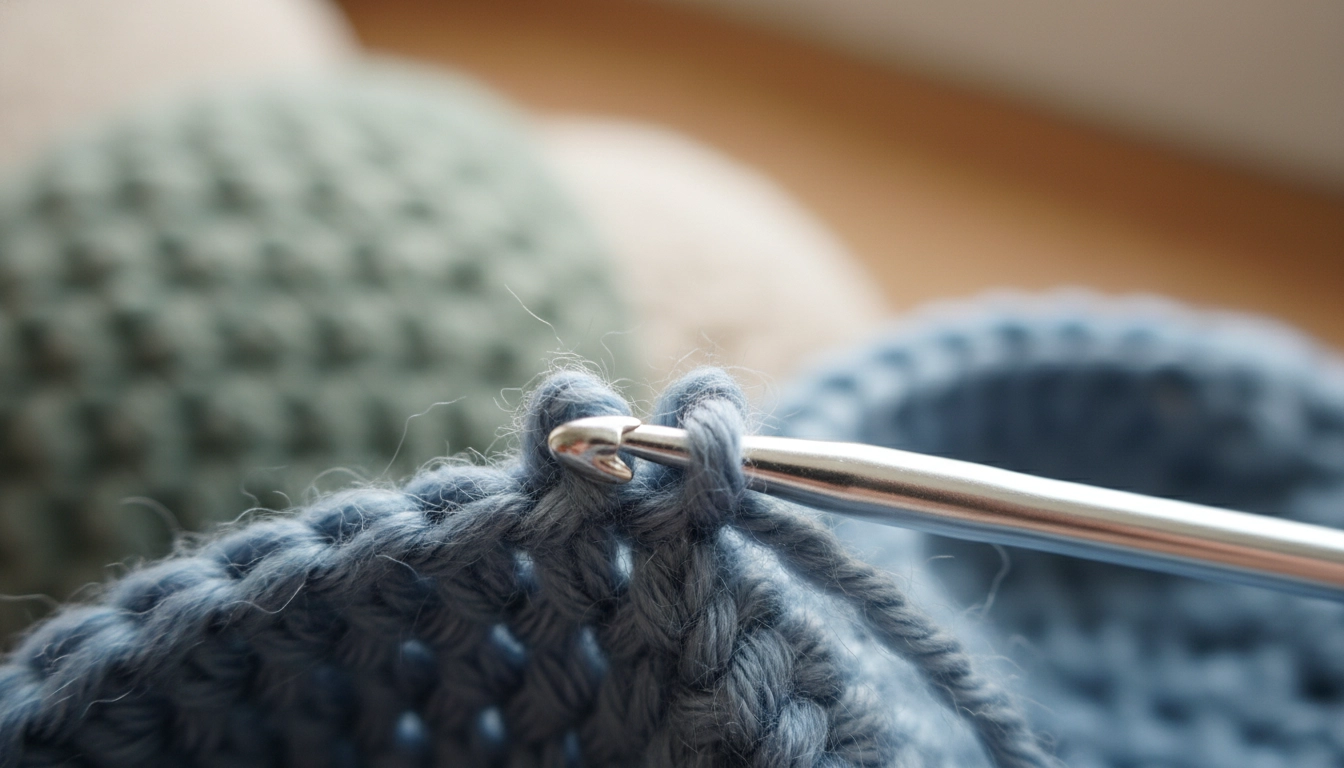
Notice how the stitches flow in a continuous spiral, eliminating the need for unsightly seams.
A Crochet Whale Pattern is basically a technical blueprint. If you want to see how these principles apply to more complex shapes, my Crochet Dog Pattern explores how to move beyond basic shapes to create realistic amigurumi architecture. You are building a 3D aquatic mammal using the amigurumi method. This style is all about continuous spirals. No joined rounds. If you join rounds, you get a seam, and seams are a total vibe-killer. You want it professional and sleek.
By messing with the frequency of your single crochet stitches and increases, you dictate the curve. The head, the taper of the body—it is all math. This pattern is a great way to see how 2D stitches become 3D volume. It is a core skill for anyone trying to be a knitwear innovator.
I put together a quick comparison to show you why we use these specific techniques instead of traditional flat-work.
| Feature | Traditional Crochet | Amigurumi Method |
|---|---|---|
| Construction | Rows or Joined Rounds | Continuous Spirals |
| Fabric Texture | Draped and Soft | Dense and Rigid |
| Visual Seams | Often Visible | Invisible |
| Dimension | Primarily 2D | Sculptural 3D |
My Take
The spiral is the 'secret sauce' for that clean, boutique finish that makes your work look like art rather than a hobby.
The aesthetic of these clean lines is what makes it work. You don't need to know about complex draping like you do with a sweater. A whale just needs a magic ring and some solid tension.
If you are trying to get away from the fast fashion loop, making stuff like this from sustainable materials is the way. You fill your space with objects that have a soul. Whether you are a pro or just starting, it is about the physics of the hook.
Materials and Tools Needed for Your Project
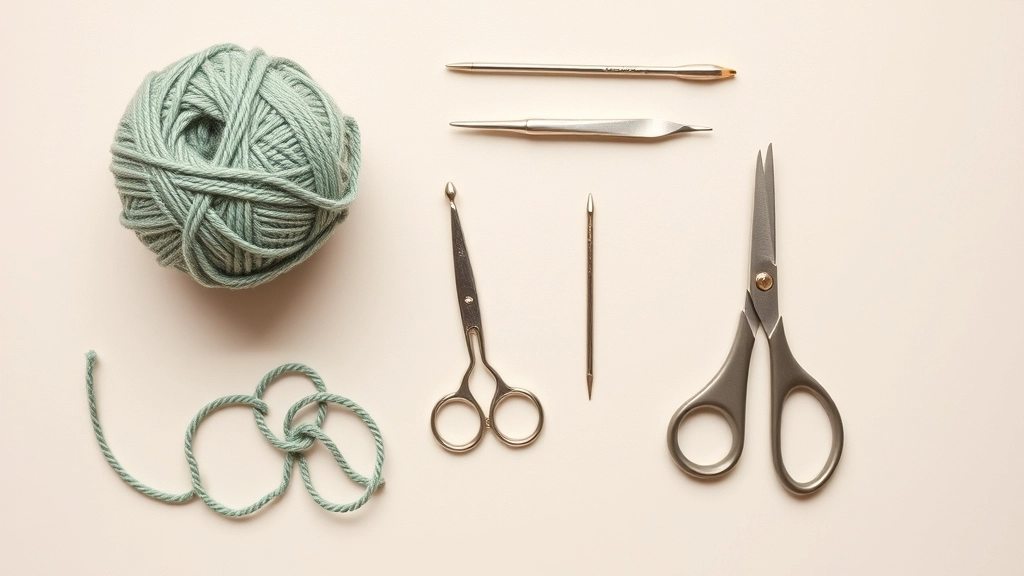
Quality inputs like organic cotton and a smaller hook size are the foundation of a professional-looking whale.
If you want to pull this off at a pro level, your inputs matter. A lot. I always tell people to use Category 4 medium weight organic cotton. Maybe a high-quality wool blend if you want that chunky yarn physics. Synthetic acrylics are a fail. They lack the definition you need and they just feel cheap after a week.
You need a 3.5mm hook. That is smaller than what the yarn label usually says. This down-sizing is the secret. It makes your stitches tight. It makes sure no stuffing peeks through the gaps.
Fiber Choice
Natural fibers like cotton or bamboo provide better stitch definition and are biodegradable, aligning with the slow-fashion ethos.
Get some stainless steel embroidery scissors and a darning needle for the assembly. You will also need a bit of recycled polyester fiberfill. For the eyes, you can use plastic safety eyes if it is just for a shelf.
Check this list before you start to make sure your kit is fully optimized.
| Input Category | Essential Item | Tech Spec |
|---|---|---|
| Main Fiber | Organic Cotton | Category 4 Medium |
| Hardware | Crochet Hook | 3.5mm |
| Fasteners | Safety Eyes | 8mm to 10mm |
| Finishing | Darning Needle | Large Eye Steel |
| Fill | Fiberfill | Recycled Polyester |
My Take
Investing in a 'quality' steel darning needle will save your fingers during the final assembly and keep your stitches crisp.
But honestly? I prefer embroidered details. Use black embroidery floss. It looks more artisanal and sophisticated. It is also safer for kids and looks way more hand-crafted than cheap plastic.
Essential Crochet Stitches and Technical Abbreviations
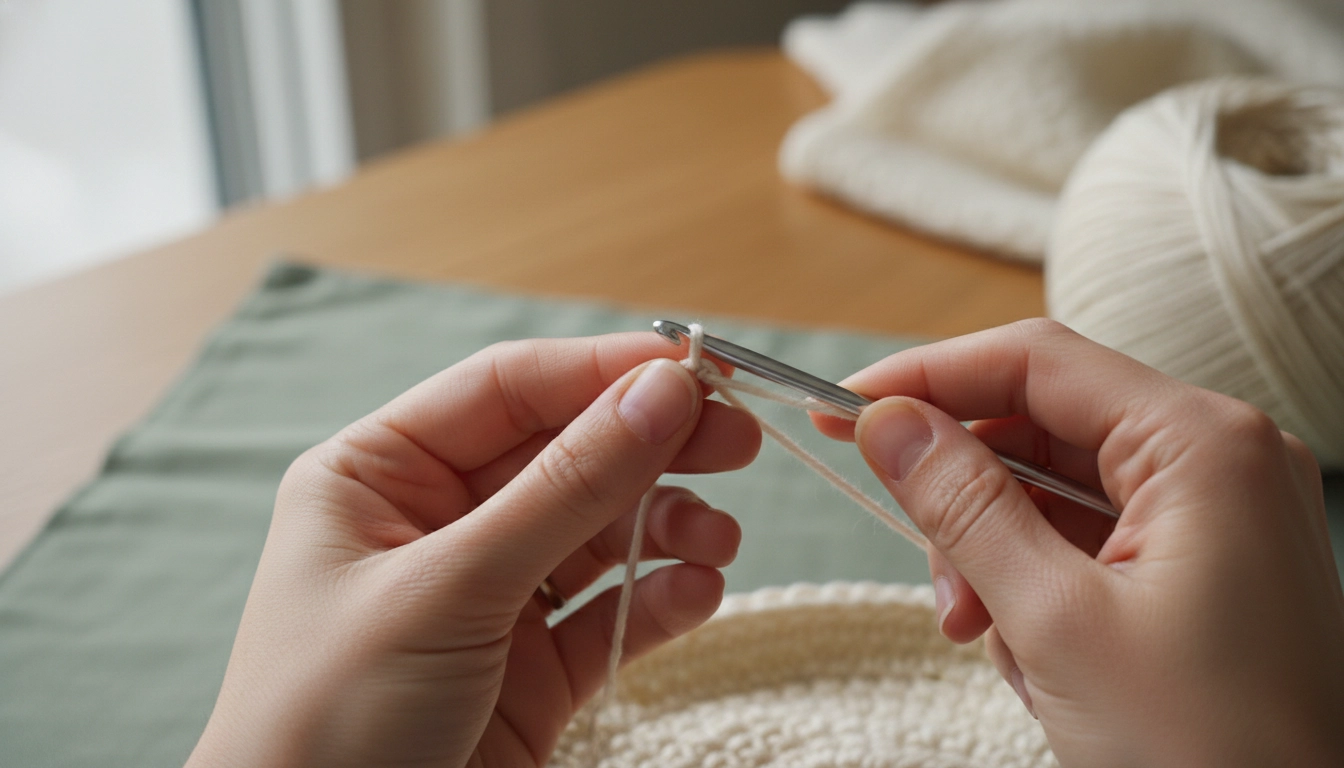
The magic ring is the 'zero-point' for your whale, allowing for a tight, closed center.
You have to speak the language before you start the Crochet Whale Pattern steps. This is beginner-friendly, sure, but you have to be disciplined about counting.
We are using US terminology. If you lose your place, use a stitch marker. Put it in the first stitch of every spiral. It keeps the mathematical sequence from falling apart.
Think of this table as the legend for the data we are about to process in the pattern instructions.
| Code | Full Technical Name | Function in Pattern |
|---|---|---|
| MR | Magic Ring | The zero-point for circular growth |
| Sc | Single Crochet | Building the primary density |
| Inc | Increase | Expanding the geometric volume |
| Dec | Decrease | Tapering the silhouette |
| St(s) | Stitch or Stitches | Individual units of data |
| R | Round | A completed 360 degree cycle |
Managing the mathematics of tapering is a skill you can further refine by practicing the trunk construction found in my Crochet Elephant Pattern.
My Take
The 'invisible' decrease is the move that separates the amateurs from the innovators. It keeps the whale skin perfectly smooth.
Step-by-Step Instructions for Your Whale Amigurumi
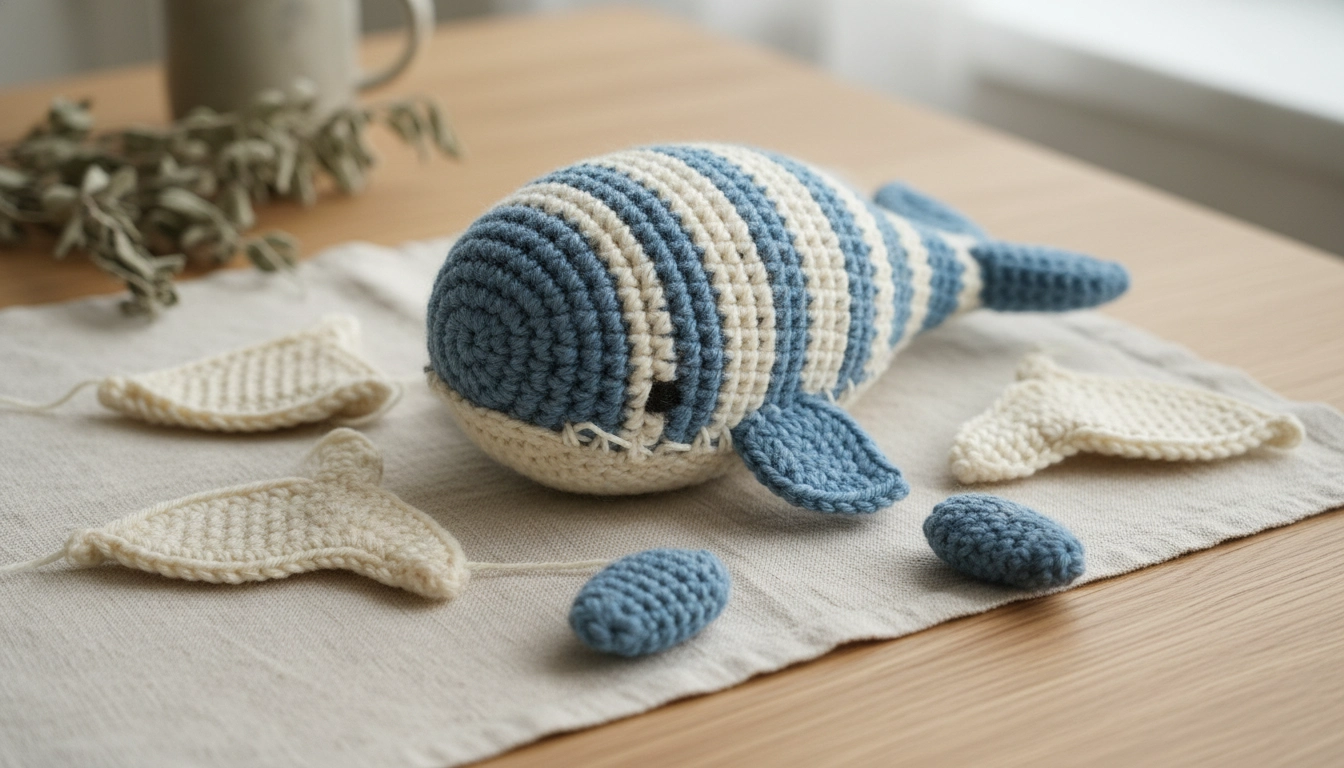
Breaking the project into modules—the body and the fins—makes the construction process much simpler.
This is broken into modules. It helps with the build. We start with the big mass—the head—and then move to the fins.
Pro Tips for Achieving a Clean Crochet Look
Using the front loops only for your decreases creates that perfectly smooth 'skin' for your whale.
The gap between a hobbyist and a professional is all in the finish. When you start decreasing the body, use the invisible decrease.
Don't go through both loops. Only use the front loops of the next two stitches. This stops those ugly ridges from showing up. It keeps the whale's skin perfectly smooth.
Tension Mastery
If your stitches look loose, try holding your yarn with a tighter grip or switching to a smaller hook size to ensure no stuffing is visible.
Another hack. Stuff the body as you go. Don't wait until you have a tiny hole at the end to shove everything in. Add little clumps. Shape the rounded head with your fingers from the inside out.
Sometimes the tension or the stuffing can get weird, so I mapped out some common glitches and how to patch them.
| Issue | Root Cause | Solution |
|---|---|---|
| Visible Stuffing | Hook size too large | Down-size hook by 0.5mm |
| Lumpy Shape | Uneven stuffing density | Use smaller clumps of fill |
| Gaps in Decreases | Standard decrease used | Switch to 'invisible' decrease |
| Flat Head | Insufficient stuffing | Focus fill on the 'crown' of R1-R5 |
My Take
Always trust your 'tension'—it is the signature you leave on the work. Keep it tight and keep it consistent.
This gives you a uniform density. No lumpy whales allowed. If you are using safety eyes, put them between rounds eight and nine before you close it up.
How to Customize Your Whale with Different Colors and Sizes
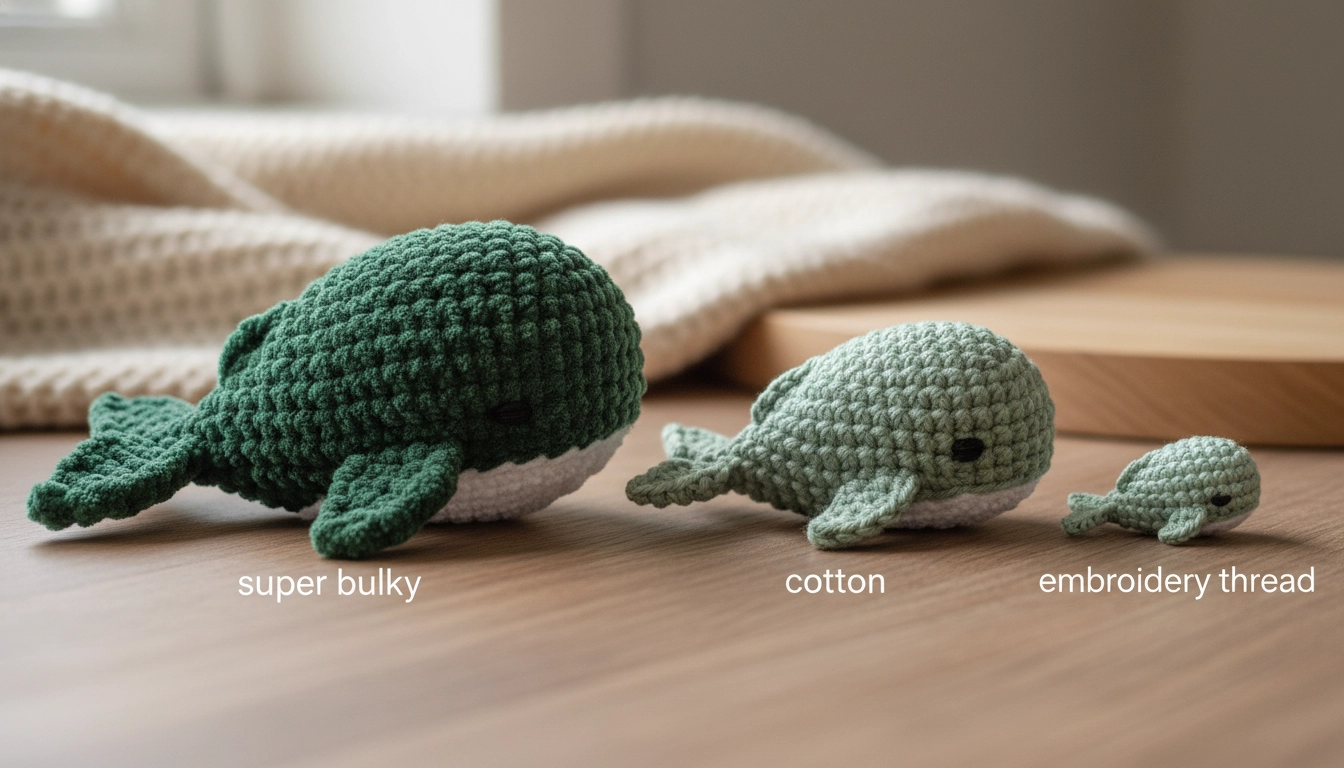
From tiny keychains to large floor pillows, the same pattern works across all scales.
The Crochet Whale Pattern is so modular. You can make a whole family just by switching the yarn weight. Use super bulky chenille and an 8mm hook? You get a floor pillow.
If you use embroidery thread and a 1mm hook, you get a tiny charm for a keychain. This is why mathematics in crochet is so cool. The ratios stay the same. Only the scale changes.
I ran the numbers on how different yarn weights affect the final volume of your sculpture so you can plan your space accordingly.
My Take
Scale is just a variable—the math remains the 'absolute' truth. Don't be afraid to go big with bulky fibers for a high-impact decor piece.
Proportion Check
When changing yarn sizes, ensure your hook size remains small enough to maintain a 'stiff' fabric structure.
Color-blocking is another move. Use a muted sage green for the top and a creamy off-white for the belly. Just switch colors on the last pull-through of round seven.
This creates a sharp horizon line. It looks like actual marine life counter-shading. These small choices turn a craft into fiber art.
Conclusion
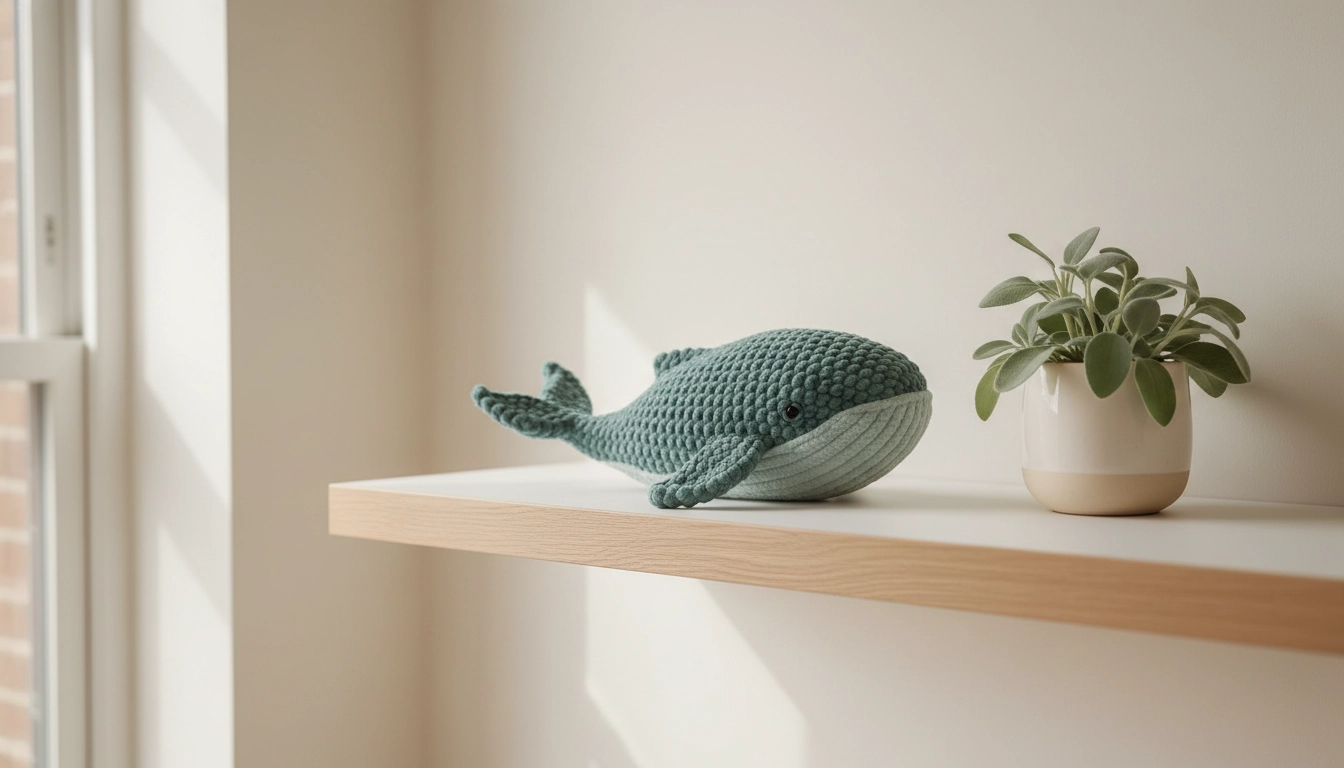
Your finished whale is more than a craft; it's a piece of architectural fiber art for your home.
Getting the Crochet Whale Pattern down is a way to change how you see the objects in your house. By picking natural materials and focusing on the math, you are joining a movement. Quality over quantity.
This project shows that with some patience and a handle on geometry, you can make something sophisticated. I hope you don't just see your yarn as string. It is raw data for your next architectural masterpiece.
Keep the tension tight. Keep the vision big. You just turned a simple Crochet Whale Pattern into a real piece of art.