
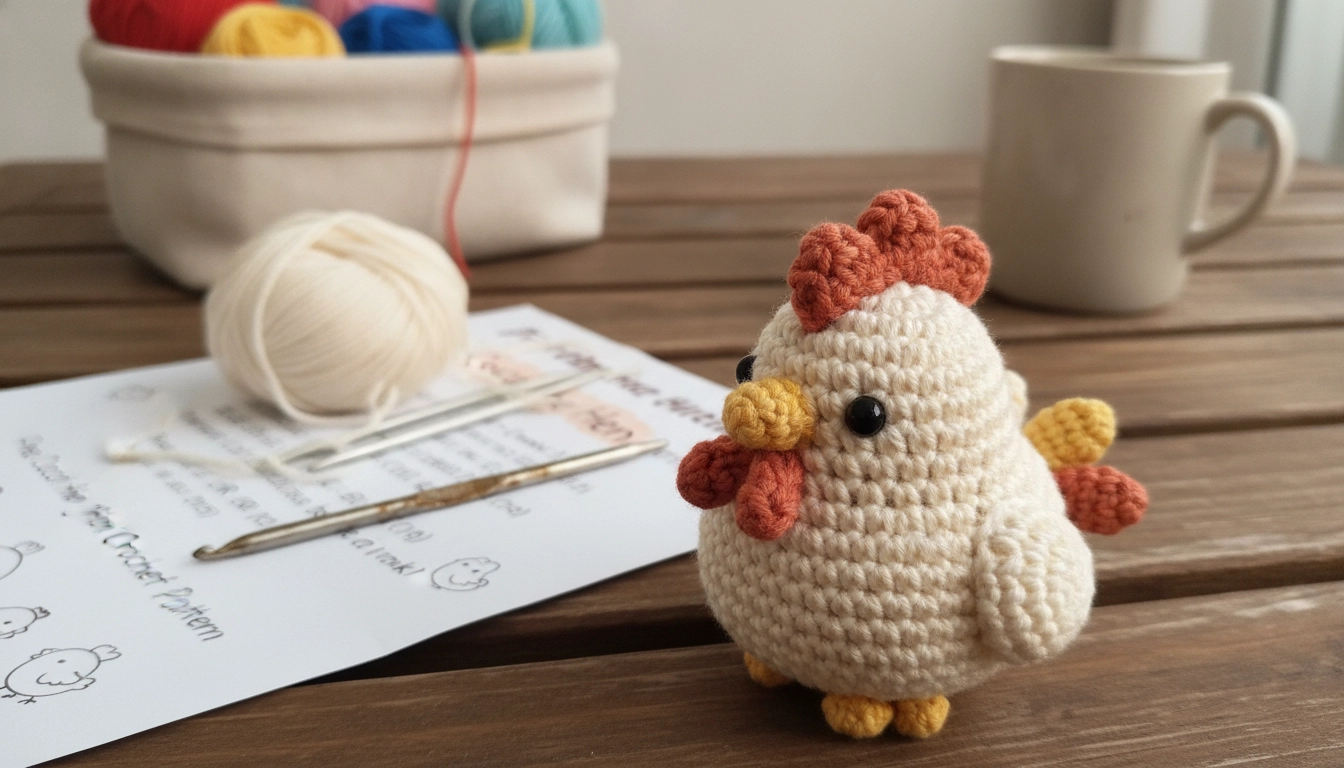
Squeezing a cheap, mass-produced plastic toy will never match the grounding physical weight of a hand-crocheted piece made from pure organic cotton. Last month, when my design partner Christian Pearson visited me near Westminster, we spent hours on Albert Road talking about how modern slow fashion is reclaiming physical, three-dimensional space, one stitch at a time. This Free Cocca the Hen Amigurumi Crochet Pattern is my absolute favorite way to prove that precise, color-block stitch mathematics can completely outshine any generic, factory-made item. By understanding how yarn behaves under heavy tension, you can transform a basic ball of natural fiber into a structured, highly tactile companion.
Quick Access
Jump straight to the pattern instructions below or read on to learn about amigurumi geometry and material selection.
Understanding the Basics of Amigurumi Geometry
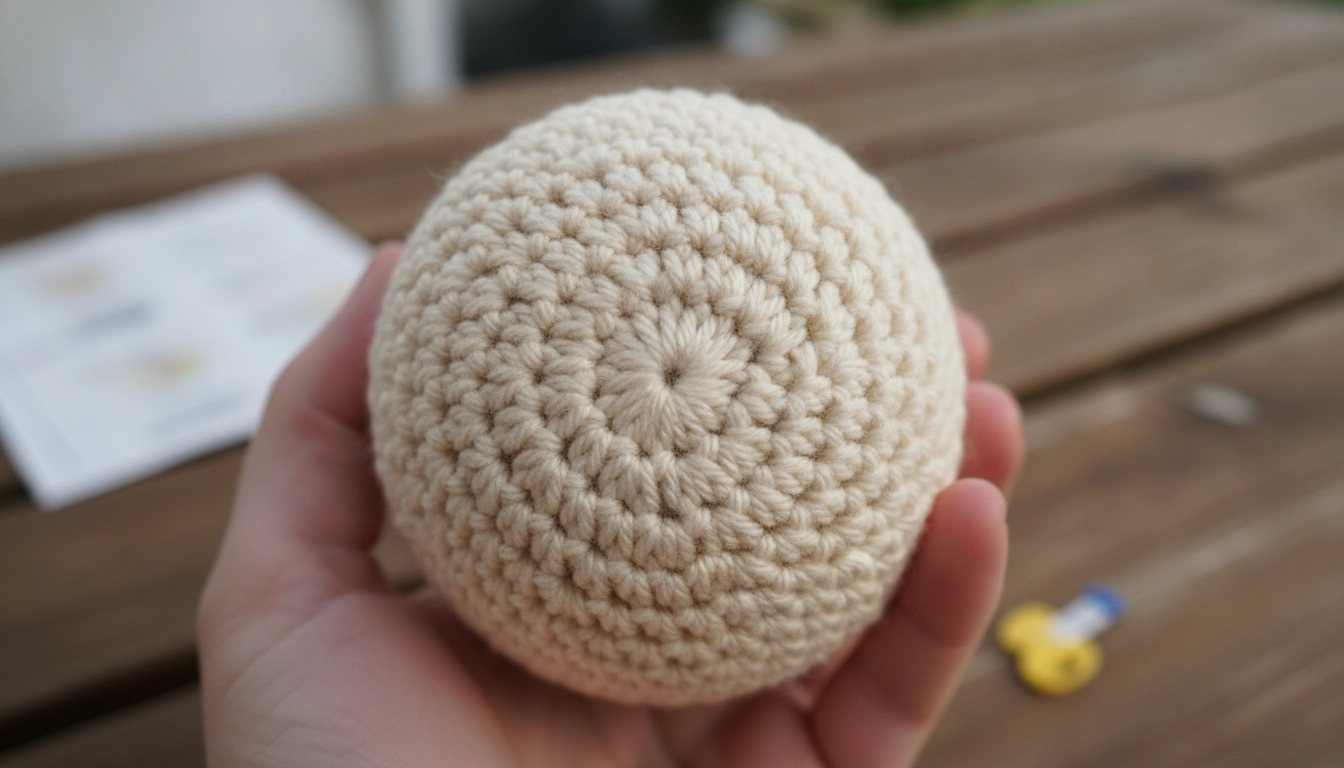
The spiral structure of amigurumi creates a dense, sturdy fabric that holds stuffing perfectly without gaps.
If you want to practice your stitch math on another cute design, try our Free Cat in Taiyaki Hat Amigurumi Crochet Pattern.
Before picking up your hook, you must understand amigurumi mechanics. This Japanese art involves crocheting small, stuffed yarn creatures using tight, dense stitches. Unlike flat garments, these three-dimensional sculptures rely on continuous spiral rounds and precise mathematical increments. By increasing or decreasing a set number of stitches in each round, you control the rate of expansion. This same geometric principle is used to shape the wings and tail in our Free Majestic Dragon Amigurumi Crochet Pattern. Natural cotton fibers provide the clean stitch definition needed to keep stuffing from peeking through. This structural integrity guarantees your finished hen holds its shape over time. You can see how tight tension prevents warping by checking out our Free Crochet Rose Girl Amigurumi Pattern.
To help you visualize how three-dimensional stitch math actually differs from your usual flat scarf projects, I have mapped out the core structural design elements below.
| Design Element | How It Works in Amigurumi |
|---|---|
| Stitch Progression | Continuous spiral rounds with no joining slip stitches |
| Rate of Expansion | Controlled strictly by precise, mathematically spaced increments |
| Structural Integrity | Tight tension and dense stitches prevent stuffing from peeking through |
My Take
Trust the math. If you do not follow the exact rate of expansion, your cute little hen will end up looking like a weirdly deflated potato.
To show you exactly why I refuse to use anything but cotton for these structural toys, check out this quick comparison of fiber stiffness.
My Take
Cotton has zero stretch, which is exactly what gives Cocca her clean, museum-worthy structure.
Materials and Tools for the Free Cocca the Hen Amigurumi Crochet Pattern
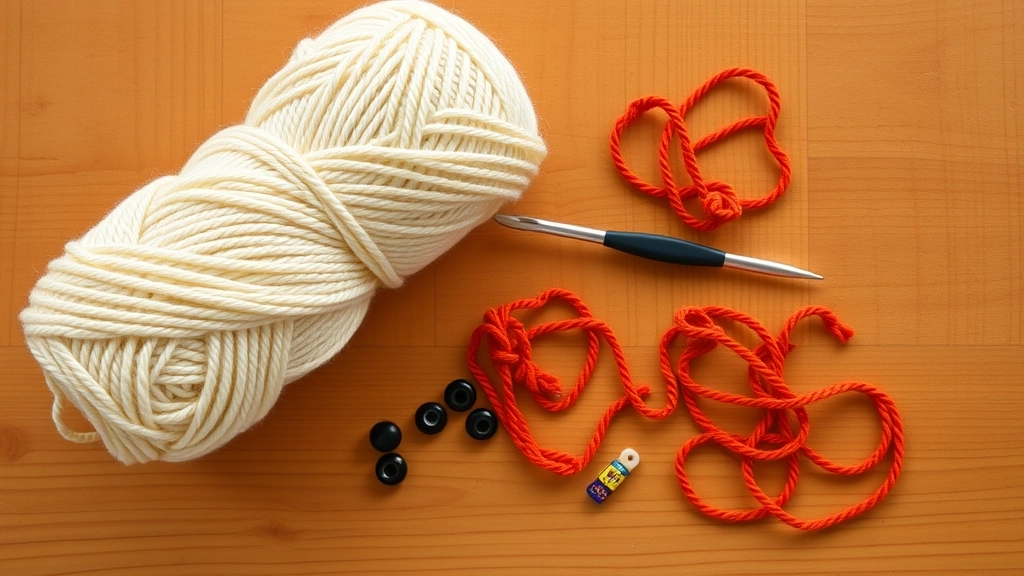
Gather your materials: cream, orange, and red organic cotton yarn, a 2mm hook, and safety eyes.
To get that clean, structured look for this Free Cocca the Hen Amigurumi Crochet Pattern, select high-quality materials. Skip squeaky acrylics and opt for organic sport-weight cotton yarn in cream, orange, and red. You will need a two-millimeter crochet hook to make sure your stitches stay tight. Additionally, prepare six-millimeter safety eyes, a tapestry needle, a stitch marker, and organic cotton stuffing. Using the correct tools prevents hand strain and makes your stitches perfectly uniform. These same material recommendations apply when you are working on our Free Small Hippo Amigurumi Crochet Pattern.
Here is a quick cheat sheet of the exact gear you need to raid your stash for before we get started.
| Tool or Material | My Recommended Specs | Why It Matters |
|---|---|---|
| Cotton Yarn | Organic sport-weight in cream, orange, and red | Provides clean stitch definition and excellent durability |
| Crochet Hook | Two-millimeter size | Ensures stitches stay tight to hold the stuffing in |
| Safety Eyes | Six-millimeter diameter | Gives Cocca her classic, expressive look |
| Stuffing | Organic cotton fiberfill | Maintains a firm, eco-friendly shape over time |
My Take
Seriously, do not swap the cotton for cheap acrylic unless you want a fuzzy, limp hen that cannot even stand up on its own.
The Pattern: Crocheting the Head and Positioning the Eyes
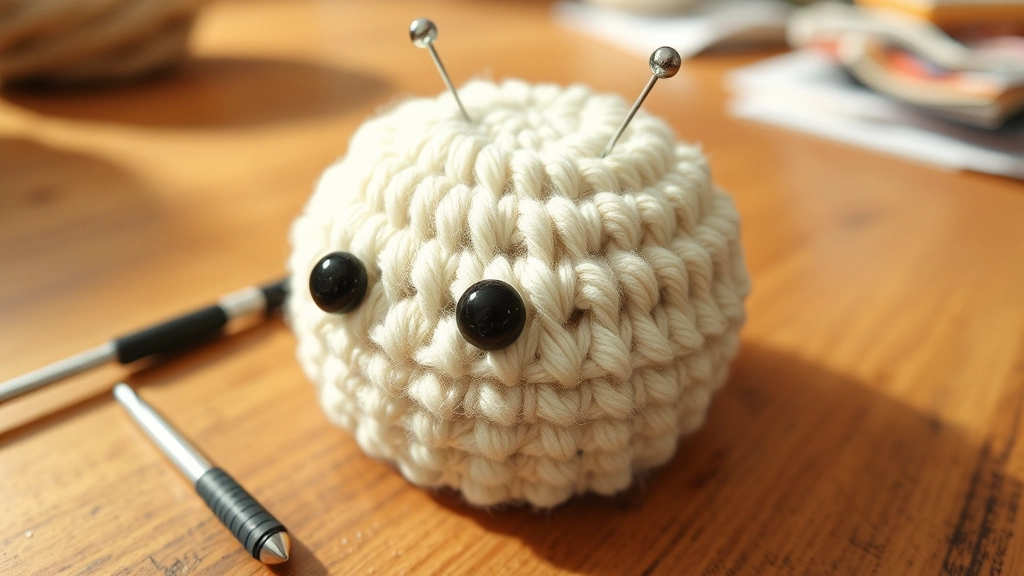
Insert the safety eyes securely before you begin decreasing and stuffing the head.
The head of Cocca uses a mathematical progression of single crochet increases to form a smooth dome, followed by gradual decreases. We work in continuous rounds, meaning you do not join at the end of each round.
Stitch Marker Placement
Always place a stitch marker in the first stitch of each round to avoid losing your place in the spiral geometry.
Shaping the Continuous Round Body
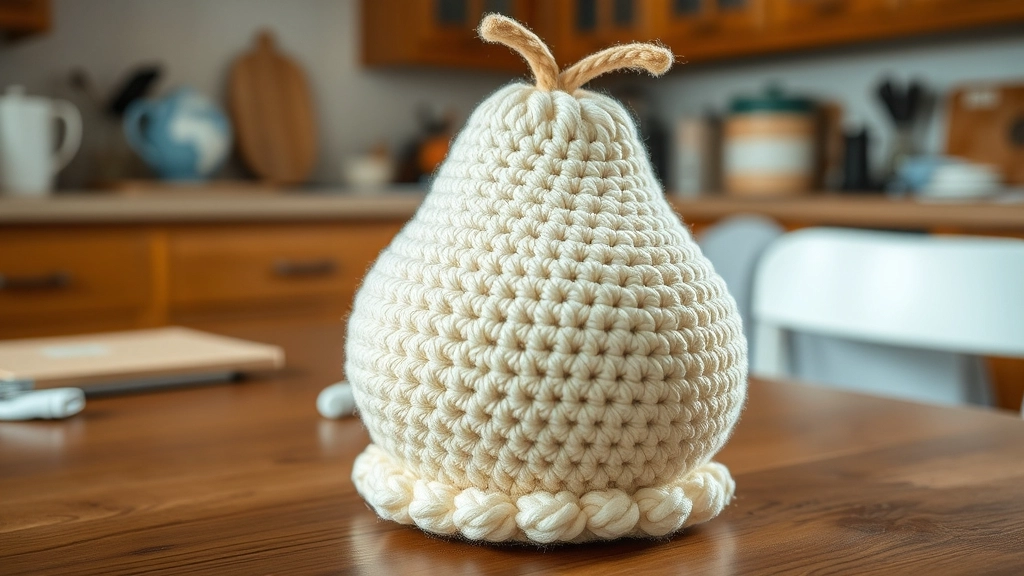
The finished body should have a wide, flat base to help your hen sit upright.
The body of Cocca is crocheted separately, starting from a magic ring and expanding rapidly to create a plump, stable base. This shape allows the hen to sit upright on flat surfaces. Make sure to maintain even tension so the body matches the proportions of the head perfectly.
Crafting the Miniature Limbs: Wings, Legs, and Tail Feathers
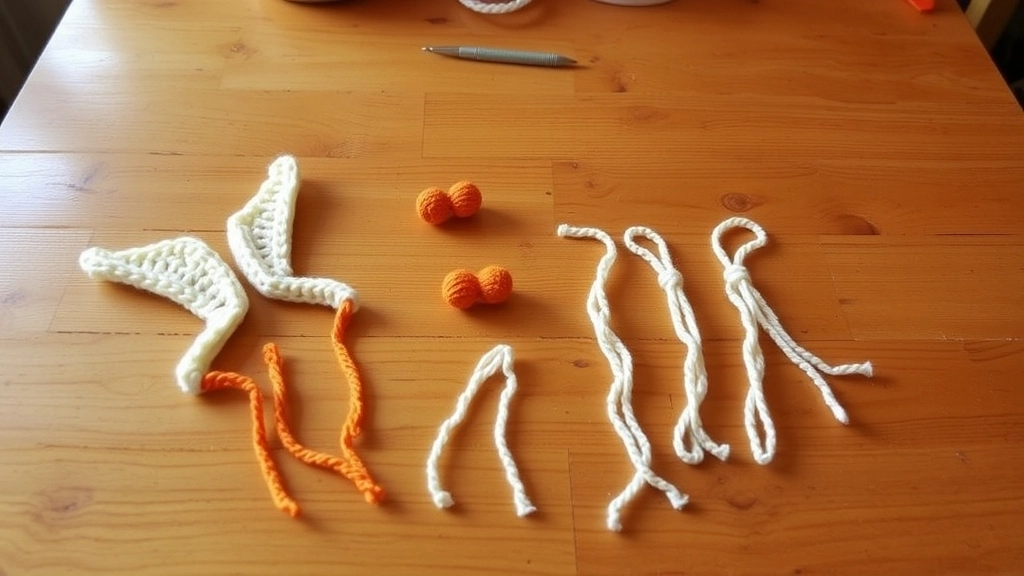
Lay out all your wings, legs, and tail feathers to make sure you have all the pieces ready.
To bring character to Cocca, we must make small accents that define her silhouette. These tiny elements require high tension and patience. Do not rush these details, as they provide the essential personality of your finished hen. Working with smaller stitch counts can be challenging, but the results are incredibly rewarding.
How to Crochet the Decorative Comb and Beak
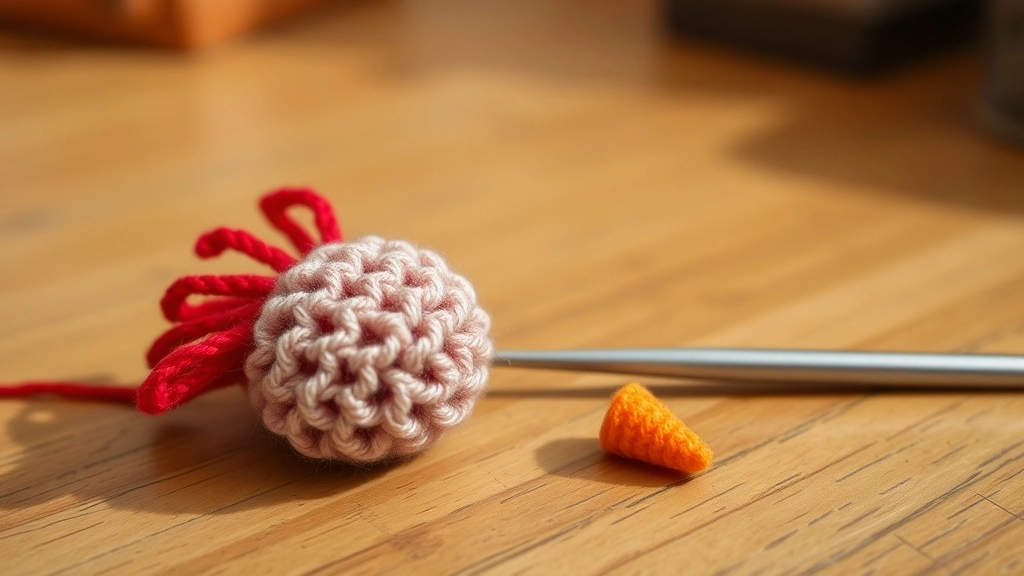
The comb and beak add the perfect pop of color and personality to Cocca's face.
The final structural details are the comb and the beak. These tiny accents give Cocca her expressive, charming face. Using a bright orange or red yarn will make these features stand out beautifully. Secure these elements tightly so they stay durable during handling.
Assembly Guide: Bringing Cocca the Hen Together
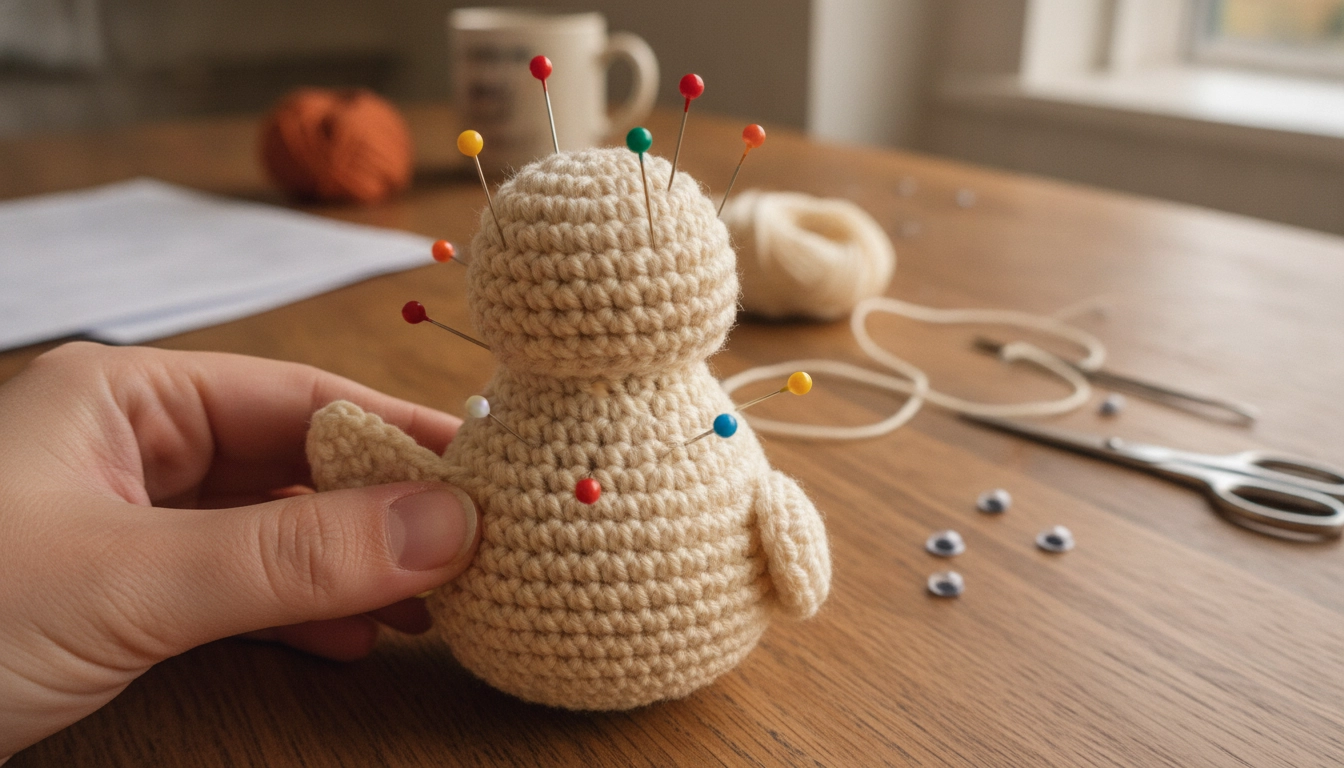
Use sewing pins to secure the head, wings, and legs before sewing to ensure perfect alignment.
Assembling your hen is where the mathematics of your stitches meets visual artistry. Start by pinning the head to the body to make sure it sits symmetrically. Use the long yarn tail from the body and a whip stitch to join the two pieces, pulling tight after each stitch to hide the seam. Position the wings on either side of the body, roughly three rows down from the neck seam, angling them slightly backward.
Sew the legs to the flat bottom of the body so Cocca stands balanced, then attach the tail feathers and comb. Take your time during this step to make sure everything is aligned properly before securing your knots.
Sewing pieces together can feel like chaos, so I mapped out the exact order of operations to keep your sanity intact.
| Assembly Step | Where to Attach It | Pro-Tip for Alignment |
|---|---|---|
| Join Head to Body | Symmetrically at the neck opening | Use a whip stitch and pull tight after each pass |
| Attach Wings | Three rows down from the neck seam | Angle them slightly backward for a natural look |
| Position Legs | Flat bottom of the body | Ensure they are centered so Cocca stands balanced |
| Add Comb and Beak | Top of head and between the eyes | Pin them first to lock in her cute expression |
My Take
Pin everything first. I promise you will regret it if you sew a wing on crooked and have to rip out those tiny cotton stitches.
Symmetry Check
Always use sewing pins to secure all limbs before sewing permanently. A millimeter off-center can change the entire expression of your hen.
Conclusion
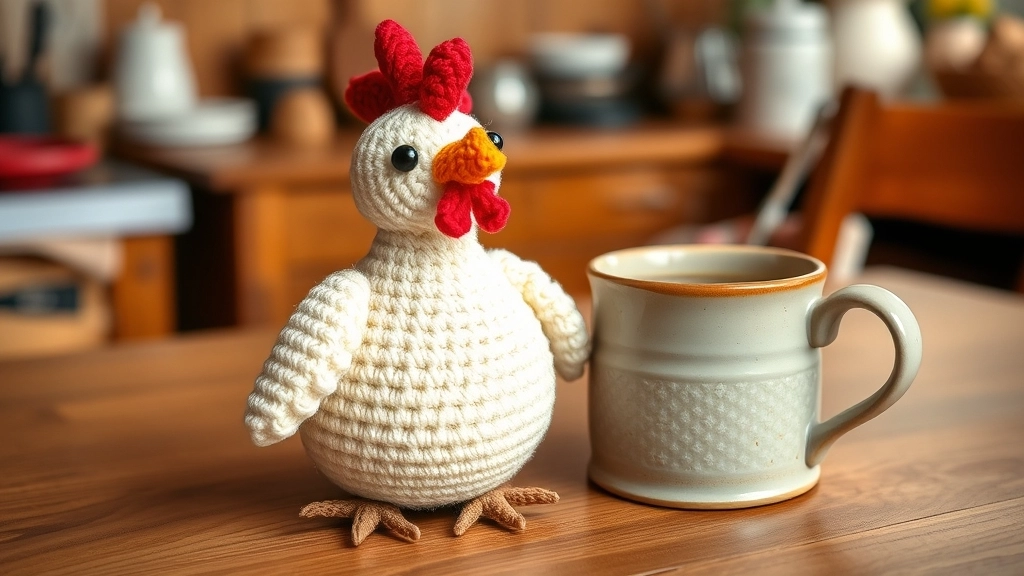
Once finished, your handmade Cocca the Hen makes a lovely, rustic addition to any cozy corner.
Crocheting your own heirloom pieces is a radical act of slow fashion. By completing this Free Cocca the Hen Amigurumi Crochet Pattern, you have transformed simple organic cotton into a structured work of art. Share your completed hens with our community online and let us know how your stitch geometry turned out.