
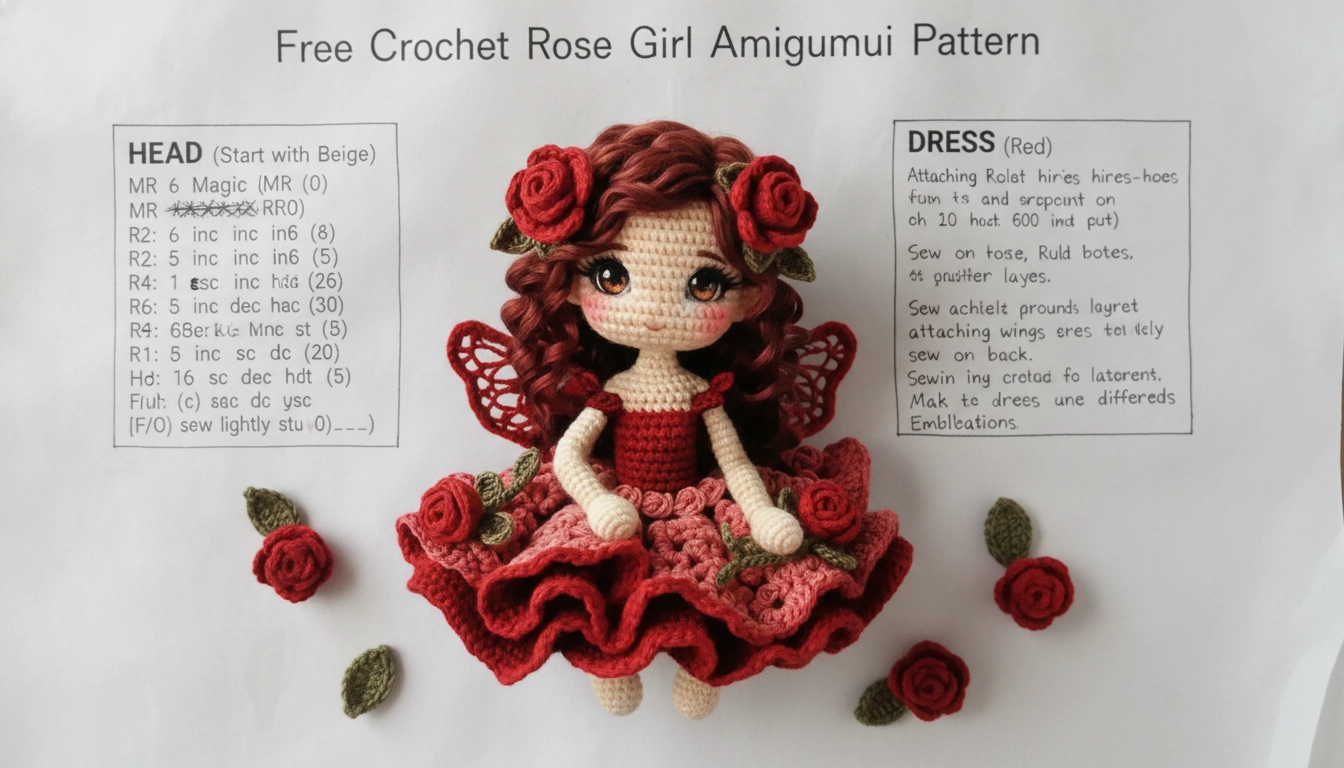
Look at those cheap, factory-made plushies on store shelves. They look like sad, deflated lumps after a single week because fast-fashion treats yarn like mindless assembly work rather than actual math. I hate it. Crochet isn't some brainless loop; it is pure stitch physics. If you want a doll that stands up on its own and looks unreal on TikTok, you must master tension. This Free Crochet Rose Girl Amigurumi Pattern relies on tight stitches and organic cotton to build a solid, warp-free grid.
Understanding the Basics of Structured Amigurumi
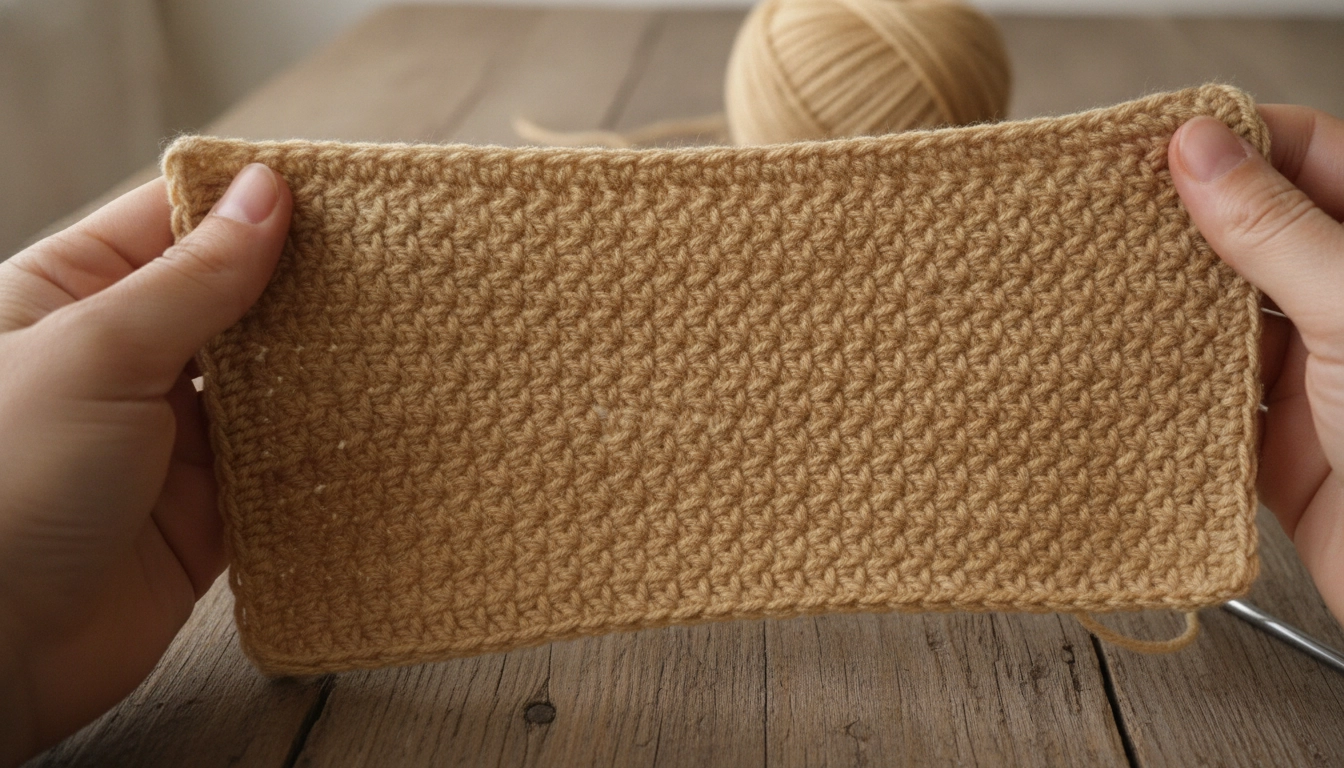
Tight, uniform stitches are the secret to keeping your doll rigid and your stuffing hidden.
Amigurumi is 3D math disguised as cute toys. Normally, you want drape in a sweater. Here? Drapery is the enemy. We need absolute rigidity. Drop your hook size way below what the yarn label recommends to force stitches to lock so stuffing never leaks out. If you enjoy this style of structured toy making, you should also try our Free Angel Stitch Amigurumi Crochet Pattern which uses similar tension techniques to keep the stuffing completely hidden. My friend Myrtle Sims from Evansville and I were talking about how organic cotton completely transforms a doll's weight. Every single round is an equation.
You are building a physical grid.
If you are new to the stitch physics game, your first doll might look a little lumpy, so I mapped out this quick diagnostic guide to help you troubleshoot your tension before you get too deep. For another fun challenge that tests your stitch consistency and structural geometry, check out the Free Majestic Dragon Amigurumi Crochet Pattern.
| Tension Problem | Real Cause | Easy Fix |
|---|---|---|
| Stuffing showing through | Hook is too big or stitches are loose | Drop down a half millimeter hook size |
| Doll leans to one side | Uneven stuffing density | Use a stuffing tool to pack fiberfill evenly |
| Head is wobbling | Neck joint has too few stitches | Add a hidden plastic cosmetic spatula inside the neck |
My Take
Tension is literally everything. If your hands hurt a little at first, you are doing it right. Your muscles will adapt, but a loose, floppy doll is forever.
Required Materials and Supplies for the Floral Doll
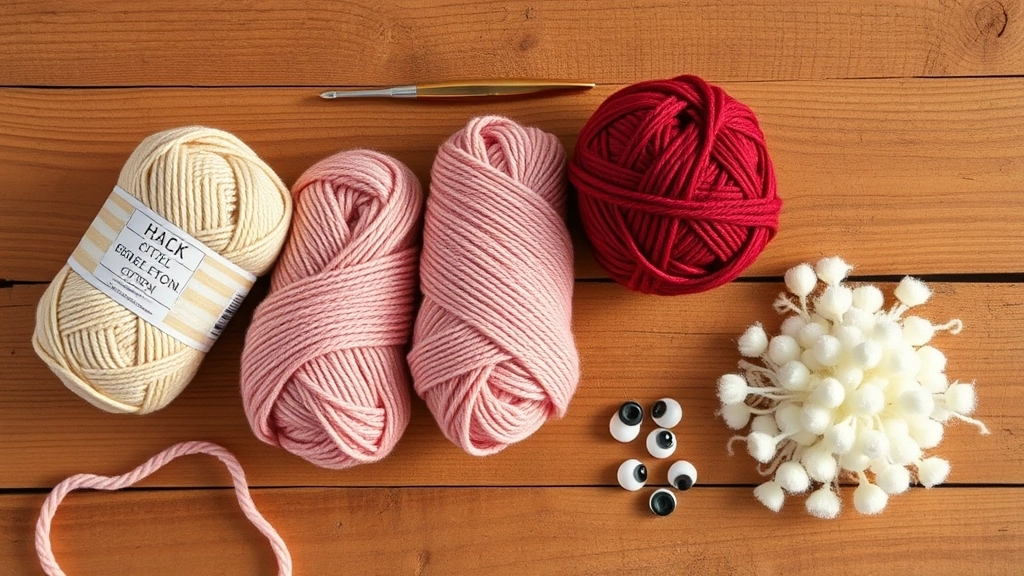
Gather your mercerized cotton yarn, safety eyes, and 2.5 mm hook before diving in.
Let's talk materials. Skip cheap synthetics—they pill, stretch, and look terrible on camera. Cotton has zero stretch, which is perfect for crispy, defined ruffles and roses. It gives that clean, matte aesthetic.
You need beige yarn for skin, deep red for roses, and pink for the dress. Grab a 2.5 mm hook. Add 9 mm safety eyes, a tapestry needle, stuffing, and makeup blush for the cheeks.
Let's be real, walking into a craft store can be overwhelming, so here is the exact breakdown of what you need to secure before starting.
| Ingredient | Exact Spec | Role in the Project | Aesthetic Vibe |
|---|---|---|---|
| Yarn | 100 percent mercerized sport weight cotton | Creates crisp stitches and zero fuzz | Matte and high end |
| Hook | 2.5 mm steel or ergonomic hook | Forces tight stitch locks | Professional and clean |
| Eyes | 9 mm safety eyes with metal backings | Gives that perfect, clean anime look | Minimalist and cute |
| Stuffing | Premium polyester fiberfill | Keeps the doll rigid and photogenic | Structured and solid |
My Take
Do not cheap out on the cotton. Acrylic will pill the second you photo-shoot it, and unmercerized cotton sheds. Mercerized is the golden standard for amigurumi.
Tension Control
If you can easily insert your hook into your stitches, your tension is too loose. Use a smaller hook size to keep the stuffing completely hidden inside the doll.
Crocheting the Base: Head, Body, and Arms Pattern
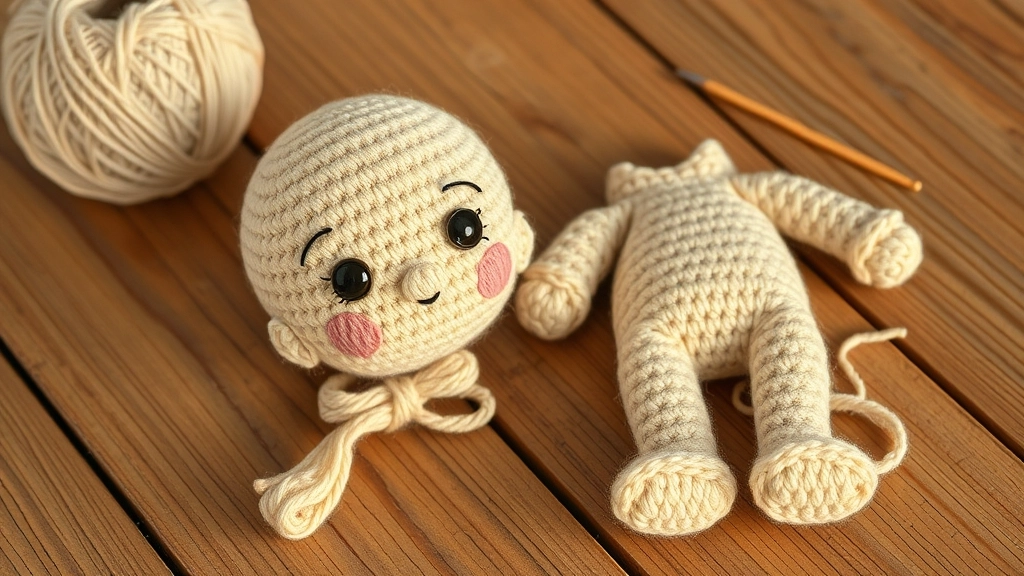
Your base pieces should look neat, firm, and proportional before you sew them together.
Okay, let's build the skeleton. The head and body must match perfectly at the neck joint. If your stitch count is off by one, the head will wobble. Nobody wants a floppy doll. I always use a stitch marker.
Crafting the Layers: Step-by-Step Bodice and Skirt Pattern
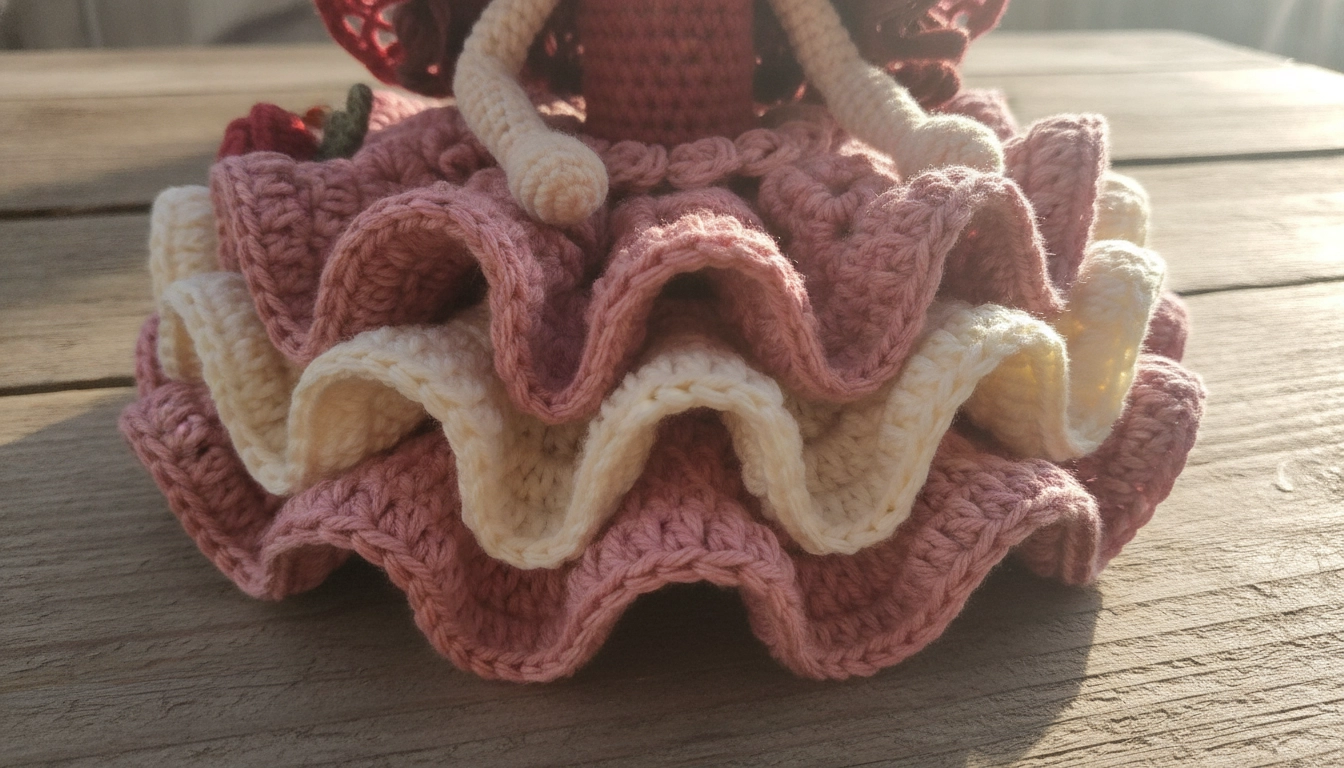
The dramatic ruffles are created by rapidly multiplying your stitches in each row.
This dress is pure couture. We are talking major, dramatic ruffling that mimics high-fashion runway silhouettes. Multiplying your stitch counts across the skirt rows forces the fabric to wave and drape like a dream. It's pure math. While we want rigidity for the doll's body, creating beautiful movement in the skirt is a lot like designing the flowing elements of the Beach Goddess: Crocheting a Pink Striped Mini Dress and Long Kimono Cover-Up Set.
Stitch Counting
Ruffle rows expand very quickly. Keep an accurate stitch count on your skirt rounds to ensure your ruffles look symmetrical and full rather than lopsided.
The Pattern: How to Crochet the Miniature Red Roses
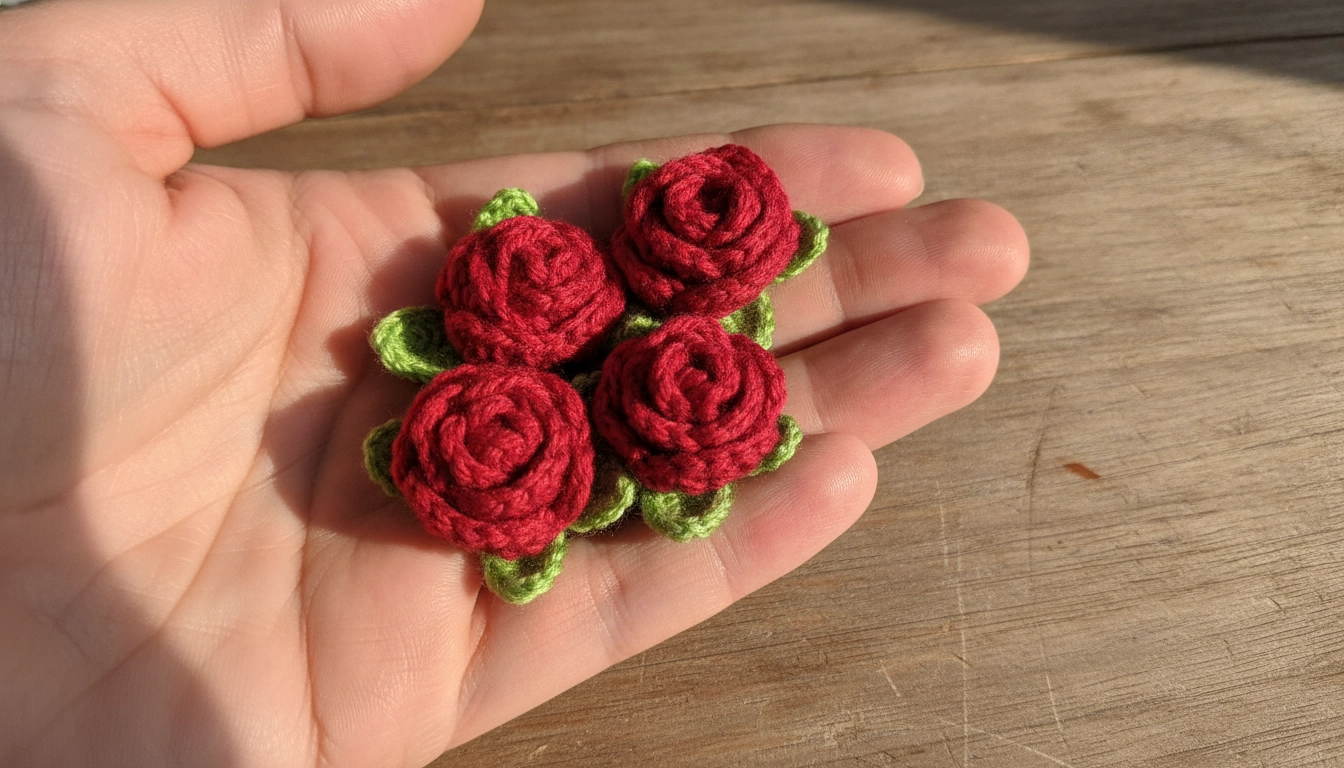
Roll your flat crocheted strips carefully to create these realistic miniature roses.
The mini roses are the star. They elevate the doll from some basic toy to an actual art piece. We crochet flat strips, then roll them up like tiny sleeping bags. Find that sweet spot.
Before you dive into rolling up a million tiny roses, let me show you how your time is actually going to be split up on this project so you can plan your stitch sessions.
My Take
Do not rush the assembly phase. The actual crocheting is only ninety percent of the battle. Pin everything in place before you sew a single stitch!
Master the Free Crochet Rose Girl Amigurumi Pattern
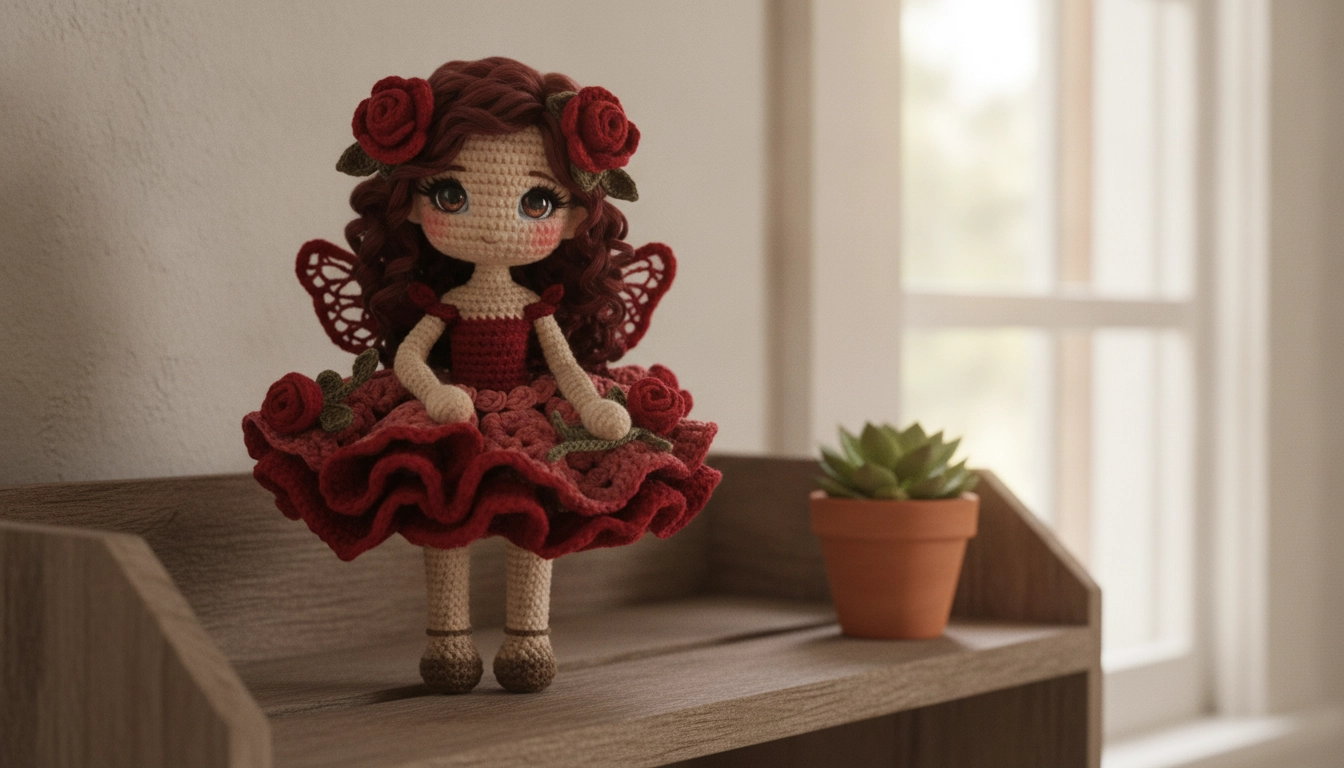
Your finished Rose Girl amigurumi is a beautiful testament to slow, intentional crafting.
Making this Free Crochet Rose Girl Amigurumi Pattern is a massive statement against throwaway fast-fashion. It’s about slow, intentional making. Real time and gorgeous natural materials create something that survives for generations. Post your dolls online and tag me. Let’s show everyone that making things by hand is a million times cooler than buying plastic corporate garbage. To continue building your collection of unique, hand-crafted accessories, explore our Crochet Bag Hacks for a Whimsical Wardrobe.