
Quick Access
To skip directly to the stitch counts, scroll down to the pattern container sections. For material recommendations and structural tips, read the full guide below.
Look at your feed right now and tell me you aren't completely tired of seeing those limp, sad-looking crochet plushies that look like they deflated on the drive over. It is literally all basic geometry. If you are using cheap, squeaky synthetic yarn that stretches, you're basically fighting physics and losing. Yesterday I was talking to Juan Pena about this exact thing—he was struggling with these floppy, lifeless limbs on a custom piece, and I told him, look, if you don't treat your stitches like a structural grid, your dragon is going to look like a sad puddle of purple mush instead of a sharp, high-fashion statement piece. We are completely throwing out those outdated rules where making plushies is just some mindless, repetitive loop-de-loop. No. We're talking absolute architectural design here. By matching organic cotton yarn with tight, calculated tension, we can sculpt literal 3D geometry. This isn't your average project. If you want to practice these structural techniques on another cute character, check out my Free Angel Stitch Amigurumi Crochet Pattern which also relies heavily on tight stitch density. It's a high-fashion, sustainable art piece that will actually stand on its own feet.
Understanding the Basics of Amigurumi Dragons
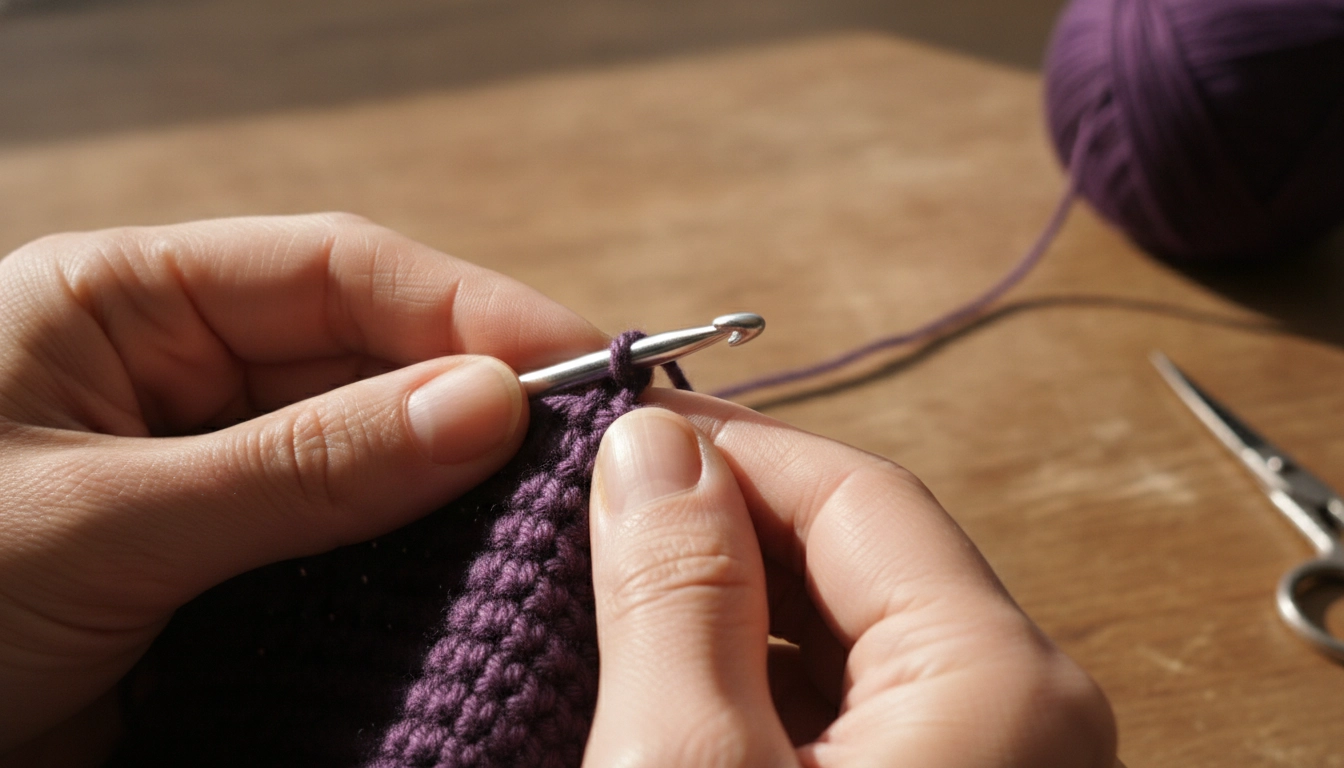
Tight, neat stitches are the secret to keeping your amigurumi structurally sound.
If I see stuffing poking through a stitch gap, I actually lose my mind. It ruins the entire aesthetic. You want that clean, solid fabric look that looks like it was engineered in a high-end studio, not slapped together while watching TV. The math is simple. We are treating every single stitch as a tiny, rigid coordinate. When you alter how these coordinates stack, you get sharp angles, ridges, and sweeping curves that mimic real dragon scales. It's calculating the increase vectors so the yarn behaves under pressure. This concept of hacking stitch geometry to maintain structural integrity is also highly useful for accessories, as detailed in my guide on Crochet Bag Hacks for a Whimsical Wardrobe.
Let's look at how different fibers actually hold up under tension because, honestly, numbers do not lie and science always wins.
My Take
Cotton is the undisputed champion here. If you use acrylic, your dragon will literally look like a sad, deflated balloon within a week. Do not do that to yourself.
Essential Materials and Tools for Your Crochet Dragon
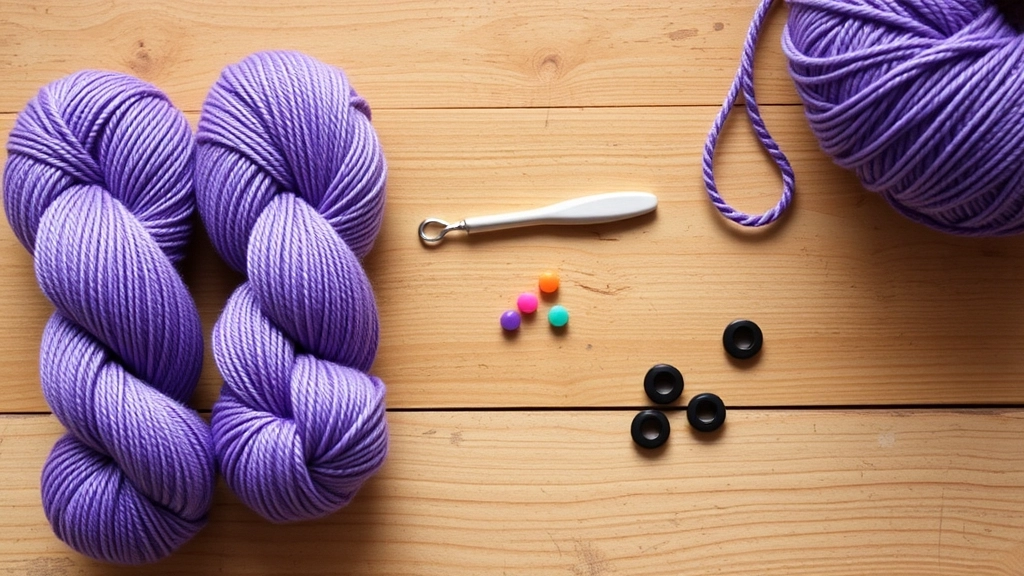
Gather your high-quality natural cotton yarn and tools before starting your dragon.
Please, I am begging you, put down the cheap synthetic yarn. It's terrible for the planet, it pills immediately, and it has zero structural integrity. We are using organic, natural cotton yarn here because we are building a slow-fashion heirloom. Get some gorgeous light and dark purple natural cotton. Grab a 2.5mm hook—yes, it’s going to feel tiny, but your hands will adjust, and the tight stitch density is absolutely worth the temporary finger cramp. Throw in two 12mm safety eyes, high-density stuffing, and a sturdy yarn needle to weave in those loose ends.
To make this totally foolproof, I broke down the exact gear you need to raid from your craft stash before we even think about touching a hook.
| Tool or Material | Specifics | Why It Rules | Rookie Mistake to Avoid |
|---|---|---|---|
| Mercerized Cotton | Sport weight in two shades | Zero stretch for maximum structural hold | Using squeaky acrylic that warps under pressure |
| Crochet Hook | 2.5mm or smaller | Creates ultra-tight stitch density | Using a large hook that leaves massive gaps |
| Safety Eyes | 12mm plastic | Gives that perfect high-fashion gaze | Inserting them after stuffing the head |
| Fiberfill | High-density polyester | Keeps the limbs completely rigid | Understuffing the base so the dragon collapses |
My Take
Do not compromise on the hook size. If you think a 2.5mm hook is too small, you just need to relax your grip slightly and let the tool do the work.
Tension Control
If you tend to crochet loosely, drop down to a 2.0mm hook. A smaller hook forces the stitches closer together, ensuring your dragon holds its structural shape without needing wire inserts.
Free Majestic Dragon Amigurumi Crochet Pattern: Step-by-Step Head
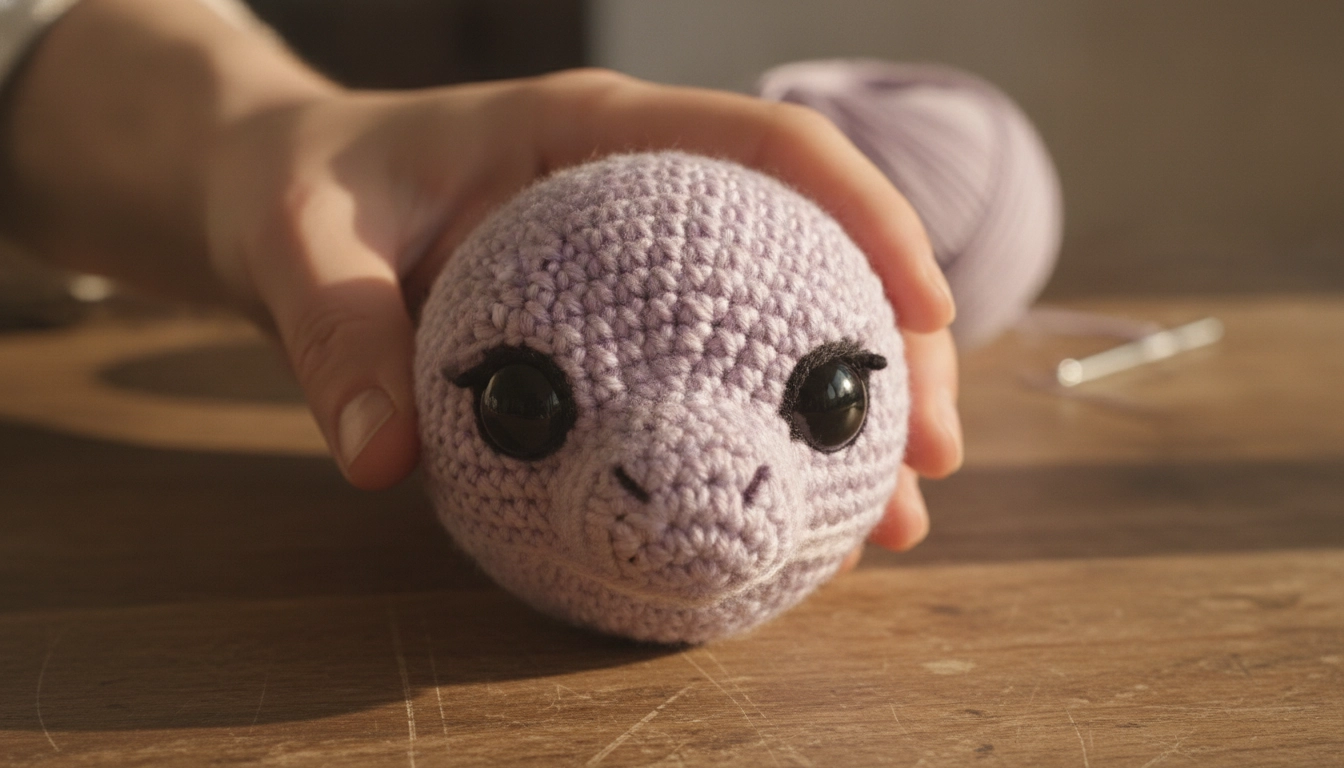
Be sure to secure your 12mm safety eyes firmly before closing up the head.
We're launching right into it with a magic ring because starting with a messy loop is a crime. We need a perfectly sealed crown. The snout relies on very clean, sudden increases to give it that sharp, almost architectural jawline. Keep your eyes glued to the stitch counts here. And seriously, do not forget to pop the safety eyes in before you start closing up the head. If you forget, you will have to rip the entire thing back, and that is a vibe killer.
Crafting the Complex Parts: Eyelids and Head Spikes
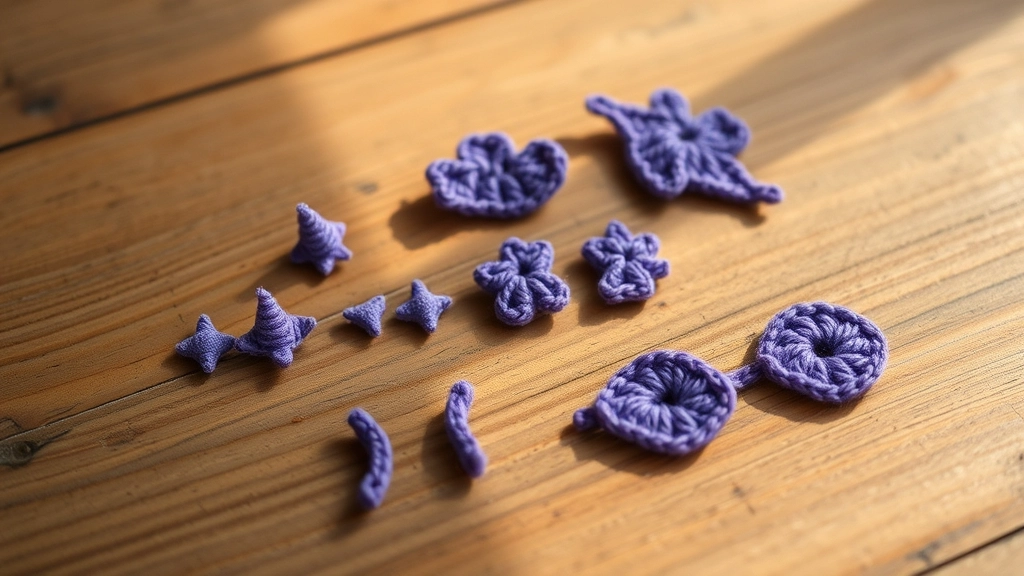
These small details give your dragon its signature high-fashion personality.
This is where the actual drama happens. Those flat eyelids draped right over the plastic safety eyes give the dragon this incredibly smug, high-fashion gaze that I am completely obsessed with. Then we stack the head spikes to bring in that chunky, geometric texture. Take a deep breath and sew these on with absolute symmetry. If they’re crooked, the whole aesthetic goes from majestic beast to confused lizard real quick.
Shaping the Limbs and Clawed Feet
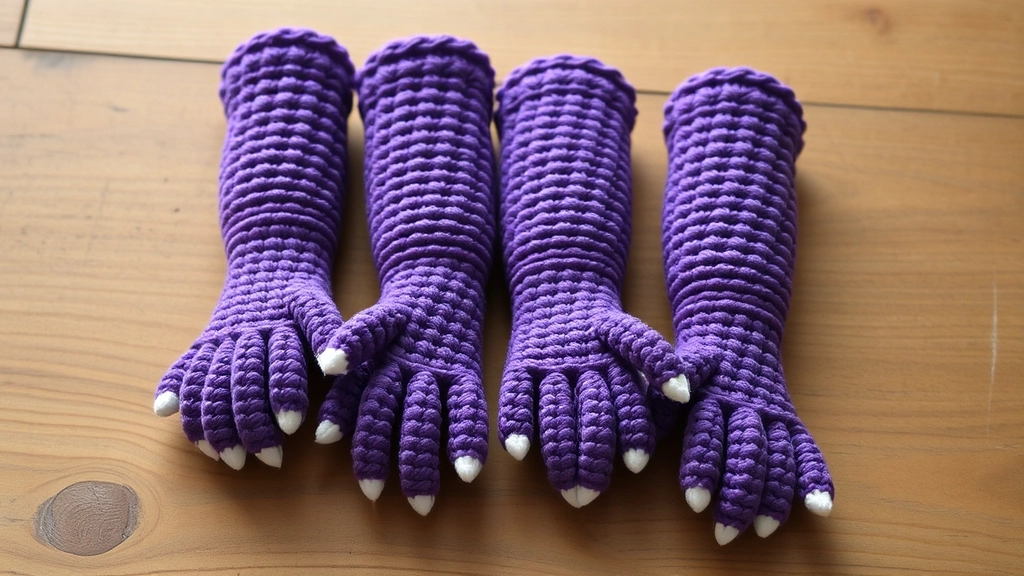
Firm stuffing at the base of the legs ensures your dragon stands upright.
Now we need to build the foundation to carry that heavy head. We're talking super dense columns here, almost like concrete pillars but made of natural cotton. Keep your tension completely locked in. If your tension wanders, one leg is going to be beefier and your dragon will fall over. Locking down your tension is a skill you can master by reading about my experiences with gravity-defying garments in the Two-Piece Pride: Crocheting a Rainbow Triangle Top and Vertical-Stripe Crochet Skirt Set project. We add tiny claws at the end.
Stuffing Tip
Do not overstuff the very top of the limbs. Leaving the top half-inch lightly stuffed allows them to sit flat against the body, keeping the dragon balanced.
Crocheting the Dragon Body, Tail, and Belly Plates
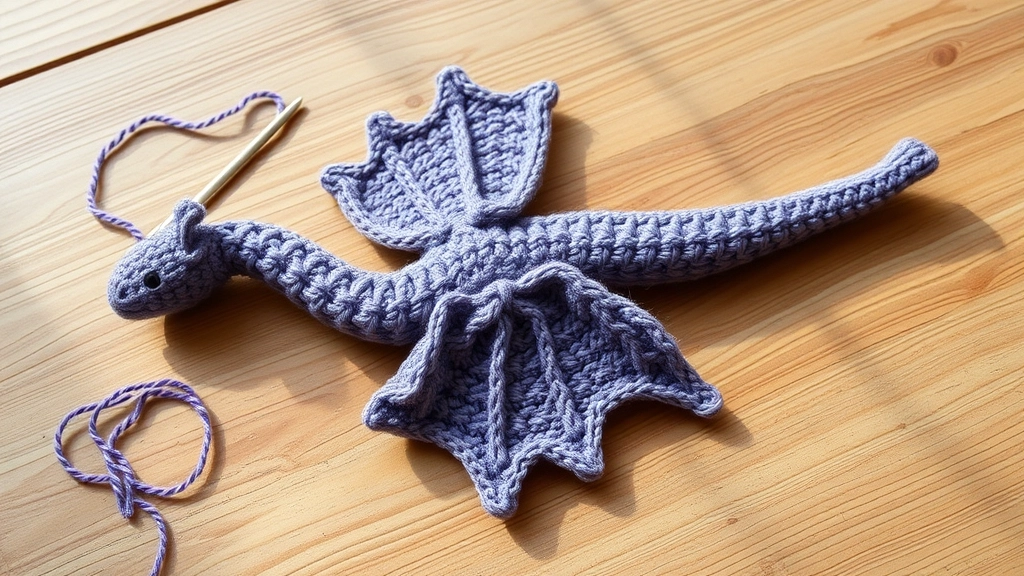
Working in the back loops only (BLO) gives the wings a beautifully textured, modern look.
We are working the main body and the tail as one single, continuous piece. No weak seams allowed. This keeps everything highly durable and structurally stable. To break up the solid color block, we are crocheting a separate ribbed belly plate. It adds that perfect graphic contrast. For the wings, we are working exclusively in the back loops only. This simple trick creates a gorgeous, clean ribbing that feels super modern and textured.
Before you start sewing things together and losing your mind, let's look at this quick diagnostic cheat sheet to save your sanity.
| Issue | Root Cause | Quick Fix |
|---|---|---|
| Floppy head | Weak neck joint or loose stuffing | Add a rolled-up piece of felt or extra stuffing in the neck |
| Gaps showing stuffing | Loose tension or hook is too large | Drop down half a millimeter in hook size |
| Dragon tipping over | Uneven limb placement or stuffing | Pin the limbs in place and test the balance before sewing |
My Take
Always test the balance of your dragon by pinning the legs first. Once you sew them on, there is no turning back without a lot of tears.
Conclusion
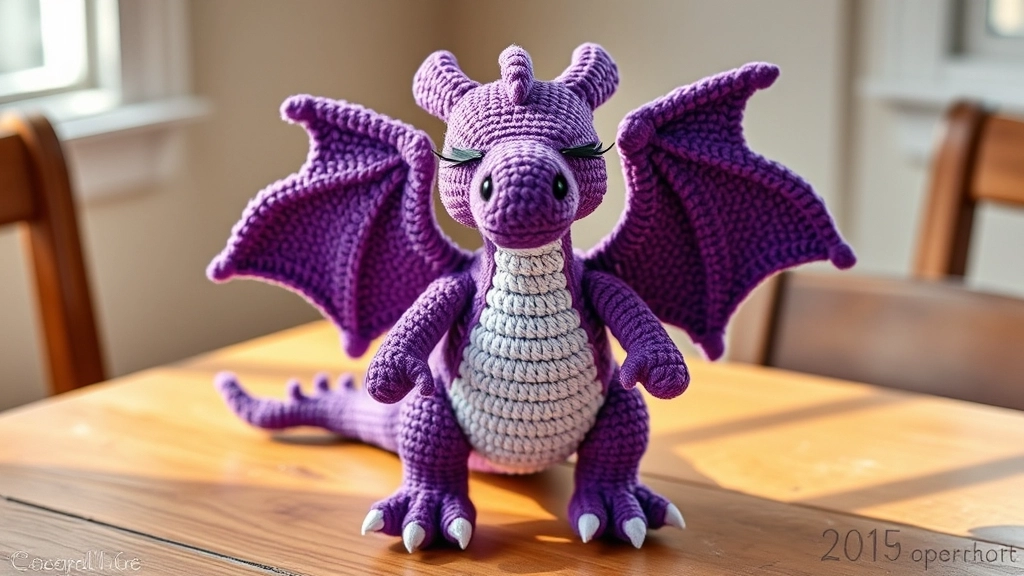
Your completed majestic dragon is ready to show off its perfect geometry!
Honestly, watching this beast come together stitch by stitch is incredibly satisfying. By choosing to push through this, you've completely rejected the mass-produced, floppy garbage filling up landfills and instead created a beautiful, structural piece of slow-fashion art. Show me your finished pieces on my feed. I want to see how your tension held up under the pressure of these tight cotton stitches. Keep playing with the geometry, keep breaking the old patterns, and let's keep making cool things.