
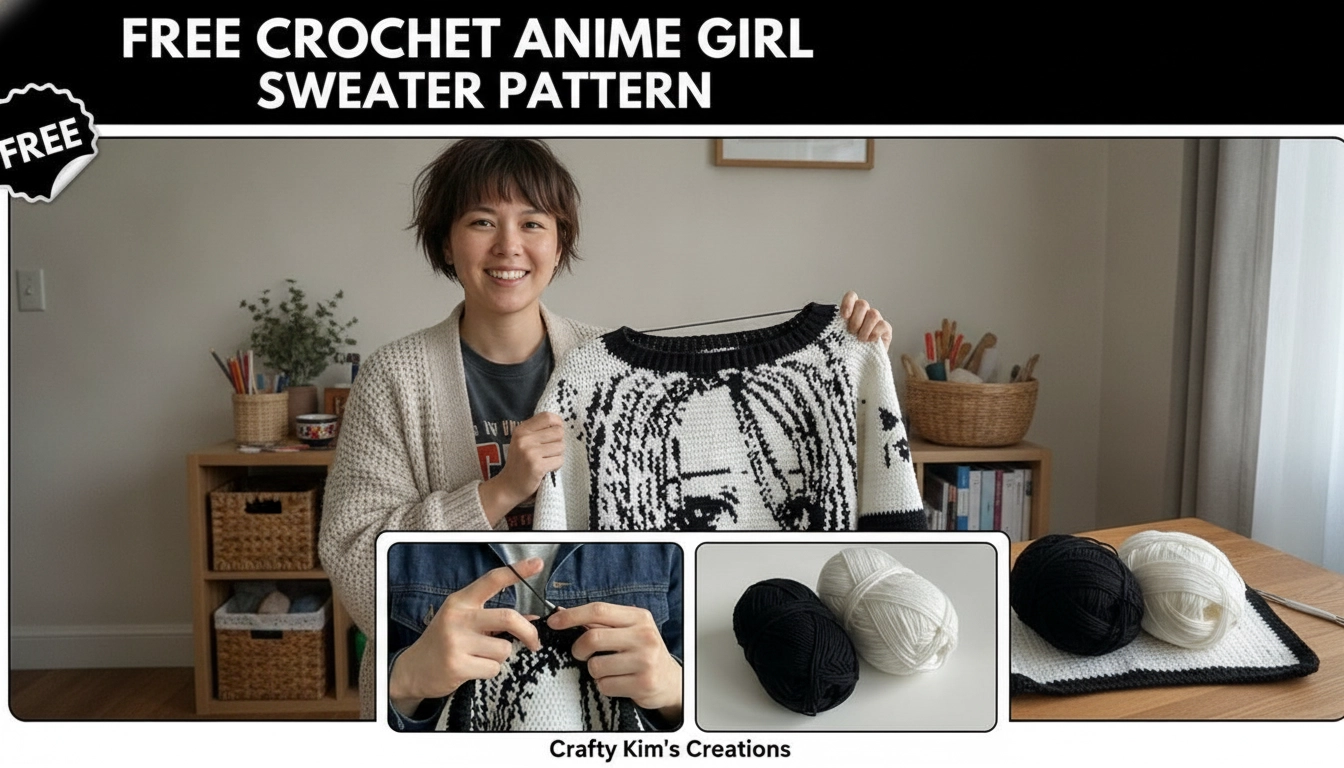
Walk into any mall and you'll see racks of thin, plastic-feeling graphic knits destined to rot in a landfill before the year ends, which is just sad when you realize we can actually construct high-fidelity wearable art using pure color-block mathematics. Honestly, fast-fashion graphic prints look so incredibly flat and lifeless. I was talking to Alvin Stewart, who lives out on Washington Ave in Kalgoorlie, about how we could bridge this gap between digital pixels and physical yarn physics. We wanted something that actually holds its structure. Designing garments that maintain their shape requires understanding stitch architecture, much like the techniques used to create a fitted crochet pants pattern. If you treat every single crochet stitch as a coordinate on a 2D plane, you can map out a high-contrast portrait that fits your body like a glove, skipping all those useless synthetic yarns that stretch out after one wash. If you want to continue fighting fast-fashion by building your own custom wardrobe sets, try our free crochet ruffle skirt and long sleeve crop top pattern.
The Math of Pixels
In tapestry crochet, your stitch gauge determines the aspect ratio of your image. Standard single crochet stitches are slightly wider than they are tall, which can stretch your graphic. We solve this by using a smaller hook to compress the stitches into perfect squares.
What is Tapestry Crochet?
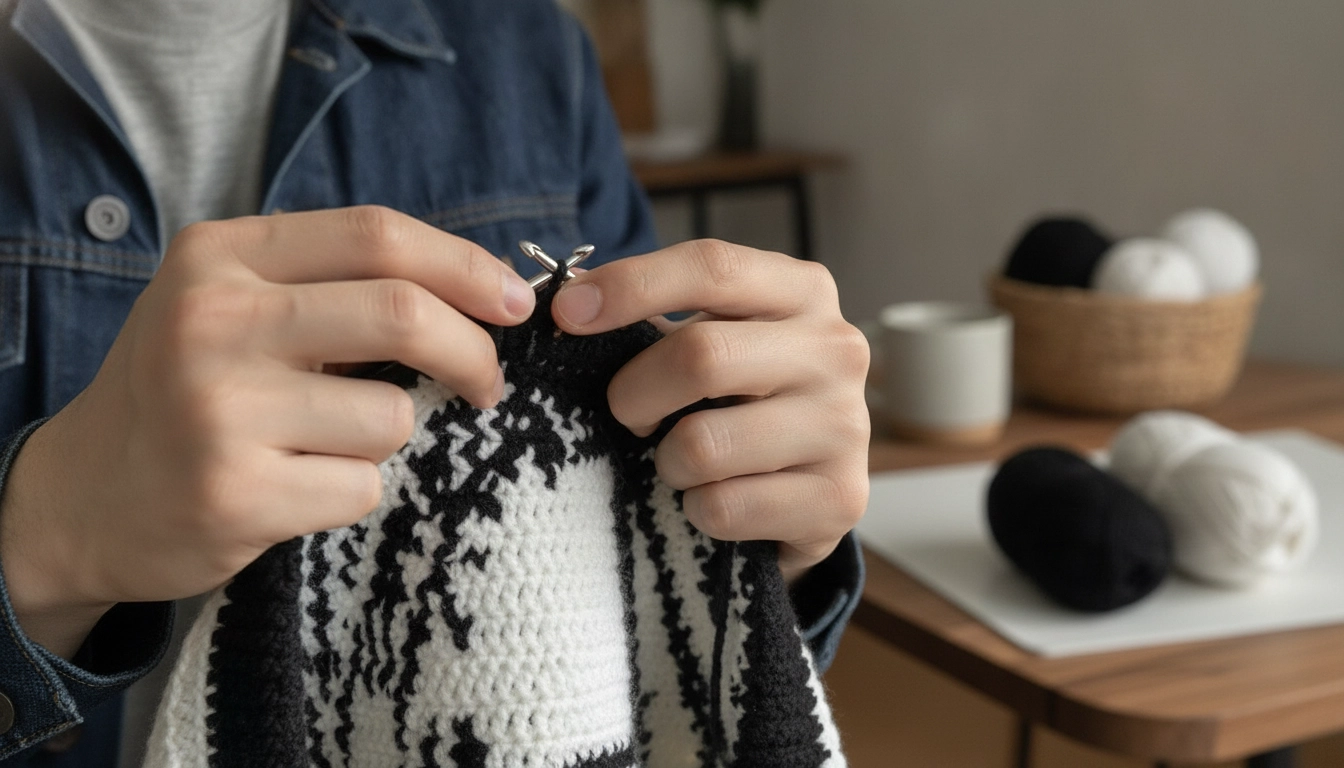
Tapestry crochet involves carrying your inactive yarn along the top of your stitches, creating a clean and dense fabric.
Think of tapestry crochet as running two separate data streams through one single fiber channel. You aren't cutting your yarn every time you change colors, which is a nightmare of loose ends anyway. Instead, you're carrying the inactive color right along the top of your previous stitches, wrapping the active yarn around it as you go. It makes this incredibly thick, structural fabric. It's almost like a woven rug but softer and way more wearable.
When you change colors, you don't wait until the next stitch. You do it on the final pull-through of the current stitch. If you don't do this, your color transitions will look jagged and messy. Like a glitching screen. By carrying the yarn inside the stitches, the inside of your sweater stays totally clean. No loose floats to catch your fingers on when you're putting it on in a hurry. You need tight tension, though. If you're lazy with your gauge, the whole matrix falls apart.
Tension Alert
If you pull your carried yarn too tightly, your panels will shrink and warp. Keep your carried strand relaxed but flat against the row to maintain a smooth, flexible fabric.
Essential Materials: Choosing the Best Contrast Yarn for Pixel Art
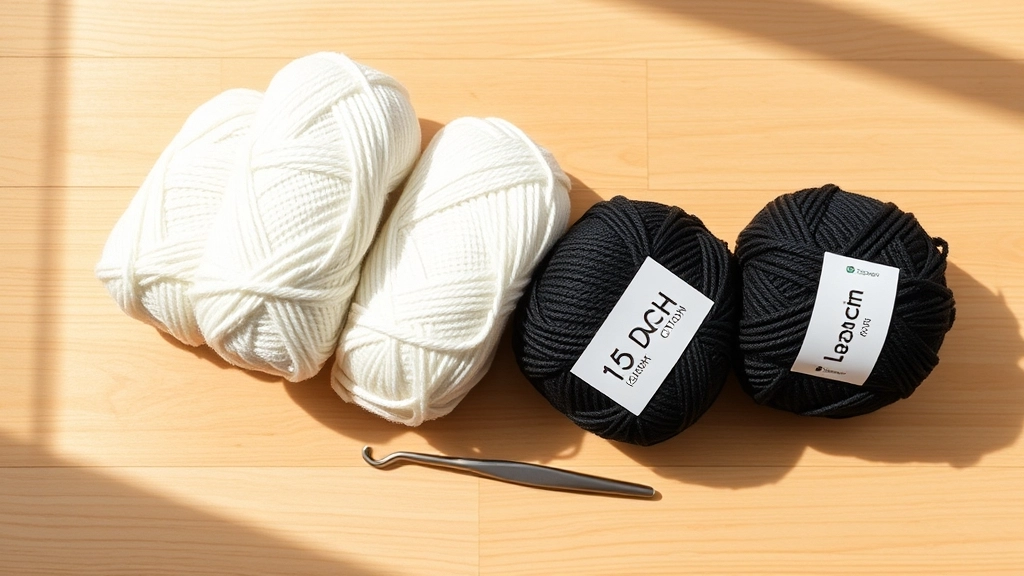
Choosing high-contrast, non-fuzzy yarns like organic cotton ensures your pixel art remains sharp and clear.
If you want this design to hit right, you need maximum contrast. None of that blurry, low-res look. We are talking high-definition black and white. Don't even think about grabbing cheap, squeaky acrylic yarn from the discount bin. It pills instantly. It fusses up, and within three washes, your sharp anime pixels will look like a muddy blob.
Get your hands on some worsted weight 100 percent organic cotton or a really structured merino wool blend. Cotton is perfect here because it has zero halo—meaning no fuzzy fibers to blur your lines. It gives you these crisp, hard edges that make the graphic look like it was printed on the fabric, except it's actually part of the physical structure.
For hooks, you'll want a 4.5 mm crochet hook for the main body panels. That keeps the stitches dense. Then grab a 3.5 mm crochet hook for the ribbing. The cuffs, hem, and neck need to be tight and springy so the sweater doesn't sag like an old sack.
Understanding Tapestry Crochet: How to Read an Anime Pixel Chart
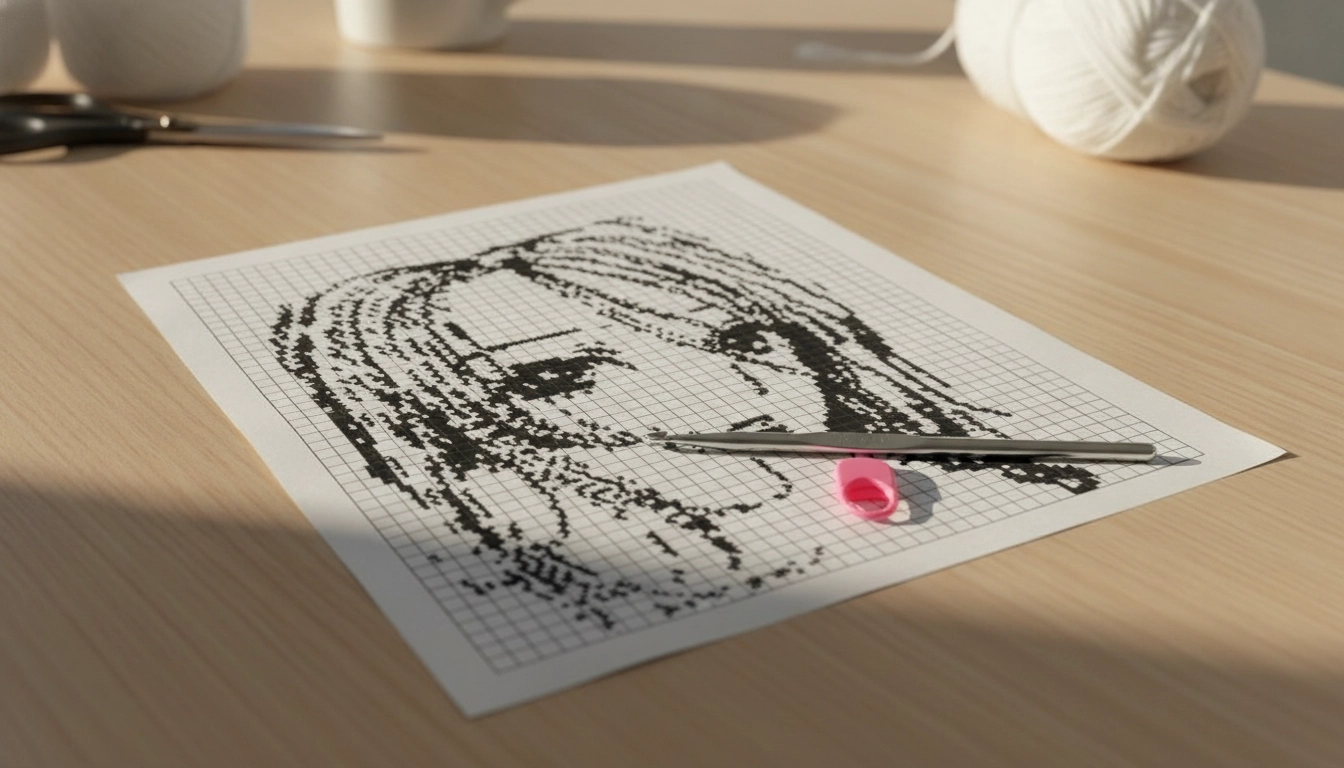
Each square on the pixel chart represents a single crochet stitch, which you will read back and forth.
Each tiny square on your chart is a single crochet. That's your pixel. Since we are working this flat, you have to read the chart back and forth. Odd rows are the front of your work, so you read those right to left. Even rows are the back, read left to right.
It messes with your head at first. But you get into a rhythm.
The secret to clean color blocks is the handoff. Let's say you're doing a run of white and the next stitch is black. Drop the white yarn right before you finish the last white stitch. You should have two white loops on your hook. Grab the black yarn. Pull it through those two loops. Boom. Your hook is now loaded with black, and the stitch you just made is perfectly white. If you mess this up, you get these annoying little flecks of the wrong color sticking up where they shouldn't be.
Tapestry crochet has its own learning curve, so let us look at the most common glitches you might run into and how to patch them instantly.
| Visual Glitch | Root Cause | Quick Fix |
|---|---|---|
| Colors bleeding through | Stitches are too loose | Switch to a smaller hook size to tighten the stitch walls |
| Fabric puckering or warping | Carried yarn pulled too tight | Gently tug the carried strand flat before finishing the row |
| Jagged color lines | Changing colors on the wrong loop | Always complete the final pull-through with the new color |
My Take
Keep your tension consistent. If you get frustrated and start pulling tighter halfway through, your sweater panels will end up looking like a trapezoid instead of a clean rectangle.
Mastering the Free Crochet Anime Girl Sweater Pattern
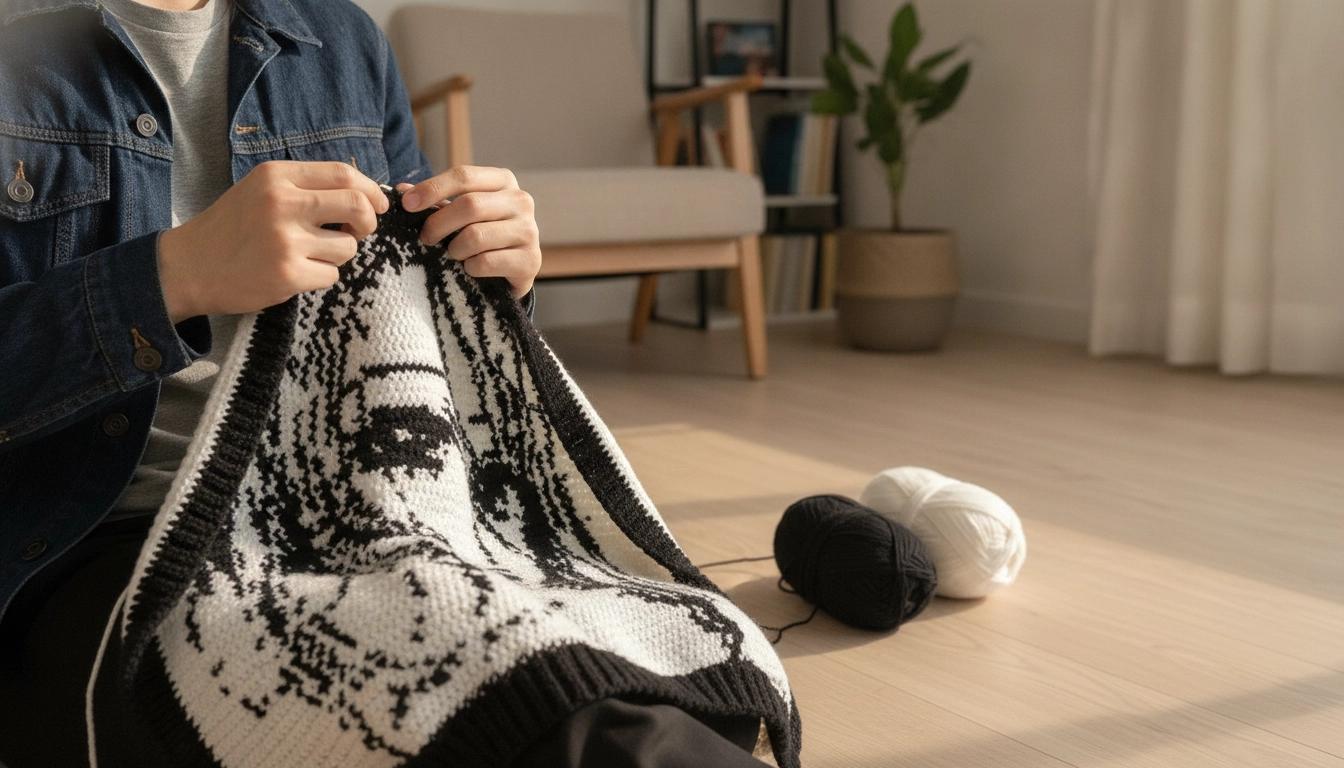
This intermediate project requires concentration and steady tension to bring the graphic portrait to life.
Before we get into the row-by-row grind, let's get the physics straight. This isn't a beginner project where you can just zone out while watching Netflix. It's for intermediate makers who want to build a real, heavy, drop-shoulder graphic sweater that actually looks professional. We are building structure here, not a floppy blanket.
Finished Measurements / Sizing
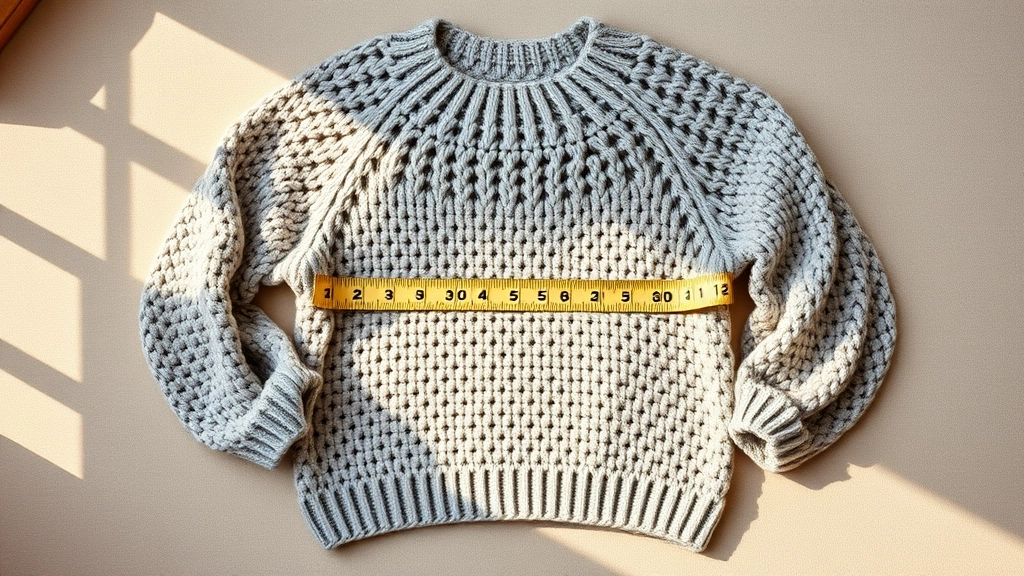
The pattern is designed for an oversized, cozy fit, but you can easily scale it by adding background stitches.
This specific pattern is scaled for a standard Medium with a baggy, oversized look. Because fitted sweaters are not the vibe right now. If you want to make it bigger or smaller, it's super simple. For those interested in how mathematical principles can be used to scale other garments for a custom fit, explore our plus size bralette crochet pattern. Just add or subtract a few solid white stitches to the left and right sides of your panels. The graphic stays exactly the same in the middle, you're just adjusting the white space around it.
1. Width across chest: 56 centimeters (22 inches)
2. Total length: 66 centimeters (26 inches)
3. Sleeve length: 48 centimeters (19 inches)
Let us break down these dimensions so you can visualize how this oversized fit is going to drape on your body.
| Measurement Area | Metric | Imperial | Fit Note |
|---|---|---|---|
| Chest Width | 56 centimeters | 22 inches | Laid flat for an oversized drape |
| Total Length | 66 centimeters | 26 inches | Hits right around the hip line |
| Sleeve Length | 48 centimeters | 19 inches | Dropped shoulder design adds extra slouch |
My Take
If you are between sizes, always size up. An oversized graphic sweater looks intentional and cozy, whereas a slightly too tight tapestry piece just looks like a 'scaling error' on your frame.
You Will Need / Materials
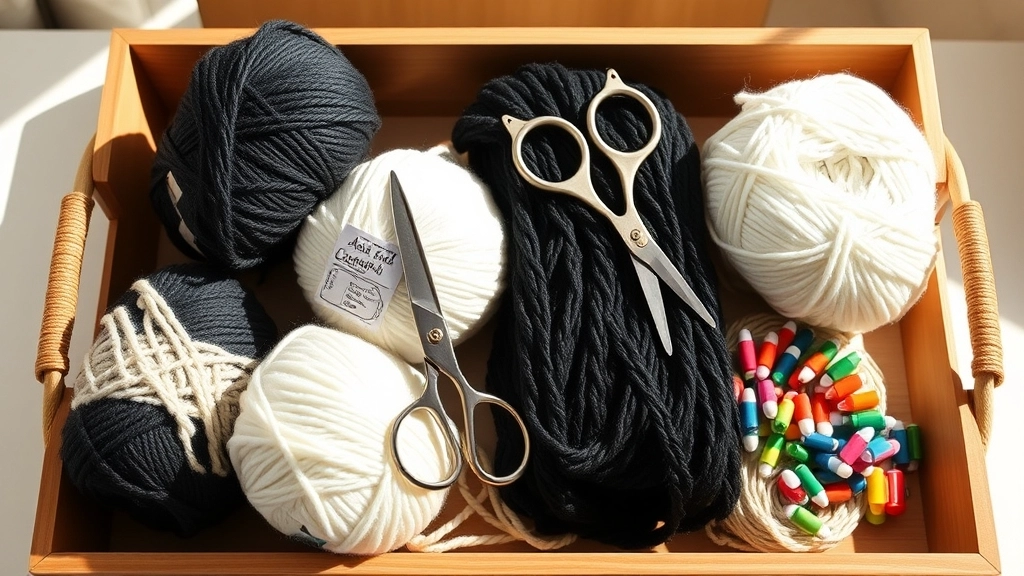
Gather all your materials beforehand to avoid running out of yarn mid-project.
Don't run out of yarn halfway through. That's the worst feeling.
1. Main Color: 500 grams of worsted weight organic cotton in Bright White (approximately 1000 meters)
2. Contrast Color: 300 grams of worsted weight organic cotton in Jet Black (approximately 600 meters)
3. Crochet Hooks: 4.5 mm (for main panels) and 3.5 mm (for ribbing)
4. Notions: Tapestry needle, scissors, and 4 locking stitch markers
To make your yarn run as smooth as possible, here is a quick inventory checklist of everything you need to grab.
| Item Name | Quantity | Specifications | Primary Role |
|---|---|---|---|
| Bright White Yarn | 500 grams | Worsted weight organic cotton | Main background color |
| Jet Black Yarn | 300 grams | Worsted weight organic cotton | Graphic portrait details |
| Larger Hook | One | 4.5 millimeter size | Main body panel structure |
| Smaller Hook | One | 3.5 millimeter size | Tight elastic ribbing |
My Take
Do not swap the cotton for acrylic here. Cotton has zero fuzzy halo, which is the secret sauce for keeping those pixel edges looking like a crisp digital screen.
Here is a quick visual look at how the yardage breaks down between your main background color and your contrast details.
My Take
Always buy one extra skein of the main color. Tapestry crochet eats up slightly more yardage than standard crochet because you are constantly carrying that second strand inside your stitches.
Tension / Gauge
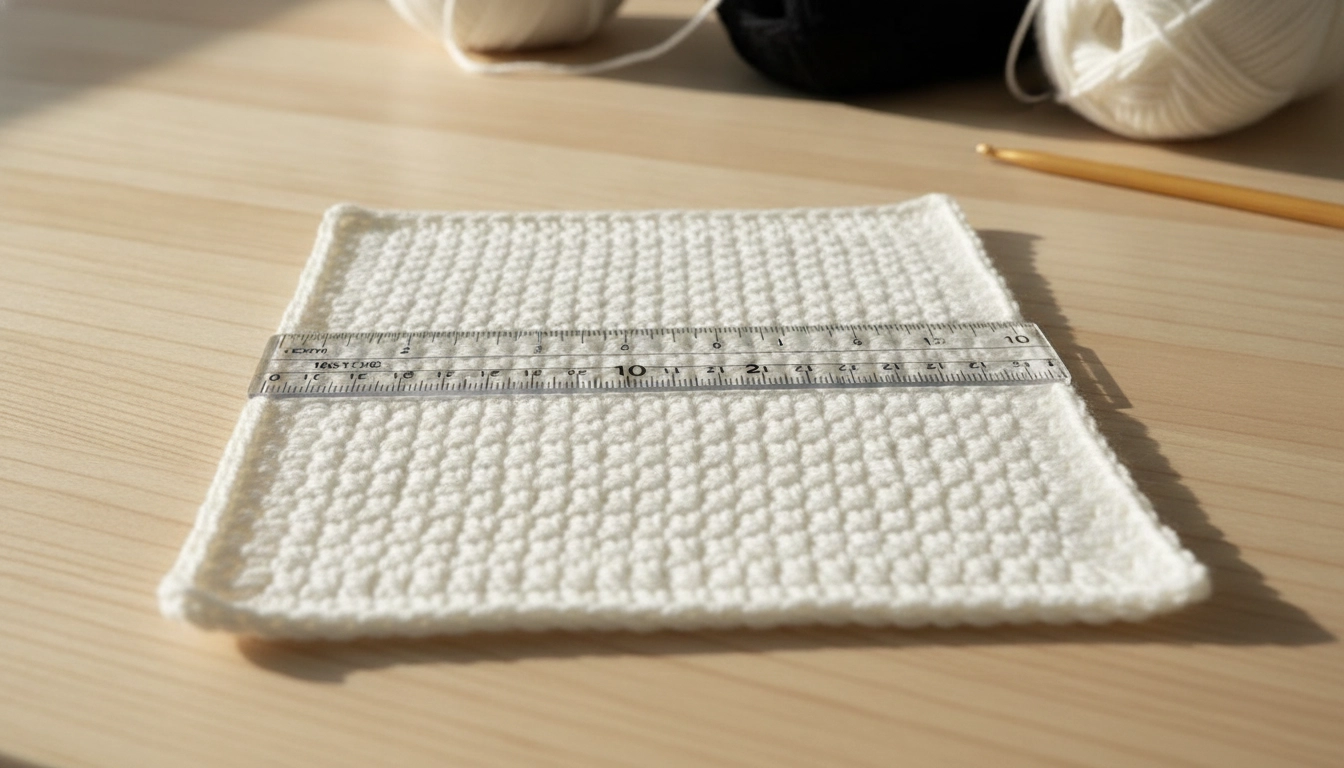
Making a gauge swatch is crucial to ensure the anime graphic doesn't warp or stretch out of proportion.
Grab your 4.5 mm hook and test your tension. 18 stitches and 20 rows of single crochet should give you exactly a 10cm by 10cm (4 inch by 4 inch) square.
Seriously, do not skip the swatch. If your tension is too loose, the anime girl's face will stretch out and look weirdly long. If it's too tight, you'll end up with a stiff piece of cardboard that you can't even move your arms in. Make the swatch, measure it, and adjust your hook size if you need to.
Good to Know / Notes
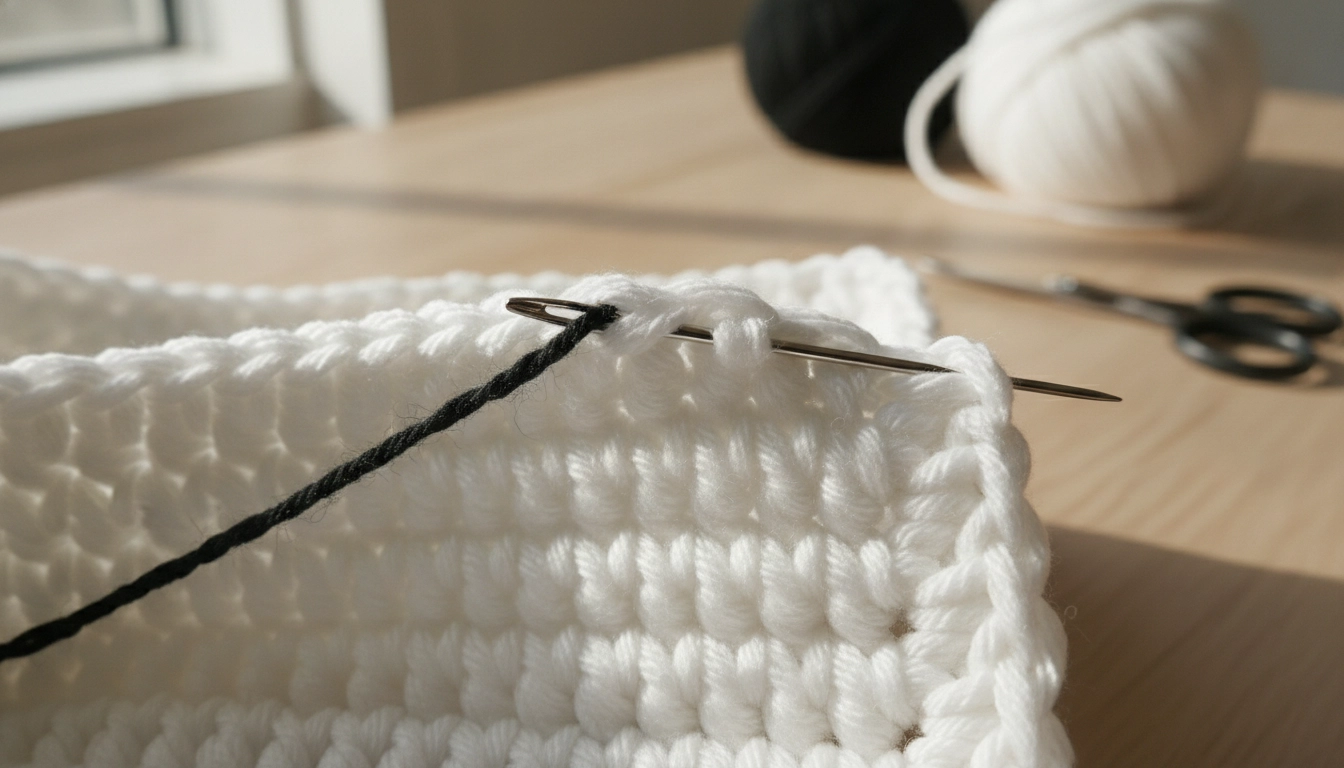
Use a sharp needle to split the fibers when weaving in ends, ensuring your sweater survives the wash.
A few quick rules before you start stitching:
1. This pattern uses US crochet terminology.
2. The carried yarn should always run along the top of the stitches of the previous row. Crochet over it to hide it.
3. Always turn your work at the end of each row.
4. The chain 1 at the beginning of each row does not count as a stitch.
5. Safety warning: When weaving in ends, use a sharp tapestry needle to split the yarn fibers. This locks the tails in place and prevents unraveling during washing.
Abbreviations & Special Stitches
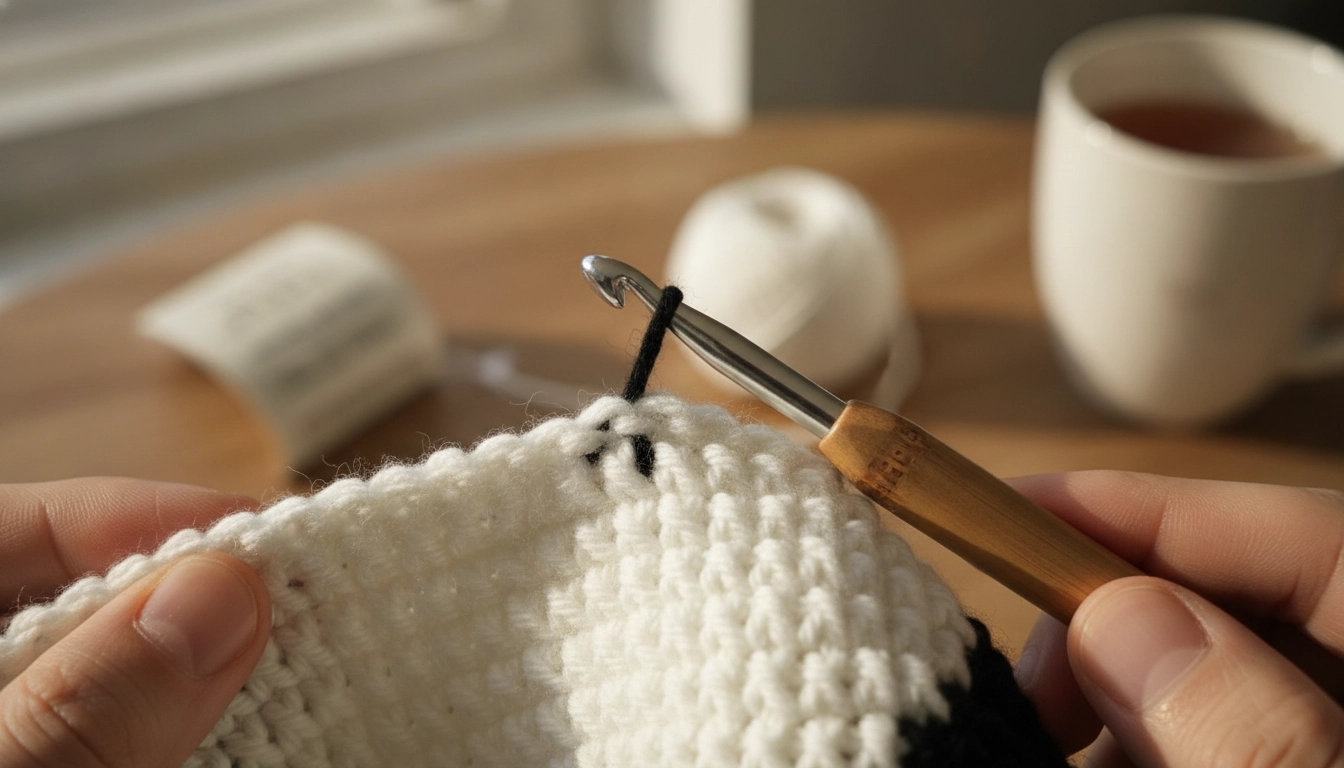
The invisible decrease keeps your fabric flat and prevents bulky bumps in your graphic work.
1. Ch: Chain
2. Sc: Single Crochet
3. Sl St: Slip Stitch
4. Blo: Back Loop Only
5. St(s): Stitch(es)
6. MC: Main Color (White)
7. CC: Contrast Color (Black)
Invisible Decrease
Instead of doing a normal bulky decrease, insert your hook only into the front loop of the first stitch, then immediately slide it into the front loop of the second stitch. Yarn over, pull through both of those front loops, then yarn over and pull through the remaining two loops on your hook. It keeps the fabric incredibly flat.
Ribbed Stitch (Sc in BLO)
To get that clean, knit-look ribbing for the waist and cuffs, just work your single crochet stitches into the back loops only of the previous row. It creates a nice, stretchy accordion texture.
The Pattern: Crocheting the Front Panel Graph
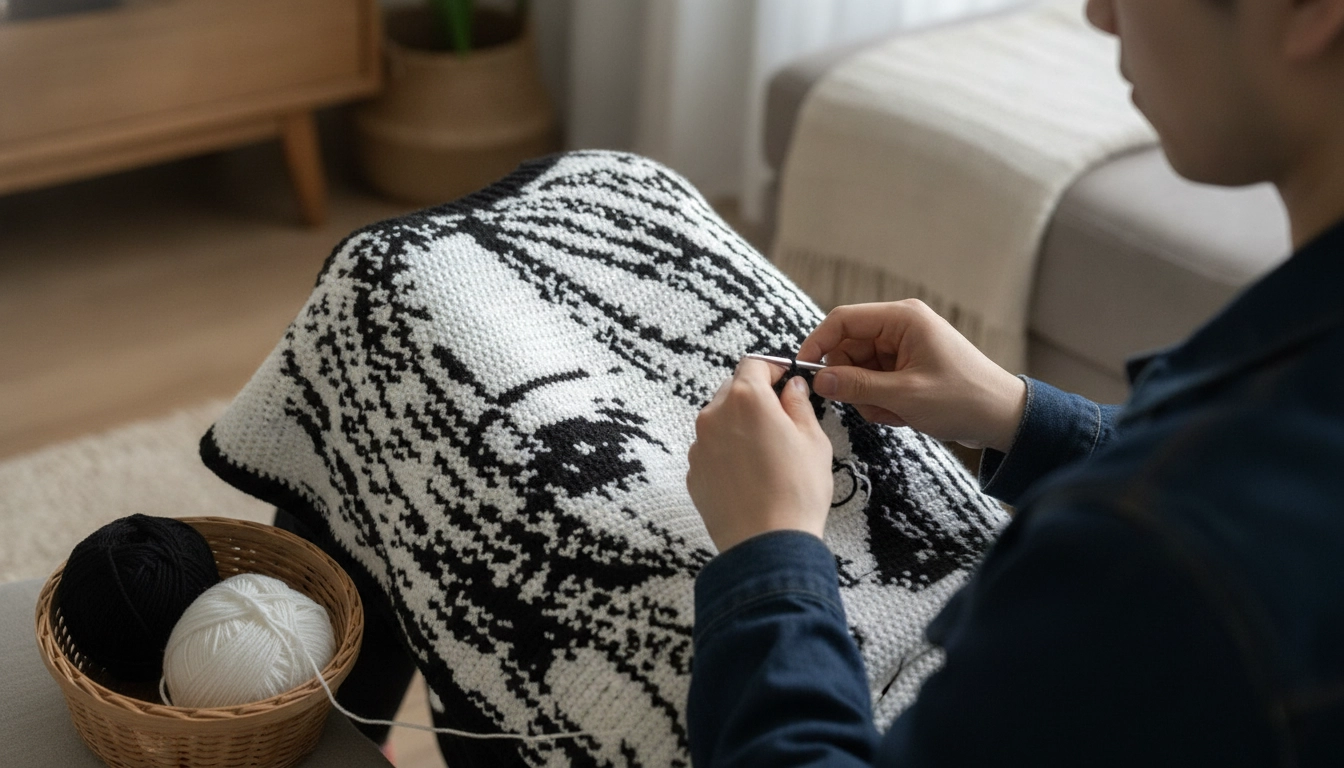
The front panel is where your pixel art comes together, stitch by stitch, to reveal the anime portrait.
This is where the magic happens. We're using the 4.5 mm hook for this panel. Below is the setup and the start of the color-blocking sequence so you don't get lost.
Managing Yarn Tangles
When working with two yarn balls at once, keep your Main Color ball on your left side and your Contrast Color ball on your right side. This prevents the working yarns from twisting around each other as you turn your work.
Working the Solid Sleeves and Ribbed Cuffs
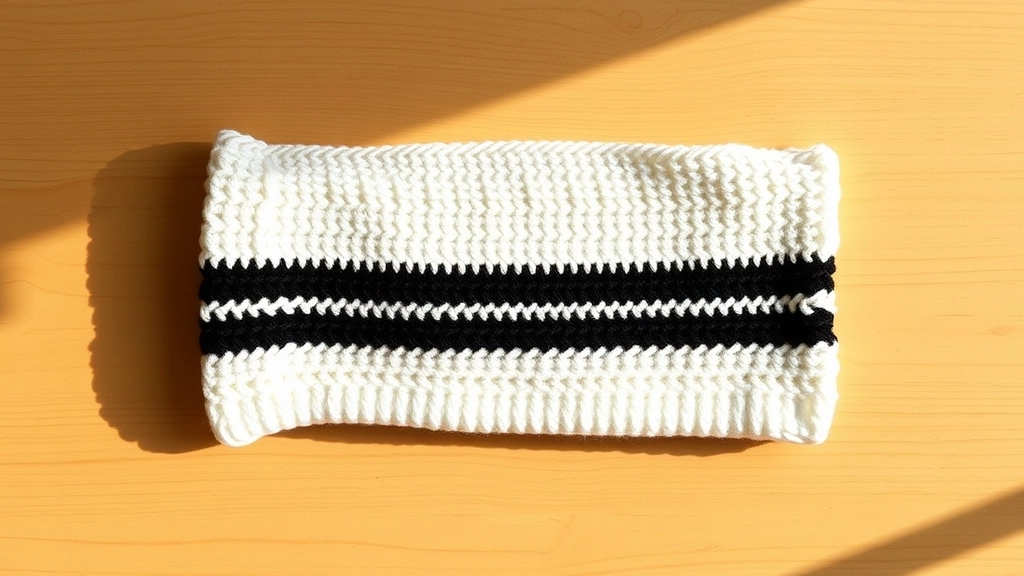
The solid sleeves feature a bold black stripe to complement the high-contrast graphic on the front panel.
For the sleeves, we're keeping it relatively simple but with a sharp detail. A clean white base, but with a thick, graphic black stripe cutting right through the middle. It ties the whole high-contrast aesthetic together without making the project take three years to finish. This bold graphic style pairs perfectly with other vintage-inspired garments, such as our Retro Revival: Crocheting Oversized Striped Wide-Leg Pants with a Ruffle Crop Top.
The Pattern: Assembling the Panels and Crocheting the Neckband
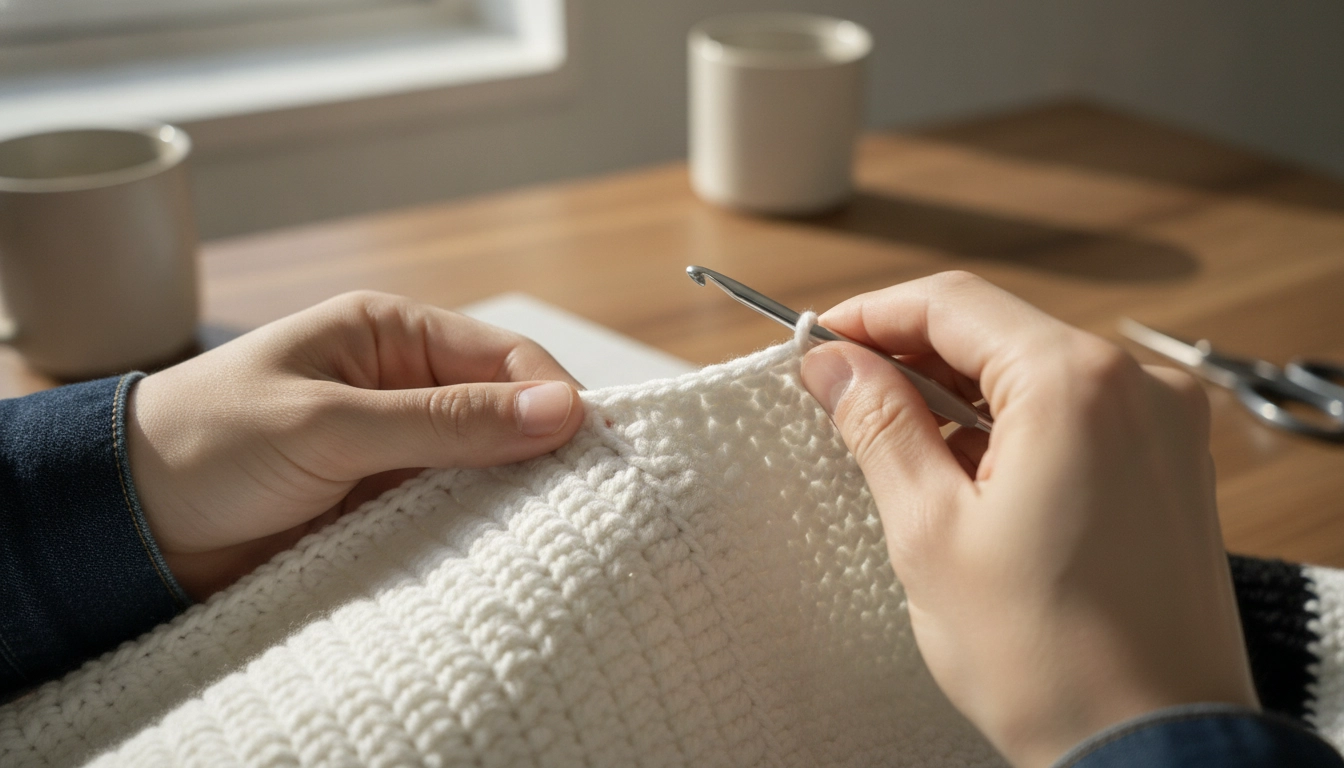
Using a flat slip-stitch join keeps your shoulder and side seams strong, durable, and completely flat.
Once you have your front panel, back panel (which you just work exactly like the front but entirely in plain white), and your two sleeves, it's assembly time. We are using a flat slip-stitch join. It keeps the seams completely flat and incredibly strong, so your sweater won't fall apart at the shoulders.
Conclusion
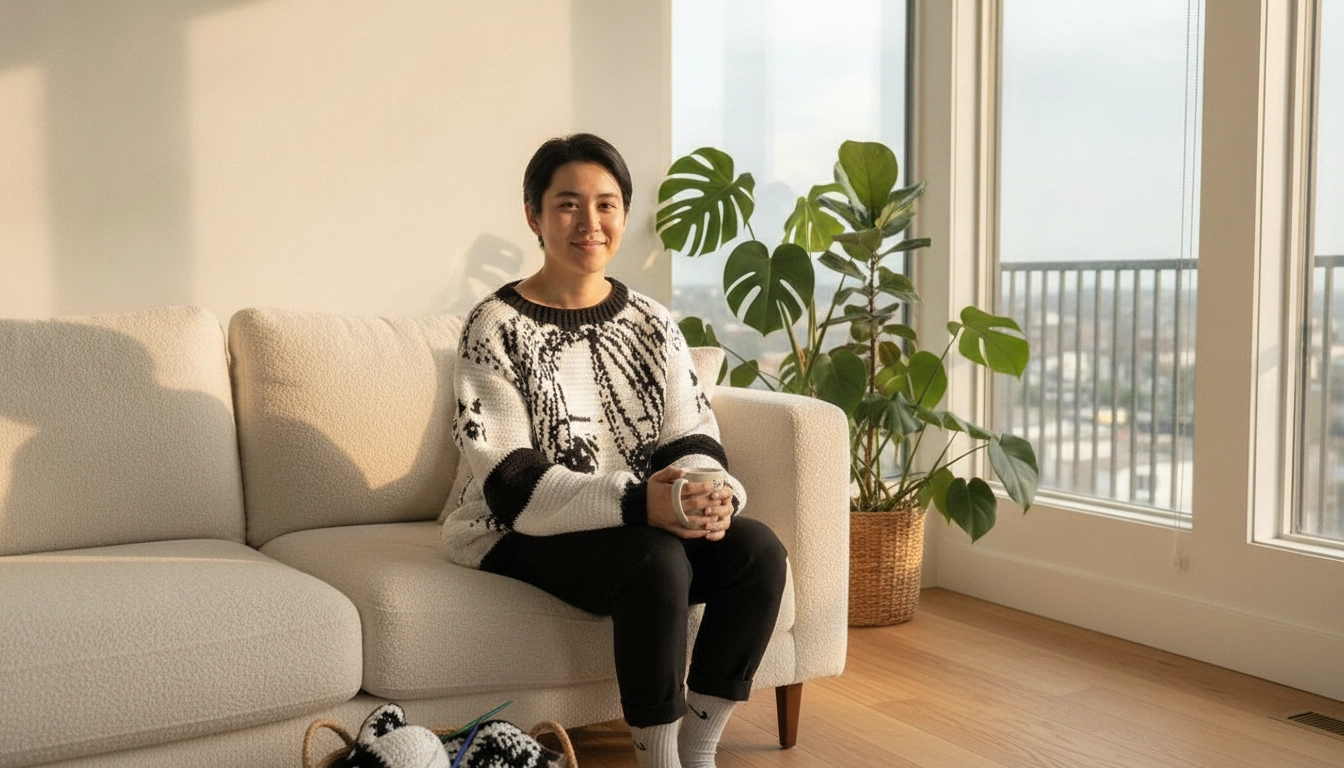
Celebrate your hard work by rocking your custom, durable, and highly unique piece of wearable art.
Making your own clothes is the best way to tell fast-fashion to back off. By finishing this project, you've made a piece of wearable art that will actually last. The sharp lines of the organic cotton mean this design is going to look crisp for a very long time.
I hope this makes you see crochet differently. It's not just a hobby—it's structural math you can wear. Show off your finished work, and keep breaking the rules of what handmade stuff can be.