
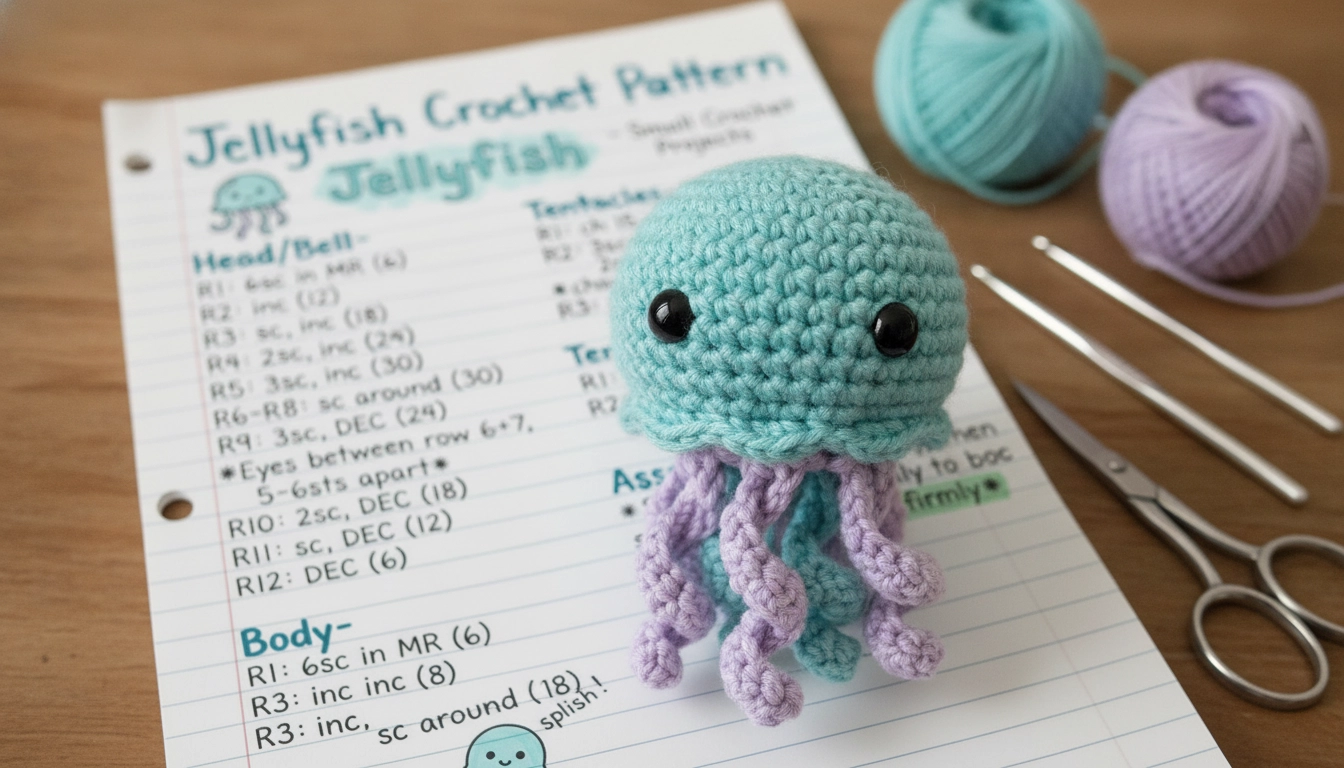
Look at your shelf right now. Half that plastic junk is going to outlive your grandkids, which is honestly a terrifying design flaw. We're breaking the cycle today with pure yarn physics. I was staring at a pile of scrap cotton yesterday—specifically this gorgeous, saturated lavender that feels like a literal cloud—and realized we need to talk about how stitch geometry actually beats mass production. My friend Daniel Mcdonalid, who is over on Hogan St in Bundaberg, challenged me to prove you can construct a fully three-dimensional creature without messy, annoying seams. Just clean, satisfying math. This isn't your average project; it's a structural protest against cheap, toxic toys, made with real-deal organic cotton that actually feels amazing to hold.
Understanding the Basics of Amigurumi Structure
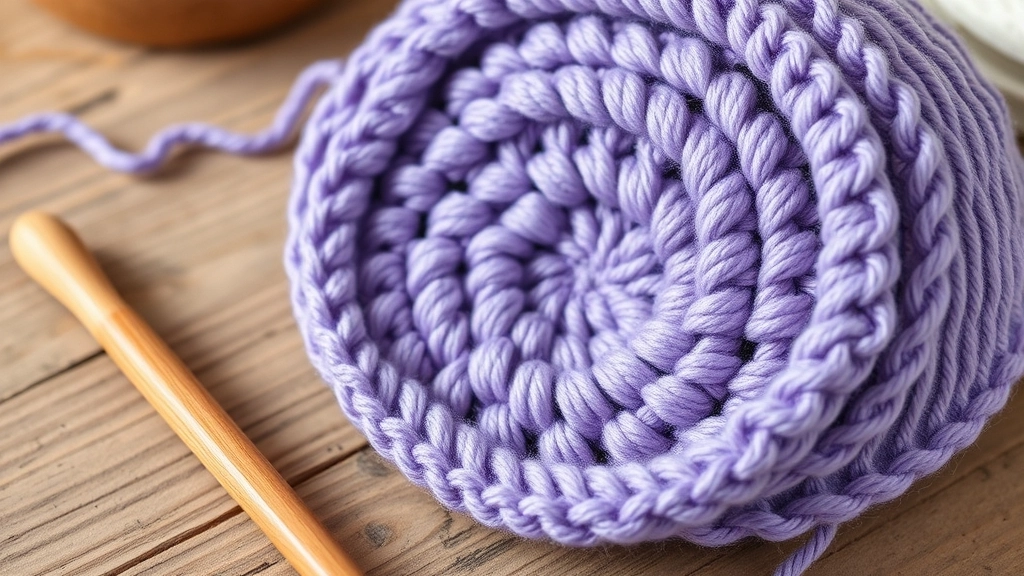
Trust the math: clean, steady increases transform a flat circle into a perfect 3D dome.
Stop thinking of stuffing things as some random hobby. It's actually a 3D coordinate system. Every single stitch is a plot point on an X, Y, and Z axis. If you mess up your increases, your sphere turns into a weird, lumpy potato. I hate lumpy potatoes.
To help you visualize how the stitch count scales up and then tapers down to form the perfect dome, here is a breakdown of the row-by-row stitch distribution.
My Take
The plateau in the middle is what gives the jellyfish its bell shape. Without those constant stitch rounds, you would just end up with a flat circle instead of a 3D dome.
To get that perfect dome shape, scale outward. Just clean, logarithmic growth.
If you want to visualize how stitch ratios alter your amigurumi architecture, check out this quick breakdown of how math transforms your yarn.
| Increase Formula | Resulting Geometry | Best Used For |
|---|---|---|
| Constant rapid increases | Flat circular disc | Flat bases and coasters |
| Steady gradual increases | Perfect hemispherical dome | Jellyfish bells and doll heads like the free crochet rose girl amigurumi pattern. |
| Zero increases over rounds | Straight cylinder | Tentacles and body tubes |
My Take
Stitch geometry is your best friend. Once you master how these three basic growth rates behave, you can design literally any shape without needing a written pattern.
We start with a magic ring. A tiny loop that locks the center. Without this, your jellyfish leaks fluff everywhere, which looks messy.
Once you get the hang of how the geometry scales, you're building a structural sculpture. This structural scaling is also the secret behind crafting a sturdy free angel stitch amigurumi crochet pattern without it looking deflated. It is the perfect gateway to understanding how yarn moves.
Materials and Tools for Your Small Jellyfish Project
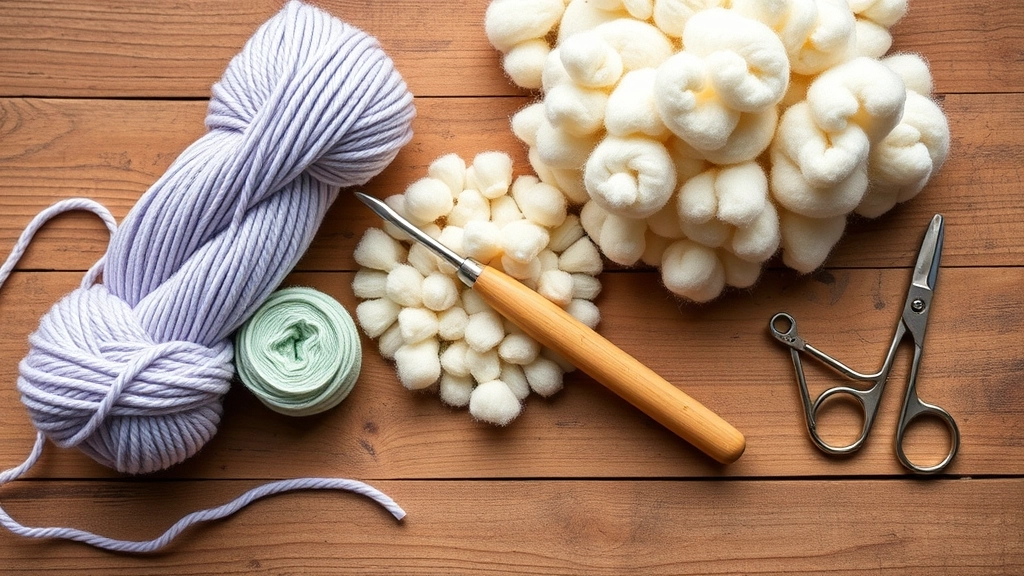
Quality materials make all the difference. Choose organic cotton and real wool stuffing for a crisp, biodegradable finish.
Let's talk gear. Drop the cheap acrylic. Seriously, throw it out. It pills, it feels squeaky, and it's basically just spun oil. We want high-vibe organic cotton. Grab a sport-weight. I'm obsessed with pairing mint green with soft lavender because the color-blocking is extremely satisfying.
Let us do a quick comparison of how different fiber choices affect your finished project and the environment.
| Fiber Choice | Stitch Definition | Durability | Eco Friendly Rating |
|---|---|---|---|
| Organic Cotton | Extremely crisp and clean | High durability | Excellent |
| Pure Wool | Soft and fuzzy | Medium durability | Excellent |
| Acrylic Yarn | Fuzzy and loose | Low durability | Poor |
My Take
Cotton is the ultimate choice for amigurumi because it does not stretch out of shape when you pack it full of stuffing. Your stitches stay tight and neat forever.
You will need this exact stitch tension and fiber choice to successfully complete a free cat in taiyaki hat amigurumi crochet pattern as well.
You need a 3.0mm hook to prevent floppy stitches where stuffing peeks through.
Also, get 8mm safety eyes, a tapestry needle, stitch markers, and natural wool stuffing.
Using wool instead of polyester means your sea creature is 100% biodegradable. It's solid, clean, and safe.
Mastering the Free Jellyfish Amigurumi Crochet Pattern Structure
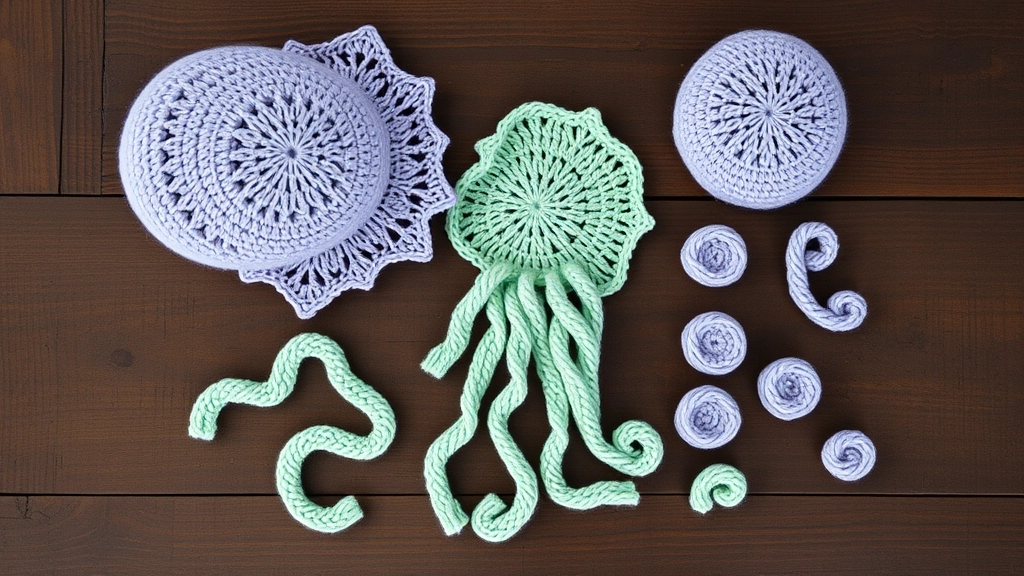
Before assembly begins: gather your completed dome, flat base, and bouncy spiral tentacles.
Perfect Spiral Tension
To get the perfect bouncy curl in your tentacles, make sure you do not pull your chain stitches too tight. Keeping your tension relaxed allows the three single crochets in each chain to naturally twist into a beautiful spiral.
Safety Eye Placement
Always secure your safety backings tightly before you finish closing the head. Once you decrease past row ten, it becomes incredibly difficult to reach inside and secure the washers properly.
Assembly Guide: Sewing and Stuffing Your Amigurumi Jellyfish
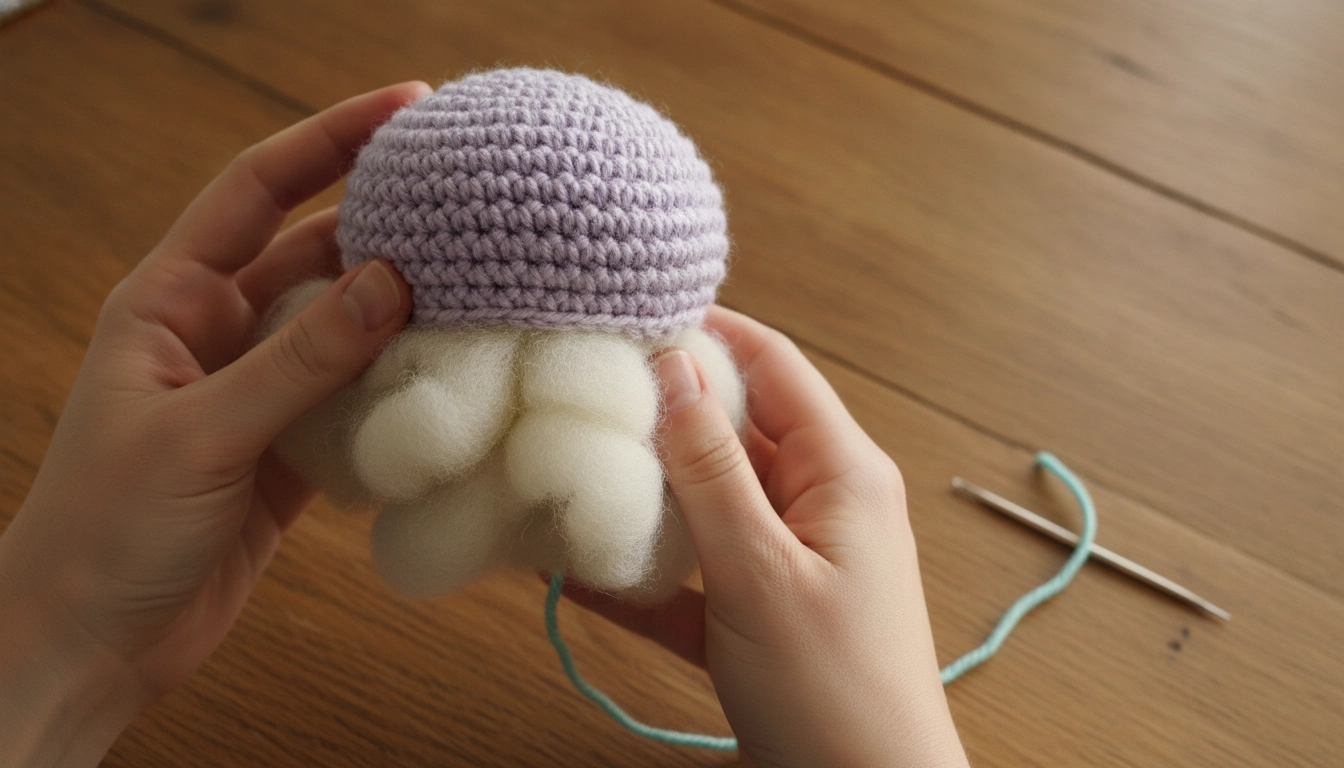
Pack your natural wool stuffing firmly to ensure your jellyfish holds its iconic dome shape over time.
Okay, assembly. Don't get lazy here. Stuff the head first. Pack that natural wool in there until it feels firm, like a dense little mushroom. It needs to hold its dome shape when you squeeze it. Proper stuffing density is especially important for miniature toys, such as when you are assembling a free tiny bear amigurumi crochet pattern.
Now, take the body panel base. Just a light stuffing.
Line them up. Thread your tapestry needle with matching yarn and whipstitch them together. Keep stitches even so the seam is practically invisible.
Then, the tentacles. Space them out. Three long, three short. Sew them right to the bottom. Weave the ends in. Clean.
If things are not looking quite right during your assembly, here is a quick troubleshooting guide to get your jellyfish back on track.
| Assembly Issue | Likely Cause | Simple Solution |
|---|---|---|
| Lumpy bell shape | Clumped stuffing | Pull wool fibers apart before stuffing |
| Visible seam lines | Loose sewing stitches | Use a sharp tapestry needle and pull snug |
| Drooping tentacles | Weak attachment points | Sew through both loops of the base panel |
My Take
Do not rush the assembly. Secure your yarn ends with a double knot on the inside of the body before weaving them in so nothing ever unravels.
Conclusion
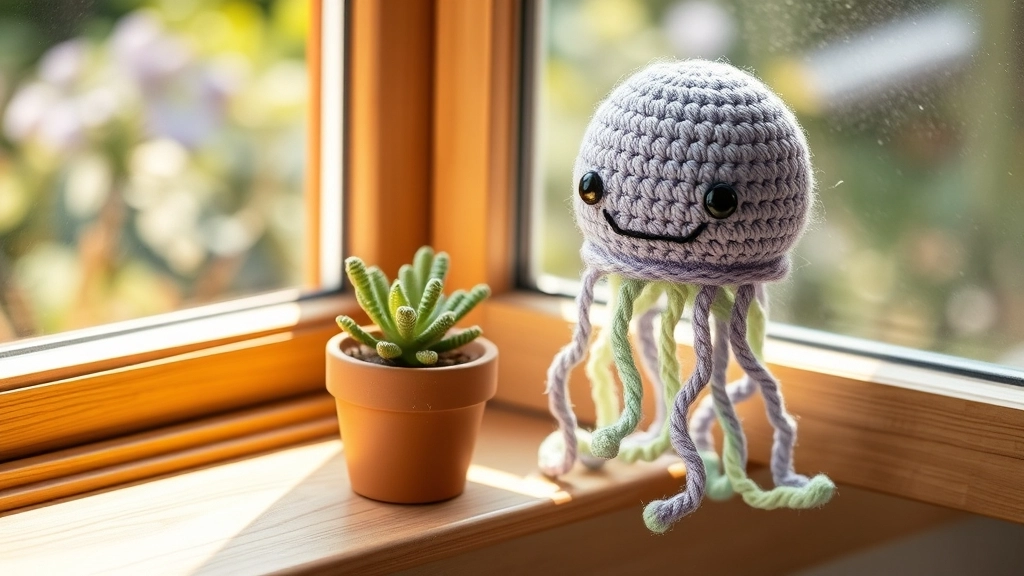
Your finished, plastic-free jellyfish is ready to add a splash of handmade charm to your home!
Making your own things feels different. It's slow fashion. It's taking control of what we consume. Plus, you end up with a cool, plastic-free jellyfish instead of factory-made junk.
Just a hook, some cotton, and basic geometry.
What colors are you going for? Drop a comment below. I want to see how the color blocks look.