
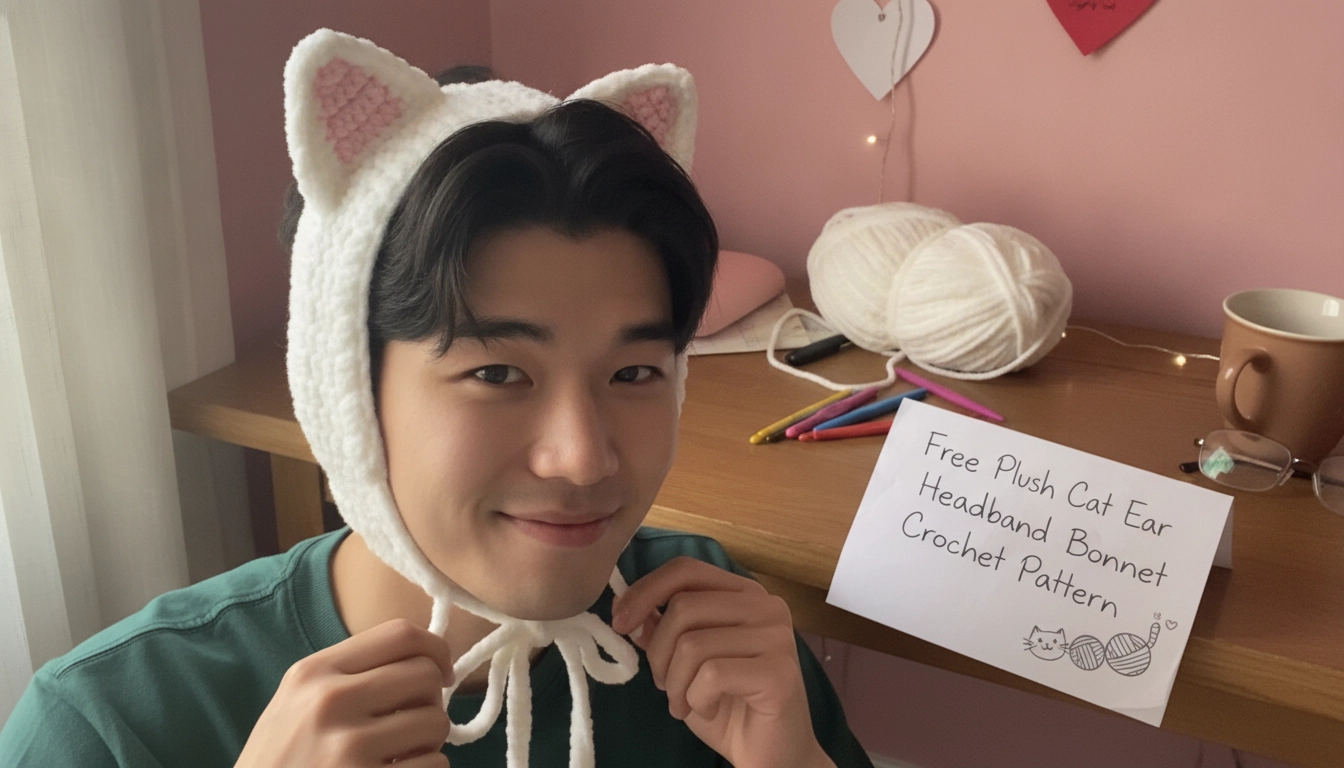
Fast fashion design is a literal crime against physics and your face. My friend Isaiah Shelton over on Woodland St in New Orleans sent me a DM of this sad, floppy acrylic headband that disintegrated after two wears. I lost my mind. We are hacking the math of stitch geometry today because you deserve better than petroleum-based garbage. This free plush cat ear headband bonnet crochet pattern is my aggressive response to flat, lifeless designs. We are taking back control of our accessories, much like we did when engineering the durable Free Crochet Puppy Tote Bag Pattern to replace flimsy, mass-produced store bags. We are using yarn physics to build something that actually frames your cheekbones and holds its shape without uncomfortable wires.
Understanding the Basics of the Cat Ear Bonnet
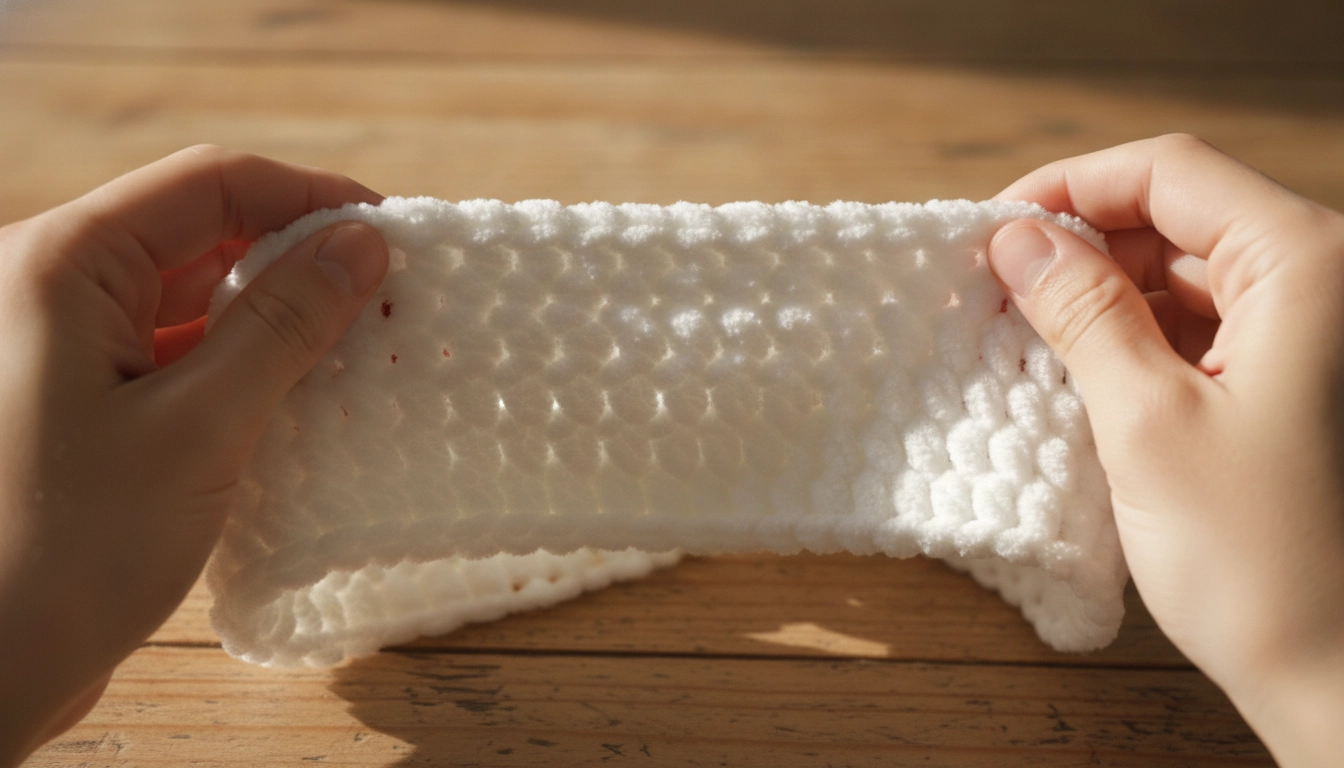
Keeping your stitch tension tight creates a self-supporting grid that holds its shape naturally.
A cat ear headband bonnet is a wild hybrid. It takes the cozy protection of a classic hood and smashes it with high-energy animal ears. But here is the thing. Most patterns tell you to shove plastic headbands inside. No. That feels cheap. We rely entirely on massive stitch tension. By packing heavy, organic cotton or wool fibers super close together, we create a self-supporting grid. You get an insulating frame that stays stiff. If you enjoy crafting structured headwear that defies gravity without inserts, you can also explore our tutorial on the Wild Things: Crocheting a Dark Green Monster Wide-Brim Hat with Teeth and Mushrooms. It is functional art that completely breaks the cycle of buying disposable trash.
Let's break down exactly how my engineered construction methods stack up against those sad, mass-produced fast fashion alternatives so you can see the actual science of stitch tension.
| Design Element | Cheap Fast Fashion | Mary's Engineered Method |
|---|---|---|
| Structure | Plastic headband insert | Massive stitch tension grid |
| Fiber Choice | Squeaky petroleum acrylic | Organic cotton or wool plush |
| Fit on Head | Floppy and flat | Sculpted cheekbone frame |
| Longevity | Disintegrates in two wears | Lifetime durability |
My Take
Relying on physical tension instead of cheap plastic inserts is a literal game-changer. It makes the bonnet mold to your unique head shape while keeping the ears perfectly upright.
Required Materials: Choosing Plush Yarn and Hooks for Comfort
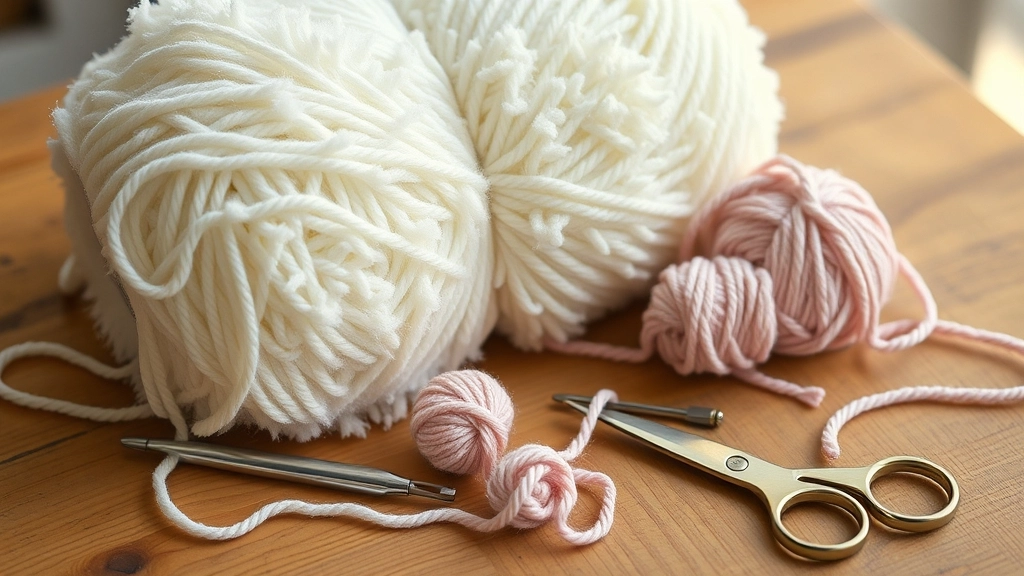
Selecting high-quality organic cotton or plush wool chenille yarn ensures your bonnet is soft, thick, and breathable.
Do not buy cheap, squeaky synthetic yarn. It feels like plastic because it is. It does not breathe. Instead, hunt down a super-bulky, high-quality plush chenille made from organic cotton or natural wool. You need white for the main body and pink for the inner ears. Grab a 6.0 mm hook. Do not use an 8.0 mm hook. Larger hooks mean loose stitches and floppy ears. Keep it tight. You also need a tapestry needle and scissors. This is an easy intermediate build.
To make sure you do not waste your hard-earned money on materials that will fail you, I mapped out this quick yarn performance comparison chart.
My Take
Organic cotton chenille scored the highest because its dense core fibers pack tightly together. This creates the ultimate self-supporting structure without making you sweat.
Recommended Resource
If you want to skip the hassle of sourcing individual tools, check out this comprehensive beginner crochet kit which includes ergonomic hooks and essential accessories.
Step-by-Step Free Plush Cat Ear Headband Bonnet Crochet Pattern
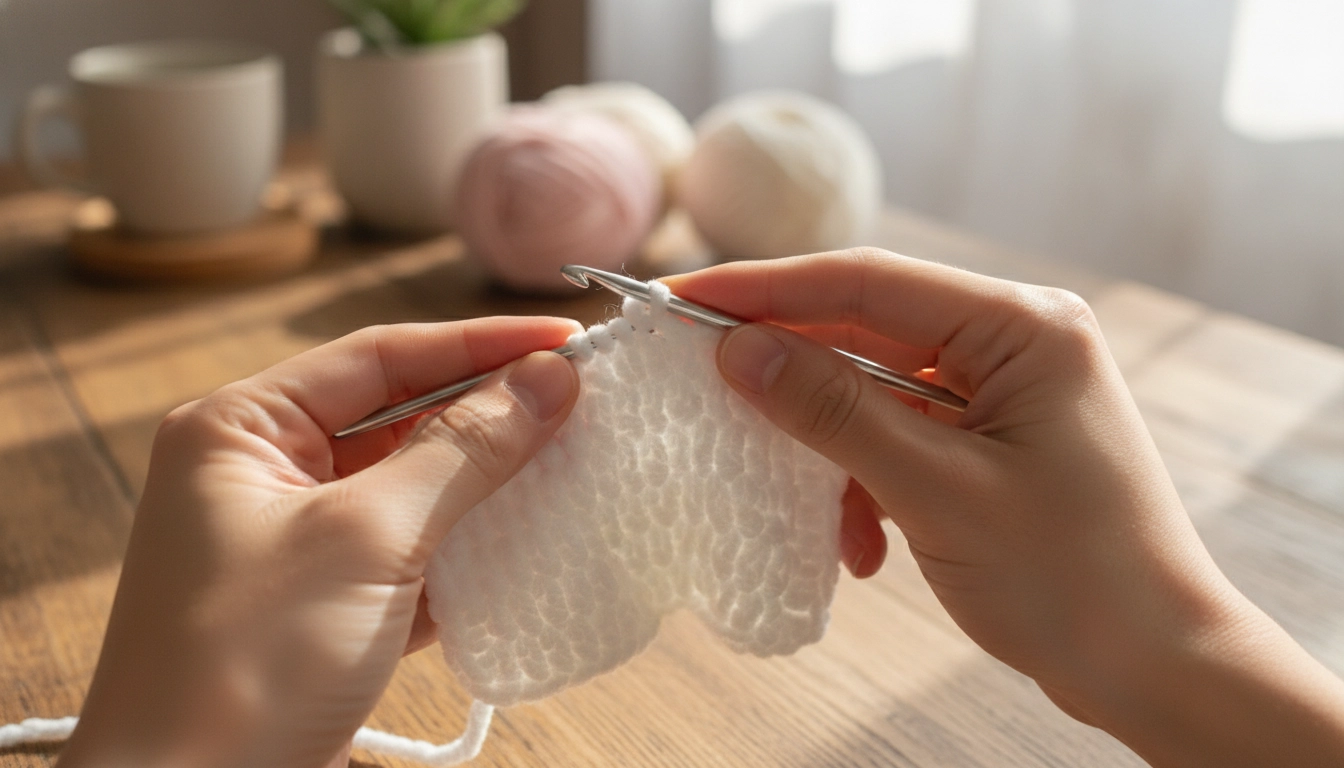
The headband base acts as a sturdy foundation that runs from jaw to jaw over the crown of your head.
We start by constructing the main band. This runs from jaw to jaw, over your crown, acting as a sturdy foundation.
How to Crochet the Pointy Cat Ears
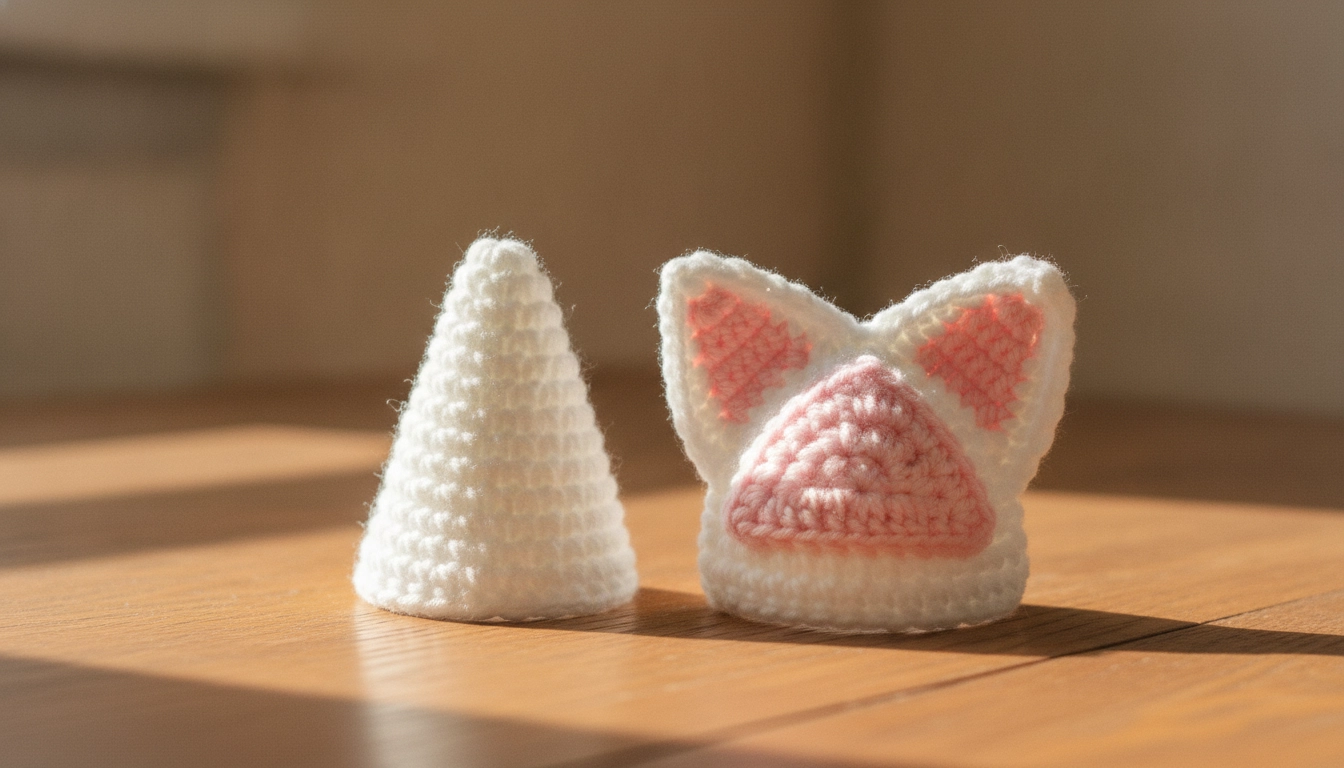
Sewing the flat pink inner ear to the white outer cone pulls the structure forward, keeping the ears pointed and upright.
The ears cannot just be flat triangles. They need to be actual 3D cones. We make two white outer ears and two pink inner ears. Stitching them together forces the ear to curve forward. This 3D shaping technique is similar to the approach used in our Free Cat in Taiyaki Hat Amigurumi Crochet Pattern, where precise stitch math creates a perfectly rounded feline shape. It is a neat physics hack.
If your ears are looking more like sad, deflated pancakes than sharp anime points, look at this quick troubleshooting guide to fix your tension geometry.
| Ear Issue | Direct Cause | Quick Fix |
|---|---|---|
| Floppy Ears | Hook size is too large | Drop down to a 6.0 mm hook |
| Flat Appearance | Missing the inner pink panel | Sew the pink panel to force a 3D curve |
| Crooked Placement | Freehanding the stitch line | Pin the ears five inches from each side |
My Take
Never skip the pink inner ear panel. Sewing that second layer onto the white cone acts like a physical tension strut, keeping the ears pointed high.
Mastering Advanced Stitches
If you want to expand your skills beyond the basics and master stitch geometry, check out the Crochet Stitch Dictionary for detailed guides.
Adding the Under-the-Chin Tie Straps
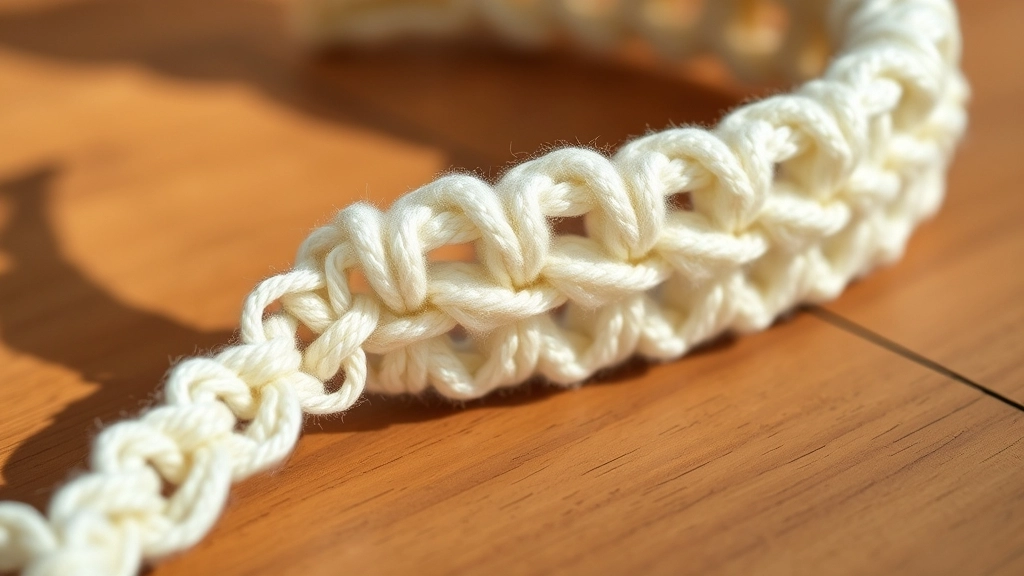
Chaining forty stitches creates the perfect strap length to tie a secure, comfortable bow under your chin.
The straps anchor the entire piece. If they are too thin, they cut your skin. Chaining forty gives you the exact length for a perfect, sloppy bow.
Assembly and Styling: Perfect Ways to Wear Your Kawaii Cat Bonnet
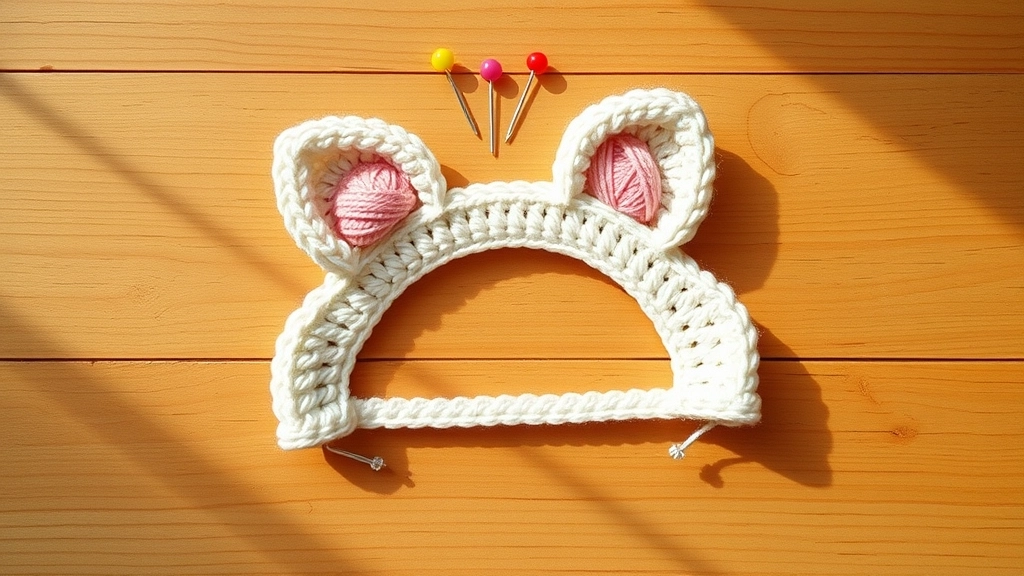
Pinning the ears five inches from each edge ensures perfect symmetry before you whipstitch them down.
Let's assemble. Sew the pink inner ears onto the white outer ears. Next, lay the band flat and measure five inches in from each side to find the perfect crown placement. Pin them securely. Do not freehand this or your ears will end up crooked. Whipstitch the ears to the base, going through both layers of yarn for a sturdy, wobble-free finish. To style it, drape the band just behind your hairline, pull the straps under your chin, and tie a loose bow. It gives an awesome anime-inspired frame. To complete your playful, hand-crafted look, consider pairing this accessory with our Free Crochet Anime Girl Sweater Pattern for the ultimate cozy aesthetic.
Here is a streamlined assembly checklist to make sure you get those ears placed perfectly symmetrical without losing your mind.
| Phase | Assembly Action | Key Detail |
|---|---|---|
| One | Sew pink inner ears to white outer ears | Go through back loops only |
| Two | Measure five inches from each band edge | Mark with stitch markers |
| Three | Pin ears securely to the crown | Double-check symmetry in a mirror |
| Four | Whipstitch ears to the base | Go through both yarn layers |
My Take
Take the extra two minutes to measure and pin your work. Symmetrical ears are what separate professional-looking streetwear from a sloppy beginner project.
Conclusion
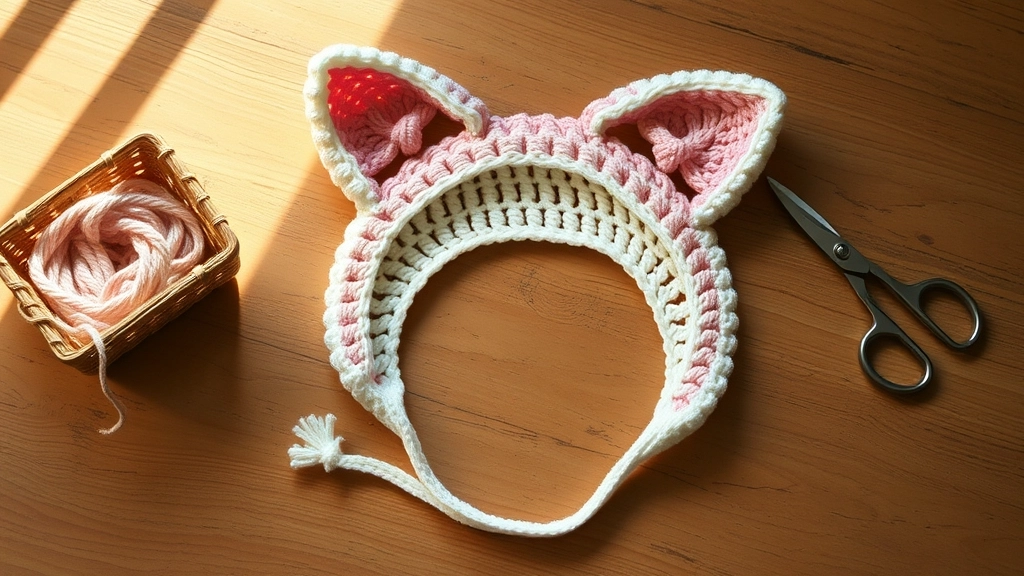
Your completed handmade bonnet is a durable, stylish alternative to cheap fast fashion!
Slow fashion is loud. It is about taking back control. Making this bonnet proves you do not have to buy mass-produced junk that ends up in a landfill. You built this. It has real weight, real texture, and actual math. Tag me in your photos. Keep breaking rules.