
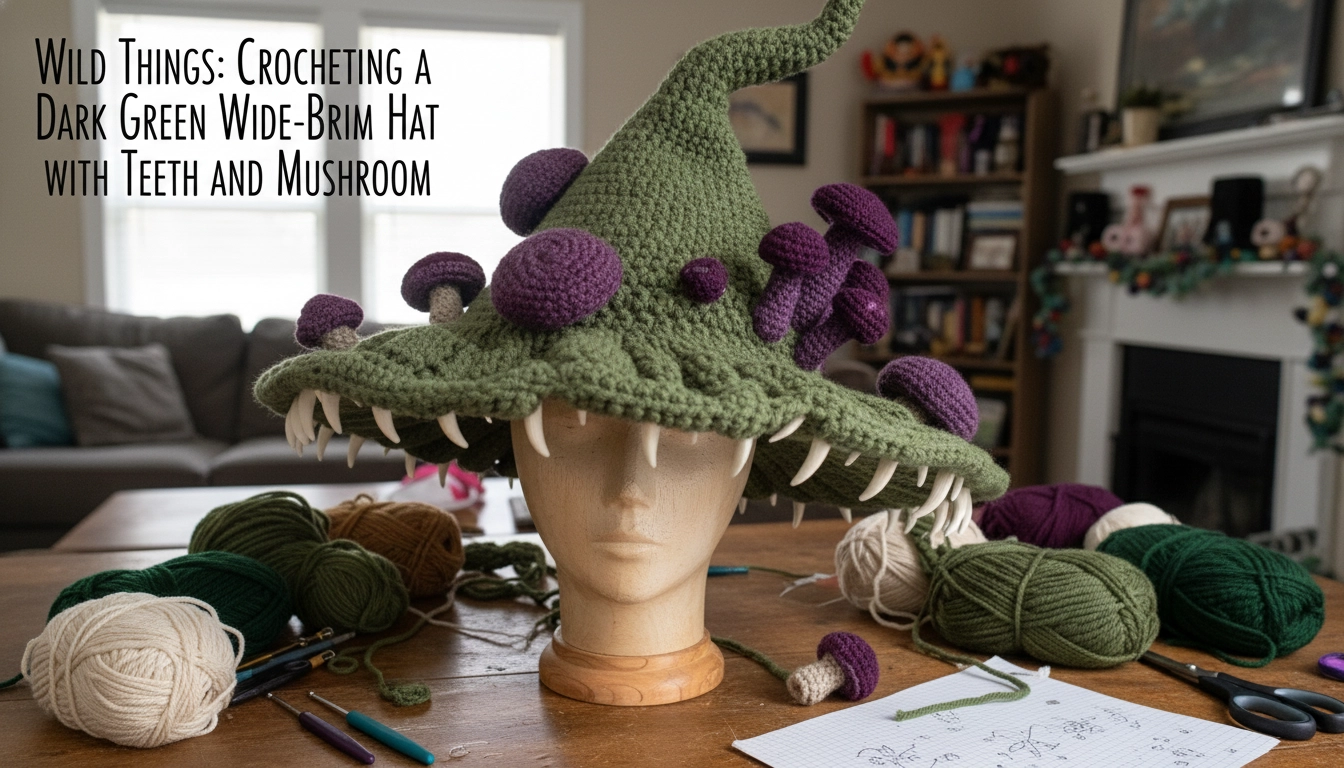
Look at your feeds. Every fast-fashion clone wears some floppy, sad, synthetic bucket hat that looks like a melted puddle. It’s a total crime. If you don't calculate the physical weight distribution of your yarn, gravity humbles your design every single time. My friend Mario Hayes from Brisbane hit me up about this. He couldn't get his brim to stay stiff. I told him: you need stitch physics, not wire. This Wild Things: Crocheting a Dark Green Monster Wide-Brim Hat with Teeth and Mushrooms project is raw geometry. We are hacking loop math to build wearable, dark-fantasy architecture that completely wrecks mass-produced plastic garments. No wire. Just dense stitch engineering.
Understanding the Basics of Sculptural Crochet
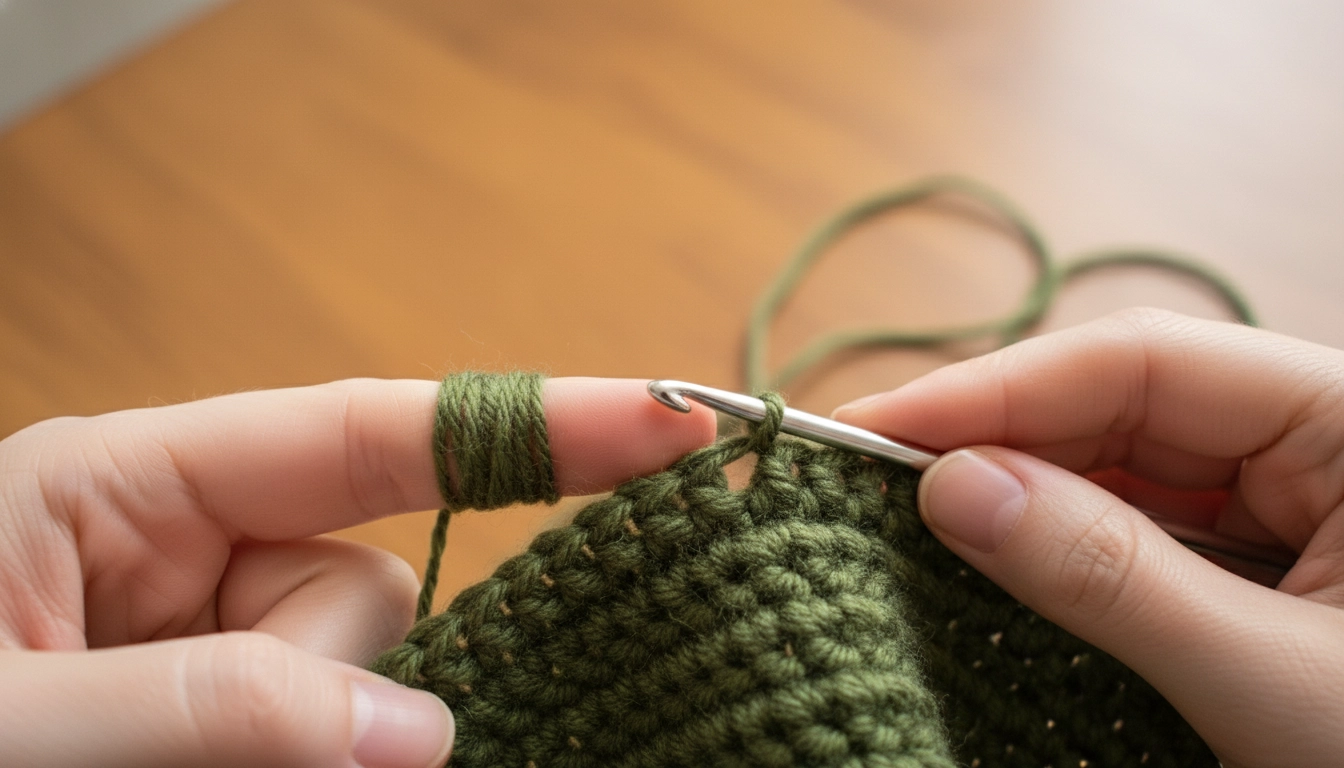
Pinch, pull, and lock: keeping your tension tight is the secret to building self-supporting crochet shapes.
Sculptural stitching is different. You aren't making a slouchy beanie. You are basically pouring concrete with a hook. Pull your working yarn so tight it leaves indents on your index finger. That’s how you get self-supporting shapes. Go down two full hook sizes. If the label says five millimeters, grab a three point five. Squeeze those stitches. Force them to lock together like armor plates. No gaps allowed.
To help you diagnose your tension before you get deep into the pattern, let us look at some common issues that can ruin the structure of your sculptured pieces.
| Symptom | Root Cause | Quick Fix |
|---|---|---|
| Floppy brim | Loose tension or wrong hook | Go down two full hook sizes |
| Visible gaps | Stitch height is too tall | Switch to single crochet only |
| Warping edge | Too many increases too fast | Check your stitch count every row |
My Take
If you see light shining through your stitches when you hold them up, your tension is too loose. Rip it back and start over with a tighter grip.
Let us look at the math of hook sizes and how going smaller directly impacts the rigidity of your finished piece.
My Take
Going down two sizes is the absolute sweet spot. If you go three sizes down, the yarn splits and your hands will cramp up, ruining your tension flow.
Overview: The Monster Hat — Where Halloween Cosplay Meets Crochet Artistry
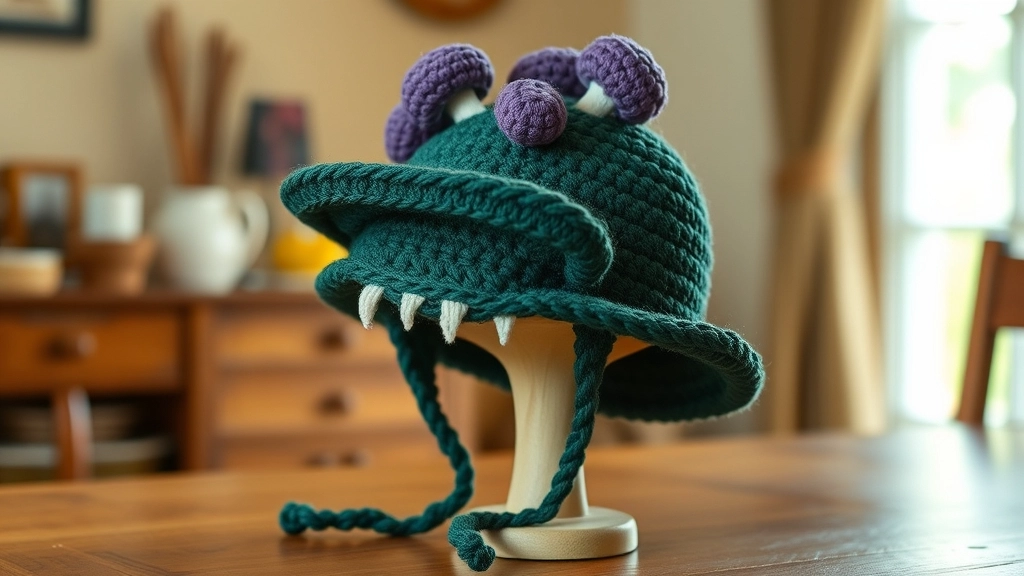
Where cottagecore meets dark fantasy: this structured monster hat is designed to turn heads.
We are smashing cottagecore aesthetics right into heavy dark fantasy. Picture a giant, structured witchy hat in the deepest, grungiest olive green. A twisted, organic peak rising up. Under the brim, vicious white fangs. On top, heavy purple mushrooms popping off the edge.
It’s high-contrast drama. The color blocking is highly visual. It works for extreme cosplay, but throw it on with a leather trench coat and it’s a high-fashion streetwear moment. Slow-fashion rebellion at its peak.
Brim Construction: Wide-Brim Hat Base in Dark Olive Green Single Crochet
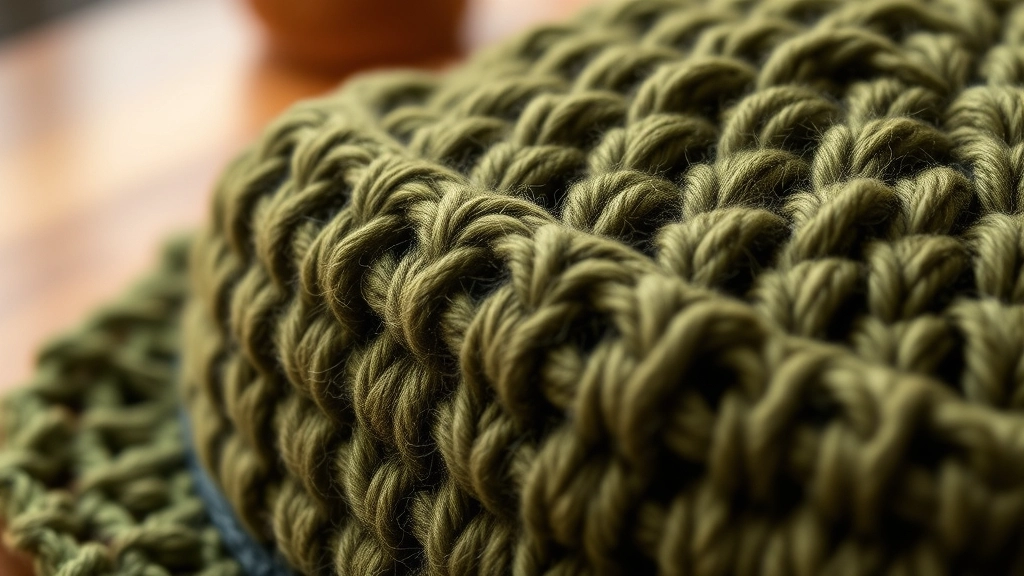
Working in the back loops only (BLO) creates a built-in structural rib that keeps your brim from drooping.
Never touch cheap acrylic for this. Throw the synthetic plastic yarn in the trash. It has zero memory; it stretches once and stays dead. You must use a heavy, one hundred percent Peruvian wool or dense organic cotton.
Continuous spirals only. No joining. Joining leaves an ugly seam.
Work only into back loops for the under-brim. It creates a gorgeous ribbed ridge that acts like structural steel under a bridge. It keeps the brim shooting straight out naturally.
Tension Check
If your stitches are too loose, your brim will flop. Go down a hook size to ensure the brim remains stiff.
Let us break down exactly why some fibers fail while others hold up the entire structure of your project.
| Fiber Type | Structural Integrity | Memory and Stretch | Mary's Verdict |
|---|---|---|---|
| Acrylic | Horrible | Stretches out and stays dead | Absolute trash for brims |
| Cheap Cotton | Medium | Low stretch but heavy | Okay for small items |
| Peruvian Wool | Superior | High bounce and spring | The gold standard |
| Mercerized Cotton | High | Zero stretch and stiff | Great alternative for summer |
My Take
Do not cheap out on the fiber. Peruvian wool has natural crimp that locks the stitches together, giving you that built-in architectural support.
Teeth Appliques: Attaching White Resin or Polymer Clay Fangs Around the Brim
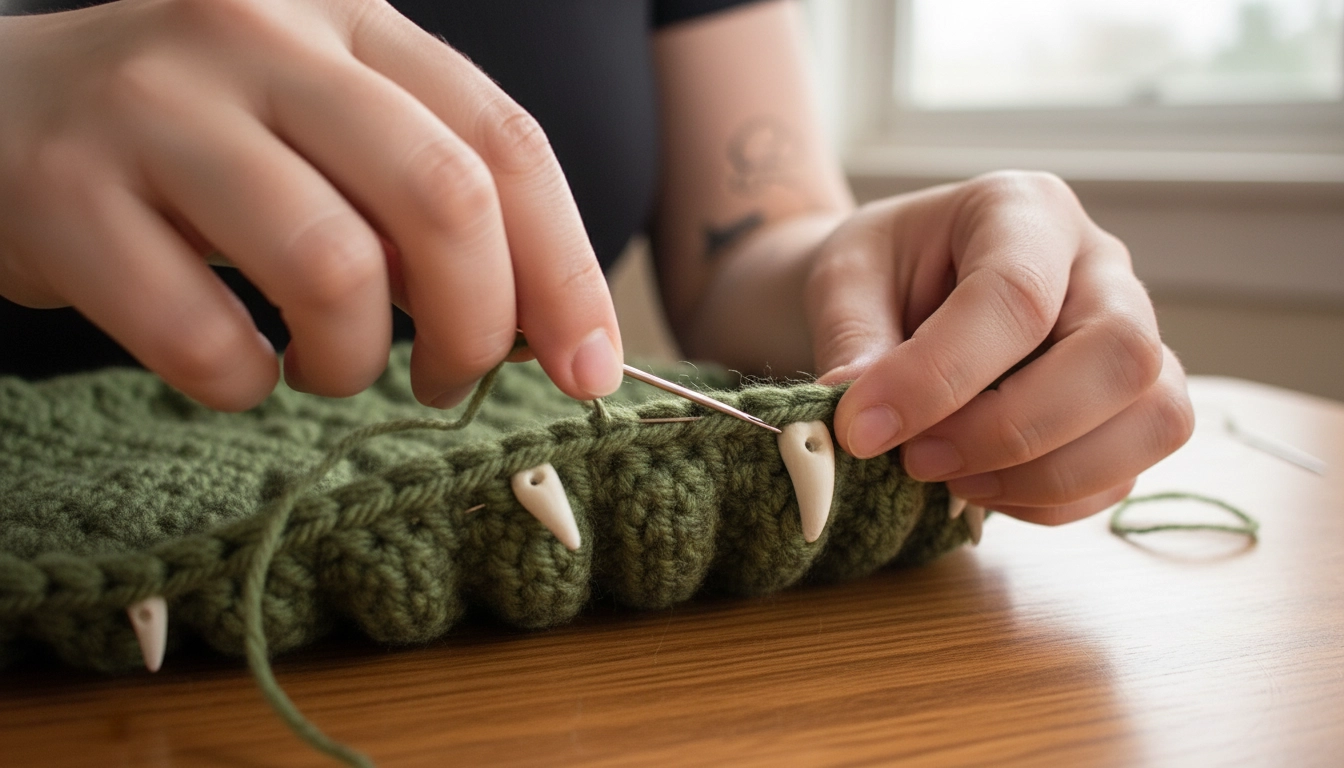
Take your time spacing the fangs: pin them in place first before sewing them down with matching green yarn.
Now for the scary part. The monster grin. Bake some curved fangs out of polymer clay, or get solid resin ones.
Before you bake the clay, poke a clean hole through the root of each tooth. Once they're baked, hand-sew them.
Thread matching green yarn through the holes. Knot them into the stitches. Pin them first. If you wing the spacing, your monster will look like it needs braces.
Mushroom Embellishments: Crocheting Purple 3D Mushroom Caps and Stems
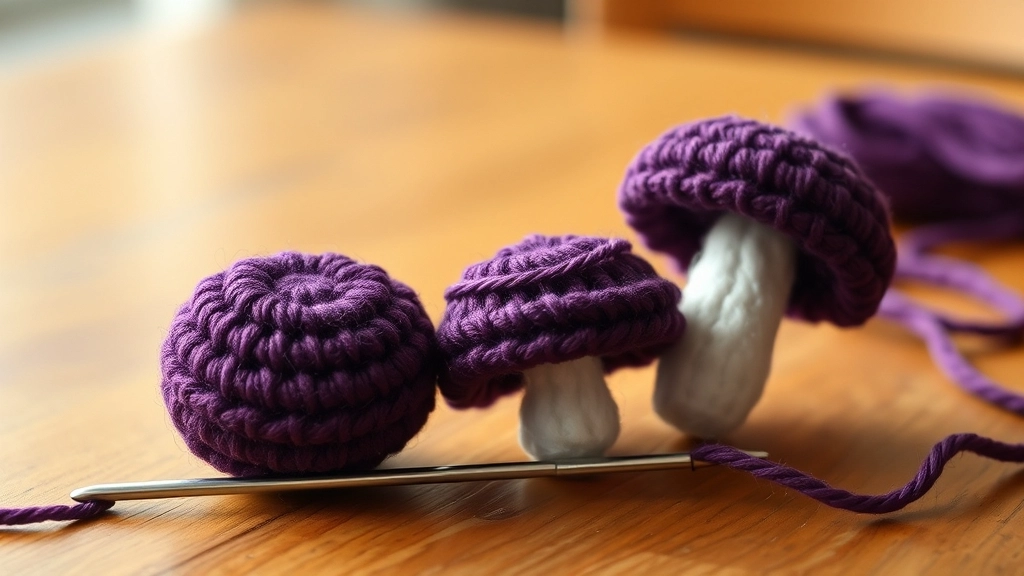
Crochet your mushrooms in varying sizes to give them an organic, freshly sprouted look.
The mushrooms are the absolute chef's kiss. We want a toxic cluster of purple 3D mushrooms sprouting near the brim. Crochet these separately with a deep eggplant purple wool.
Vary the sizes. Do a big one, a medium one, and a tiny baby one. It looks organic. Like they sprouted after a heavy rain in a dark forest. Stuff them with polyester fiberfill. Pack it tight so they are rock hard. Sew them down with a heavy yarn needle.
To get that perfect dark fantasy aesthetic, you need to assemble these pieces in a very specific order.
| Assembly Sequence | Key Action |
|---|---|
| Step One | Block the main green hat body to settle the stitches |
| Step Two | Position the polymer clay fangs and pin them in place |
| Step Three | Sew the fangs using matching green yarn for invisible joins |
| Step Four | Stuff the purple mushroom caps firmly with fiberfill |
| Step Five | Stitch the mushroom stems to the brim and secure the ends |
My Take
Never skip the pinning phase. If you sew your fangs on without pinning them first, your monster will look lopsided and unprofessional.
Pattern Tutorial: Wild Things: Crocheting a Dark Green Monster Wide-Brim Hat with Teeth and Mushrooms
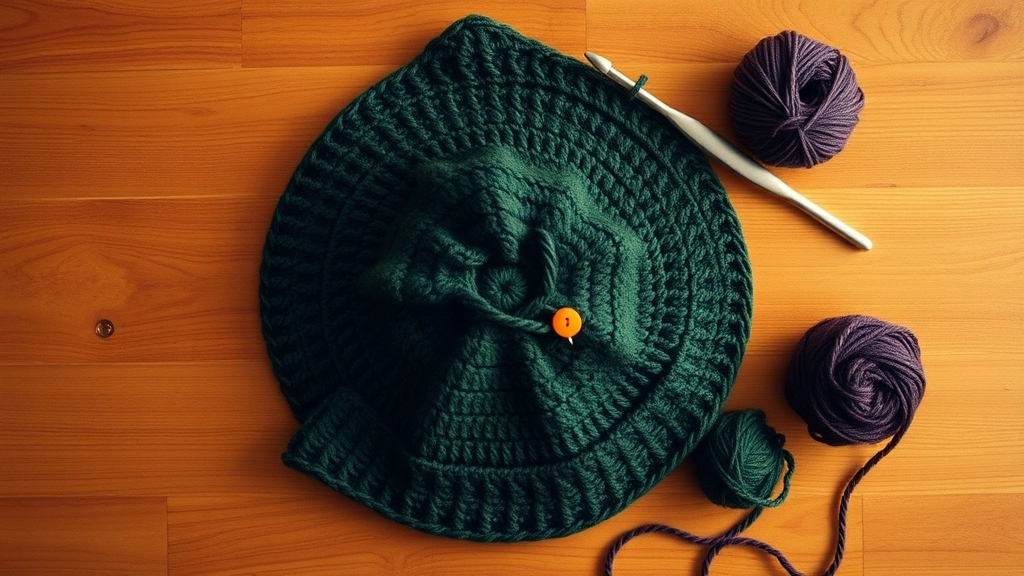
Gather your tools, check your stitch markers, and let's start stitching the monster crown!
This pattern is for people who know how to control their hands. Keep your tension identical from the very top peak to the final edge. Use a marker. Don't lose your start point.
Pro Tip
Use a stitch marker at the beginning of every round. With continuous rounds, it is incredibly easy to lose your place.
Cosplay & Festival Styling: Pairing the Hat with Dark Outfits for Maximum Impact
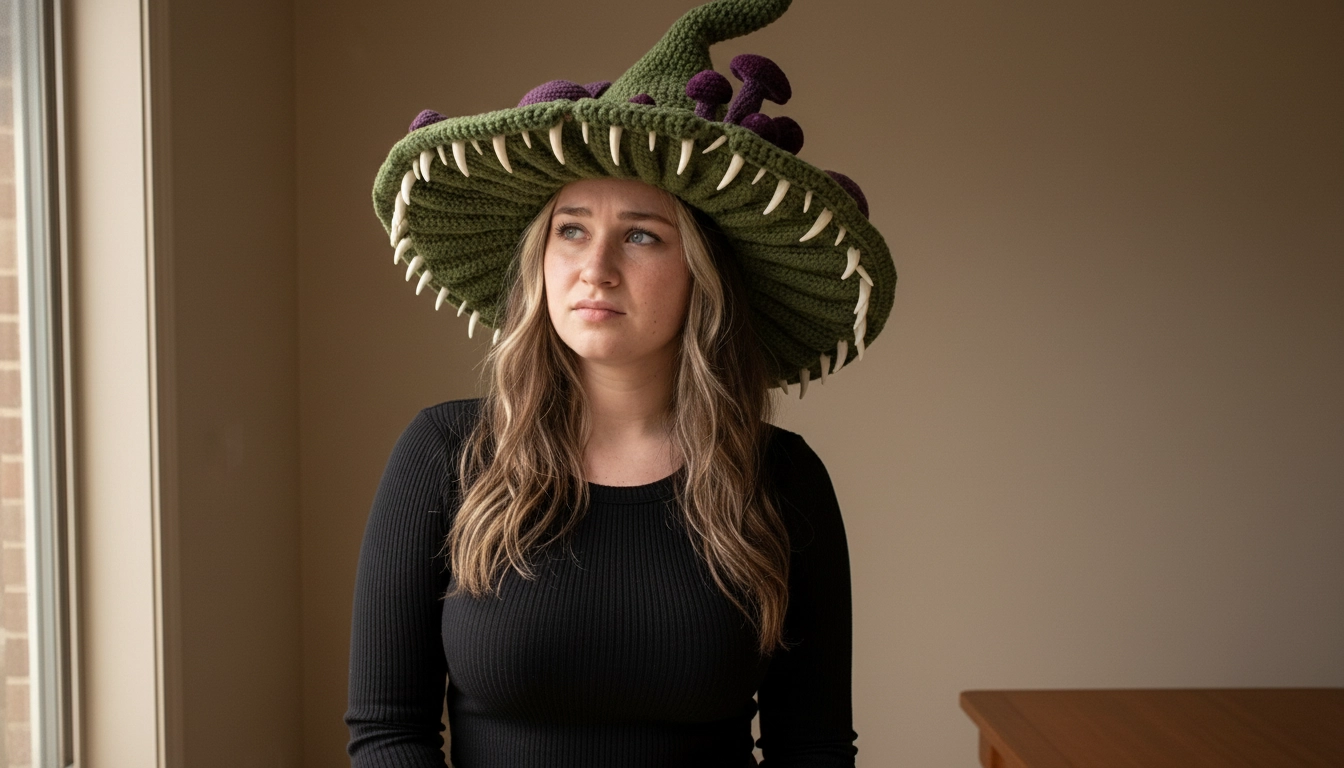
Keep the rest of your outfit sleek and dark to let your handmade monster hat grab all the attention.
This hat is the main event. It isn't an accessory; it’s your whole personality. Do not wear it with busy patterns. You will look like a moving pile of laundry.
Pair it with a fitted black ribbed top and massive cargo pants. Let the green and purple do the heavy lifting. The silhouette is heavy and organic, so keep the rest of your body sleek. Add chunky boots.
Conclusion
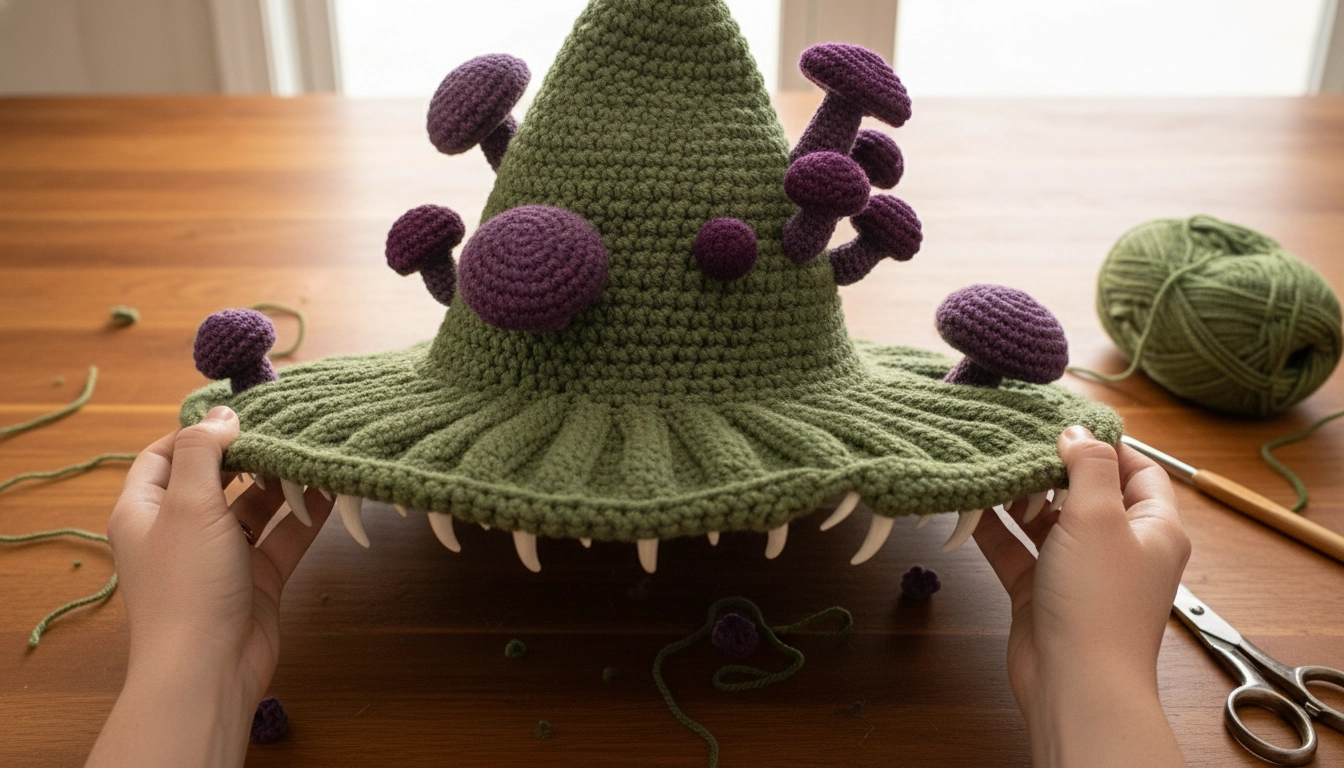
Nothing beats the feeling of stepping out in a self-supporting monster hat you engineered with your own two hands.
Taking the time to hook something like this Wild Things: Crocheting a Dark Green Monster Wide-Brim Hat with Teeth and Mushrooms is how we kill fast fashion. It takes actual brain power and decent fiber. When you walk out with a self-supporting monster hat that you engineered yourself, nothing else compares. Build something wild.