
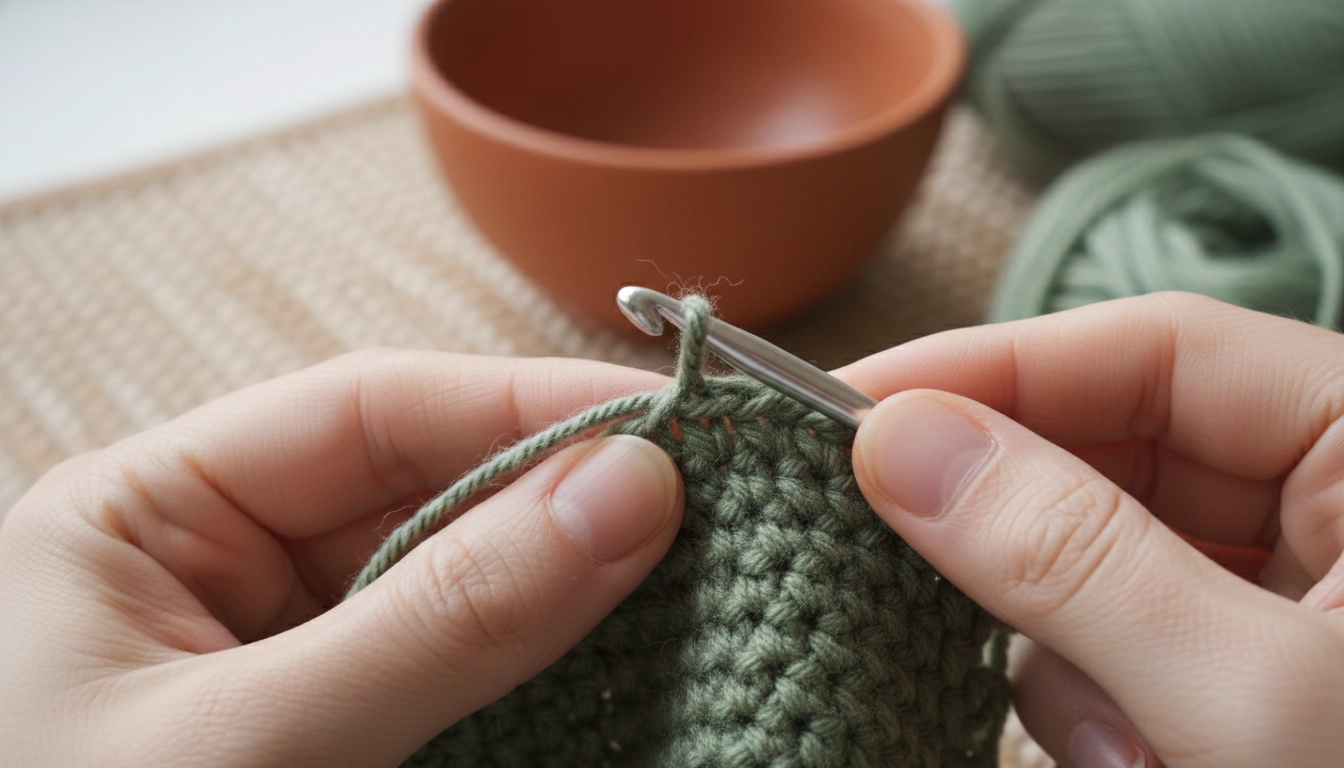
Tension is basically the silent language of anyone who actually makes things with their hands. It is mechanical energy stored in fiber. When you are sitting there working on a Crochet Owl Pattern, that specific tension determines whether you are actually creating a legitimate piece of textile art or just a weird, misshapen blob that ends up in the back of a closet. We are way past the era of just making stuff to have stuff. We are in a space now where every single stitch is a calculated, mathematical decision in a much larger geometric puzzle. I was thinking about this while staring at a pile of scrap yarn this morning. It is about the physics of the loop. This level of geometric precision is similar to the challenges found in a Crochet Lion Pattern where the math of a perfect sphere is essential for the final shape. If your tension is off by even a fraction of a millimeter, the whole structural integrity of the sphere fails.
I decided to map out exactly how your tension choices translate into the final physical object so you can see the data for yourself.
| Tension Level | Physical Result | Visual Aesthetic | Structural Integrity |
|---|---|---|---|
| Too Loose | Visible stuffing and gaps | Messy and handmade | Low and prone to sagging |
| Perfect | Solid fabric with no holes | Professional and editorial | High and holds shape |
| Too Tight | Distorted stitches and hand pain | Shrunken and stiff | Brittle and difficult to sew |
My Take
Finding your flow state is about calibrating your tension to the 'Perfect' column to ensure your owl looks like a piece of high-end design rather than a school project.
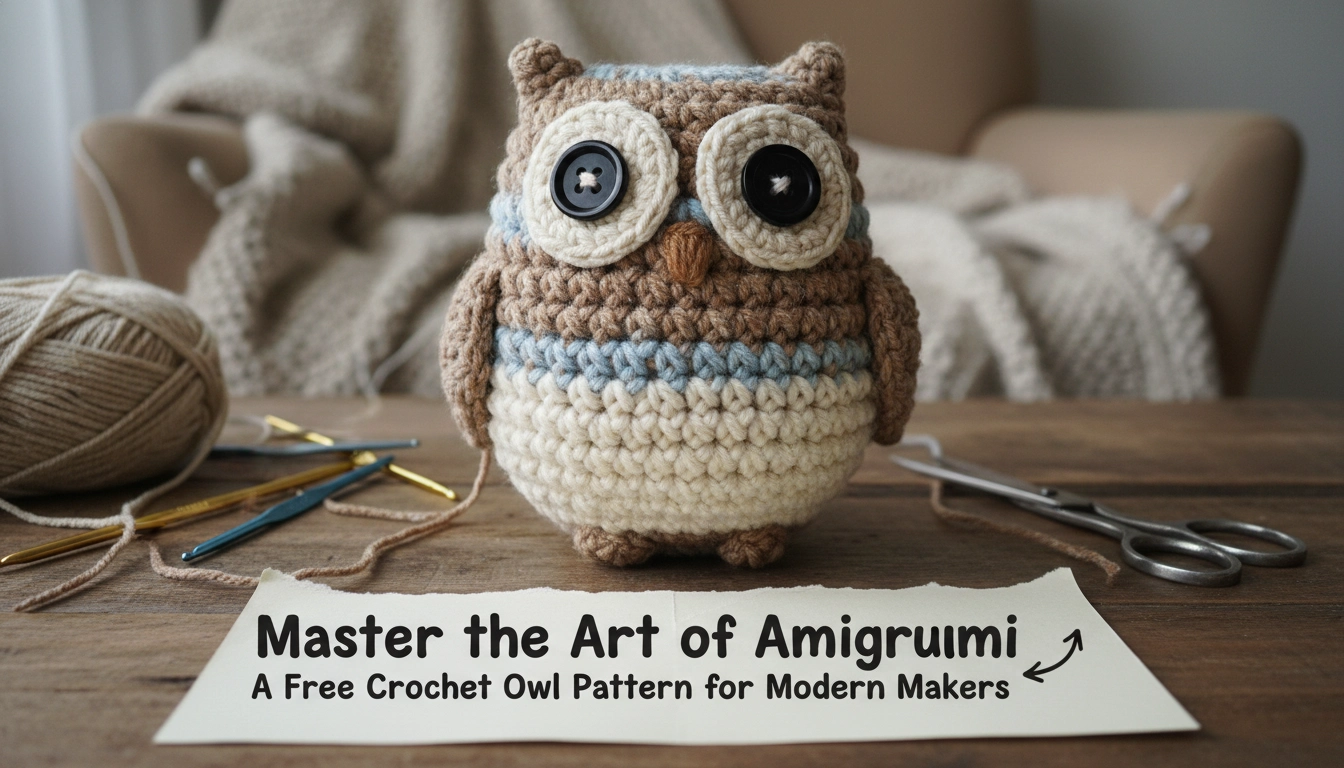
Why This Free Crochet Owl Pattern Is a Must-Have
Using natural fibers and tight tension gives your owl a substantial, high-end feel.
This Crochet Owl Pattern is different because it actually cares about the structural physics and the modern visual aesthetic. Achieving this level of integrity is a technique also emphasized in the Crochet Bird Pattern to ensure the silhouette remains sharp and professional. Most patterns you find online are just flimsy designs that look like something out of a fast-fashion clearance bin. We are using tight stitches and natural fibers because synthetic trash just cannot replicate the tactile experience of real wool.
My associate Beverly Martinez, who is currently based out of Saddle Dr in Adelaide, mentioned the other day that the actual weight of a piece is what makes it feel premium. She is right. This owl has that specific heavy quality. It feels substantial in your hand because the math works. You are using simple mathematical increases to build a perfectly rounded head that just flows into the body.
It is basically a masterclass in shaping. You do not have to deal with annoying, messy sewing at the end. Because we are only using organic cotton or high-end wool, the finished piece is biodegradable. It fits right into the slow-fashion movement. We are valuing the planet as much as we value the color-block logic of the design.
Sustainability First
Choosing natural wool over acrylic yarn ensures your owl is biodegradable and holds its shape better over time without pilling or losing its vibrant color.
Understanding the Basics of Amigurumi Construction
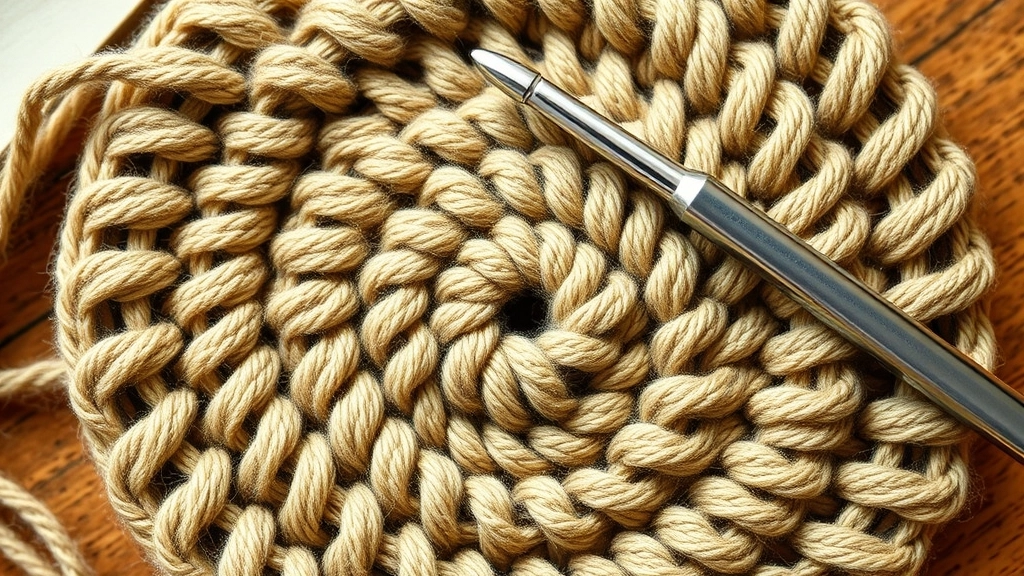
Amigurumi is a feat of engineering, starting from a single, perfectly closed magic ring.
Amigurumi is this Japanese art form of making three-dimensional creatures, but people treat it like it is just cute. It is not. It is engineering. You are using the single crochet stitch in continuous rounds to build a vessel. Mastering the architecture of a Crochet Dog Pattern is an excellent way to understand how complex 3D shapes are constructed with mathematical precision. Unlike flat work where you go back and forth, this is a spiral.
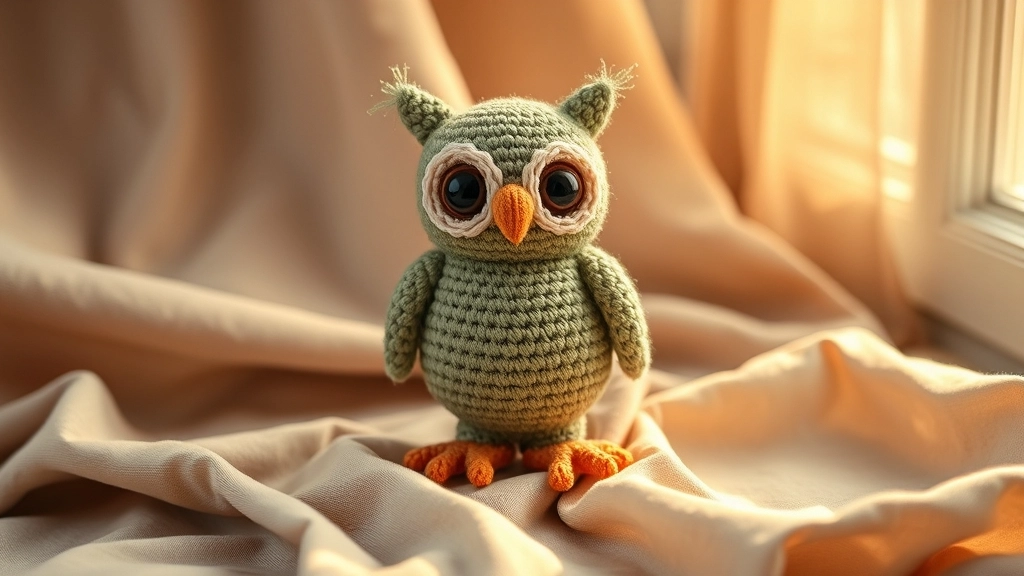
The goal here is density. Your fabric needs to be so tight that the stuffing inside is totally invisible. If I see white polyester fluff poking through your stitches, the aesthetic is ruined. To really get this Crochet Owl Pattern right, you have to nail the magic ring. It is the foundation.
The magic ring lets you pull the center of the circle so tight that there is literally zero gap. No leaks. You are moving from a narrow top to a wider base with total mathematical precision. It is about the ratio. If you mess up the ratio, the owl looks like a pear. Or a pancake. Neither is the goal here.
If you look at the geometry of this owl, you will see it is actually just a collection of specific shapes working in harmony.
My Take
Focusing on the body first ensures the main structural mass is perfect before you move to the smaller geometric details.
Materials and Tools Needed for Success
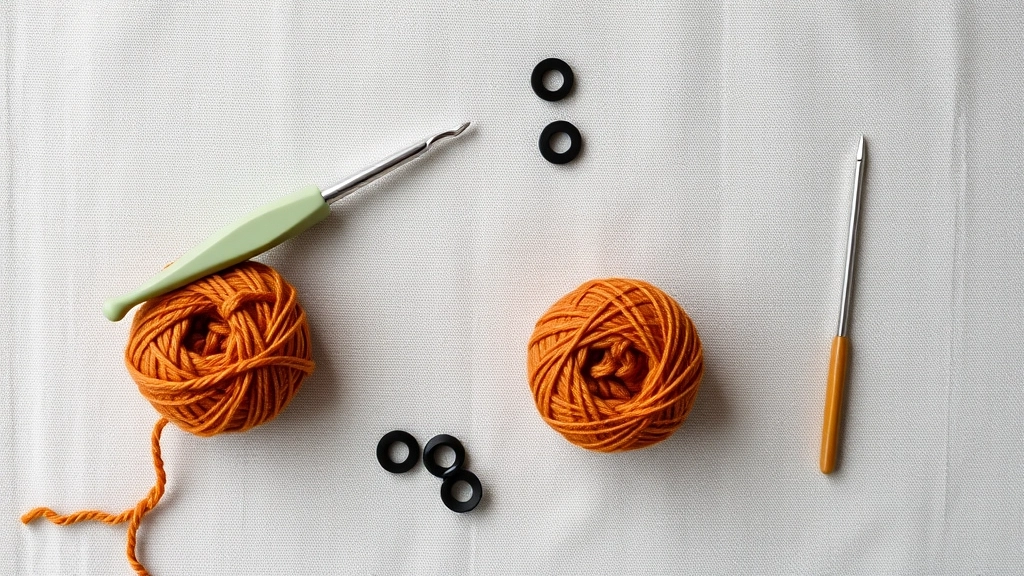
Having the right tools, like an ergonomic hook and organic cotton, is the first step toward a professional result.
If you want a professional result, you cannot use cheap tools. I always use a 3.5mm ergonomic hook. It stops your hand from cramping up when you are doing the super-tight stitches this project needs. For the yarn, do not even look at the acrylic stuff. Get worsted weight organic cotton. Get three colors that look good together—think earthy color-blocks.
You need a main body color, a wing color, and something bright like orange for the beak. You also need 12mm safety eyes. They give it that polished, high-end look. Grab a tapestry needle for the ends and some recycled wool roving for the stuffing.
A stitch marker is something you cannot live without. Since you are working in a spiral, you will lose your place in three seconds if you do not mark the start of the round. Using the right gear makes sure your Crochet Owl Pattern ends up looking like a sculpture and not a messy craft project.
People ask me all the time what they actually need to get that high-end editorial look, so I mapped out the essential kit versus the basic stuff.
| Tool Category | Professional Choice | Why It Matters |
|---|---|---|
| Crochet Hook | 3.5mm Ergonomic Aluminum | Prevents fatigue and maintains stitch consistency |
| Fiber Choice | Worsted Weight Organic Cotton | Provides superior stitch definition and sustainability |
| Stuffing Material | Recycled Wool Roving | Adds weight and avoids the 'lumpy' look of polyester |
| Finishing Tools | Bent-tip Tapestry Needle | Makes weaving in ends and assembly much more precise |
My Take
Your tools are an extension of your hands, so ergonomic choices are non-negotiable for long-term productivity.
Essential Crochet Stitches and Abbreviations
Mastering the basic single crochet (sc) is the key to unlocking the entire pattern script.
You need to know the shorthand before you start the Crochet Owl Pattern. We use sc for single crochet. inc is an increase, which just means putting two stitches where there was only one. dec is a decrease, where you turn two stitches into one to pull the shape inward.
The MR is the magic ring. st is just a stitch. If you get these down, you can read the pattern like code. It is basically just a script for your hands to follow.
Stitch Counting
Always count your stitches at the end of every round to ensure the geometry of your owl remains symmetrical and balanced.
Pro Tips for Achieving the Perfect Amigurumi Shape

Proper stuffing distribution is what separates a floppy toy from a professional sculpture.
The difference between a good owl and a great owl is honestly just the physics of stuffing. Most people are scared to use enough stuffing. They end up with a wrinkled surface that looks tired. You need to keep adding stuffing until the piece is firm.
Think of it like a tire. It needs enough pressure to hold its shape but not so much that the stitches start to pull apart. There is a sweet spot. Another trick is the invisible decrease. Instead of grabbing the whole stitch, just use the front loops.
This makes the decrease vanish. It creates a smooth surface that looks like it was 3D printed out of yarn. This level of technical obsession is what defines innovative knitwear. This engineering mindset is also required for an Amigurumi Fish Pattern where every stitch must be calculated to maintain the sculptural flow of the fiber. It is about precision. If you get the small things right, the whole project levels up.
Even if you follow the math perfectly, things can go wrong because fiber is a living medium that responds to your physical energy.
| Common Issue | Root Cause | Engineering Fix |
|---|---|---|
| Leaning Body | Asymmetrical stuffing distribution | Massage the fiber to redistribute the center of mass |
| Visible Gaps | Tension is too loose for the hook size | Drop down half a hook size or increase pull tension |
| Wonky Eyes | Placement was not measured from the center | Use pins to mark symmetry before final insertion |
My Take
Troubleshooting is just debugging your physical code, so treat every mistake as a data point for your next project.
The Invisible Join
When finishing your eye circles, use a needle to mimic the top of a stitch for a perfectly seamless edge that looks professional.
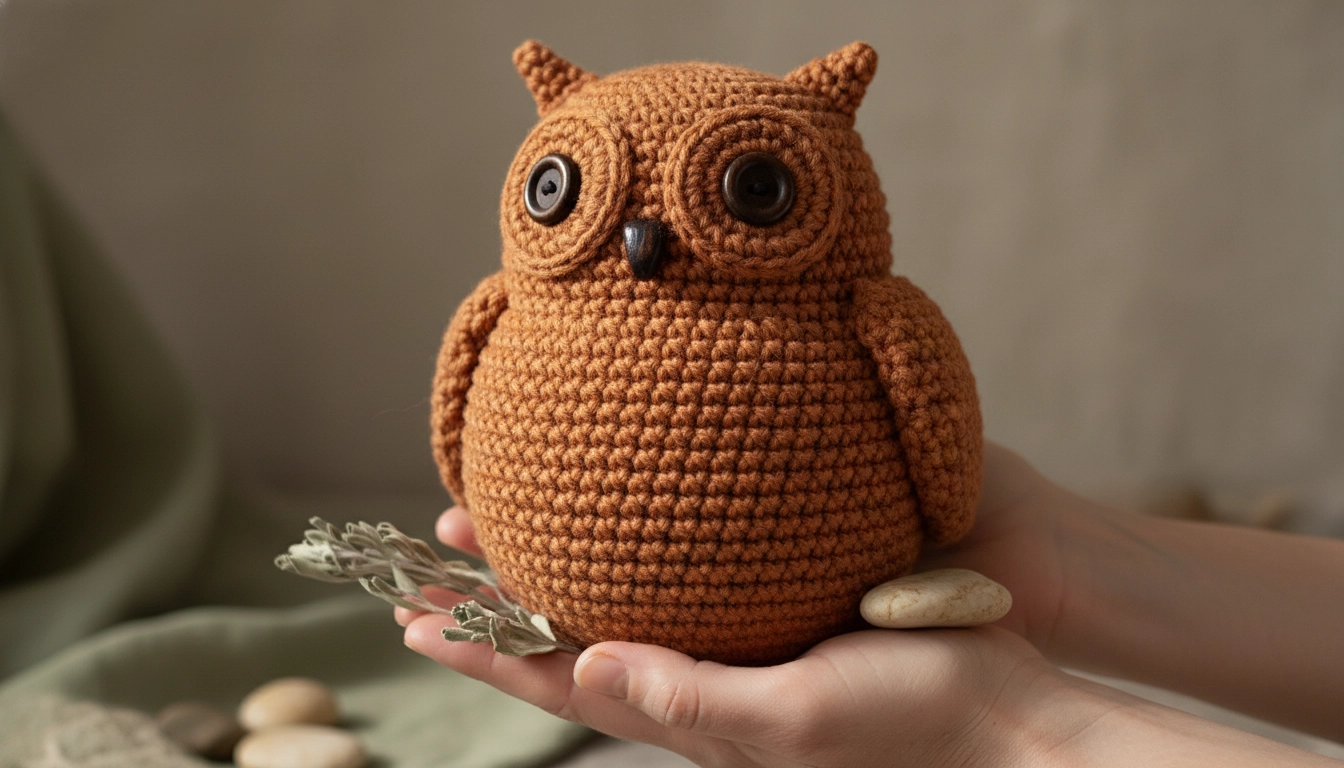
How to Style Your Finished Crochet Owl
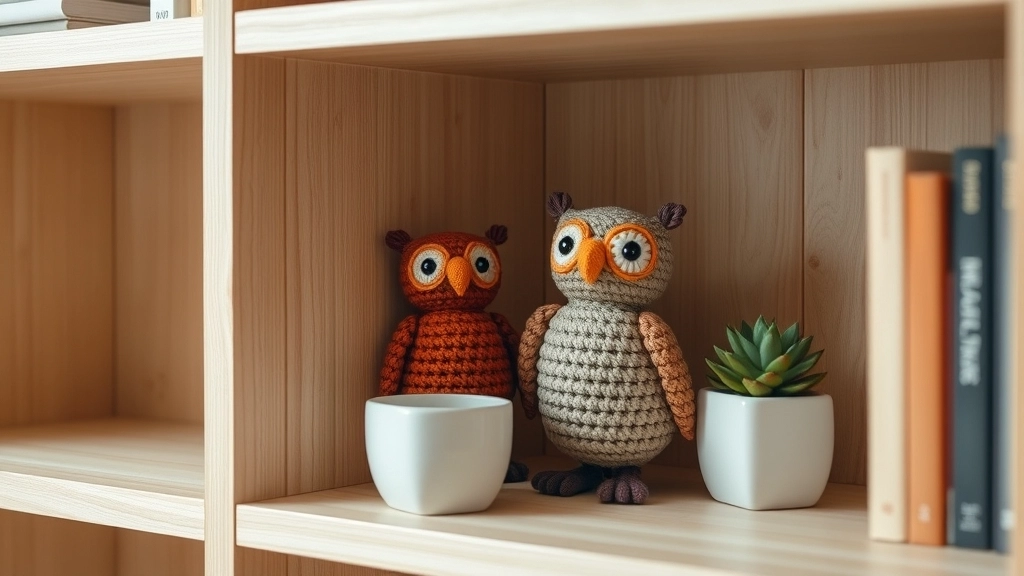
Grouping your owls in earthy tones creates a sophisticated, intentional look for any room.
Once you are done, you have to think about where this fits in your visual aesthetic. These are sculptures. Do not just throw them in a toy box. A cluster of three owls in muted earth tones looks amazing on a bookshelf.
They tell a story about intention. They are slow-fashion icons. You can even make them functional. I sometimes put dried beans in the bottom before I finish stuffing them. Then they become unique doorstops or paperweights for a desk.
The design is versatile. You can change the yarn to a chunky weight and make a giant floor pillow version. Or use metallic thread for something more editorial. The Crochet Owl Pattern is just the starting point for your own experimentation.
Conclusion
Your finished owl is a testament to mathematical logic and the beauty of handmade craft.
Finishing this Crochet Owl Pattern is more than just making a plushie. It is a win for the slow-fashion movement. You rejected the cheap stuff and chose to build something with mathematical logic.
Whether you give it away or keep it, that care shows in every loop. Keep playing with color-blocking and natural fibers. This project is just the beginning of your amigurumi expertise. It is about the craft. It is about the math. It is about the vibe.