
Honestly, one bad decrease and your sculptural vibe is trashed. My friend Brittany Wood from Plum St, Wollongong sent me a picture of her Frenchie and it looked like a melted potato because she messed up the 3D yarn mathematics. Stitches must stack with absolute precision or the structure fails. We are hacking these Crochet Dog Patterns to prove slow fashion is an art form. Just like crafting a bold Crochet Alien Hat, building these dimensional pieces allows you to break away from flat, low-quality fast fashion. Let us get into the actual science of yarn sculpting.
Quick Access
Jump straight to our interactive pattern dropdowns below to start crafting your custom pup immediately, or read on to master the essential stitches and material choices first.
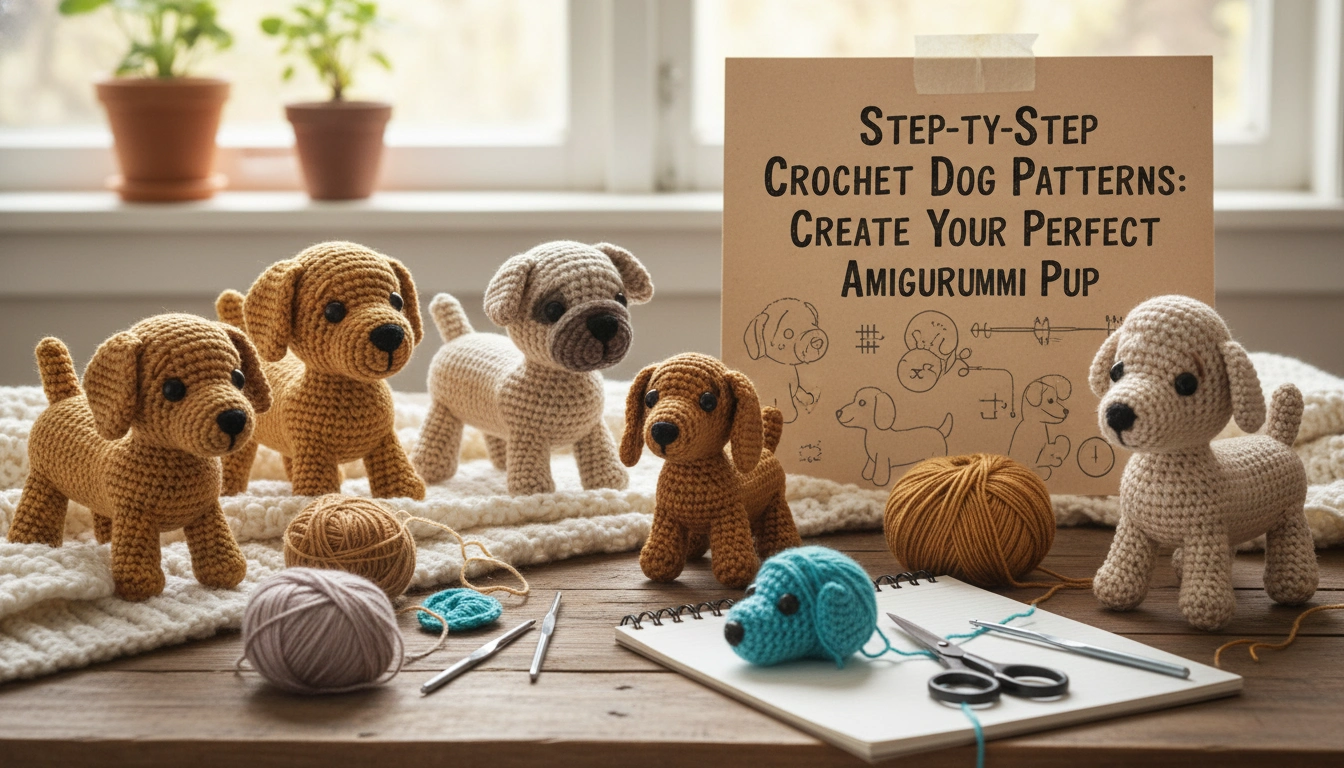
Why Crochet Dog Patterns Are the Perfect Project
Small, portable, and incredibly cute—these little pups are the ultimate afternoon dopamine hit.
These puppy shapes are the ultimate playground for hacking stitch gauge. Unlike flat garments, 3D structures require you to understand how stitches stack to form organic curves. It is fast, visual, and gives an instant dopamine hit in an afternoon.
When you master a basic crochet puppy pattern, you can customize the final product to match any real-life breed. Tweak a few simple rounds, and suddenly you have a personalized, sculptural keepsake. If you enjoy mastering these complex curves, you can also test your skills on our sculptural Crochet Alien Pattern to see how tension shifts in zero-gravity designs. That versatility is exactly why these designs are blowing up online.
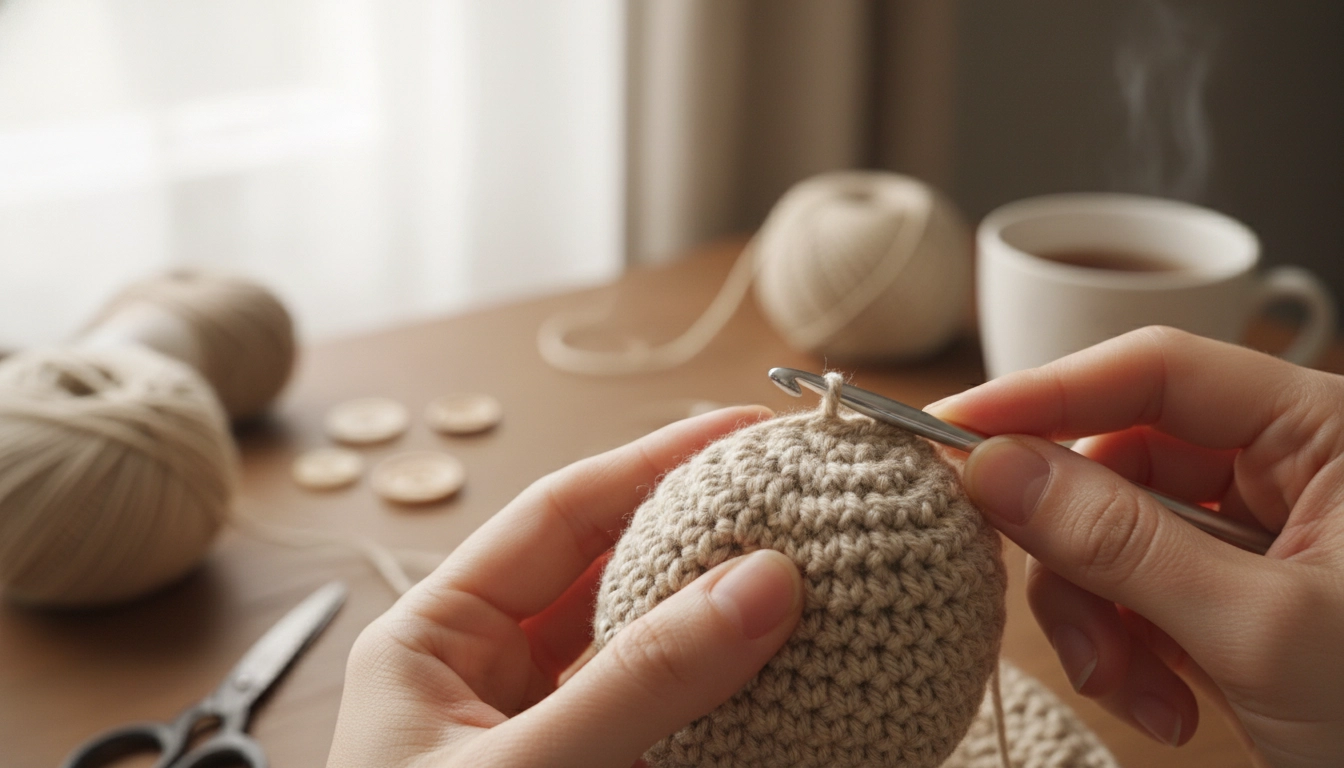
Essential Materials and Tools Needed
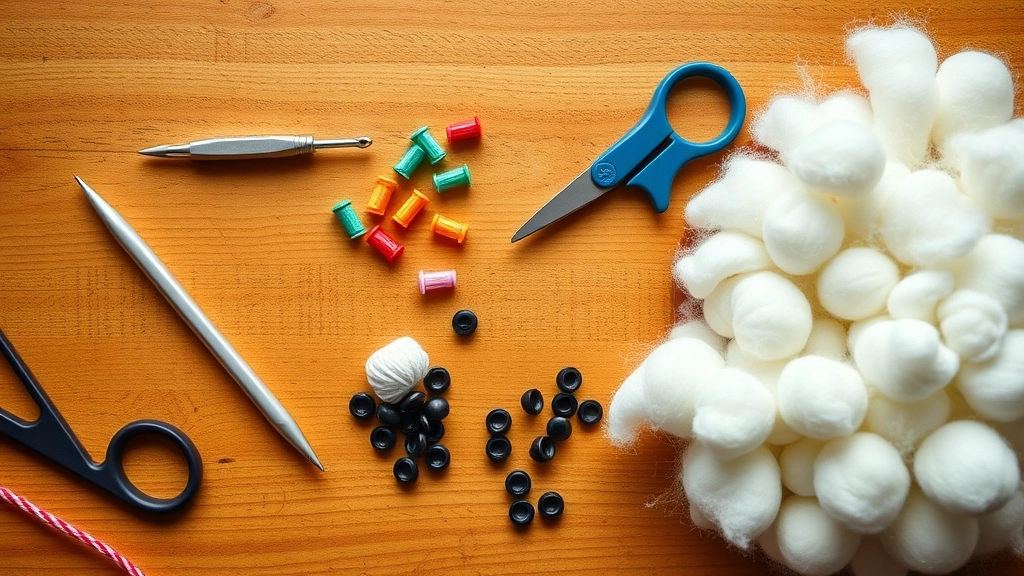
Having the right tools on hand makes keeping your stitch tension tight and even so much easier.
To get that clean, color-block aesthetic, you cannot eyeball your tools. Toss giant hooks to keep stitch density tight. You need a small metric hook—specifically 2.5 mm or 3.0 mm. Grab stitch markers to track your rounds, a blunt needle, safety eyes, and premium organic cotton stuffing.
Tension Control
Always drop down at least one full hook size from what the yarn label recommends. This keeps your stitches tight and prevents the stuffing from stretching the fabric.
Best Yarn Choices for Soft and Durable Crochet Dogs
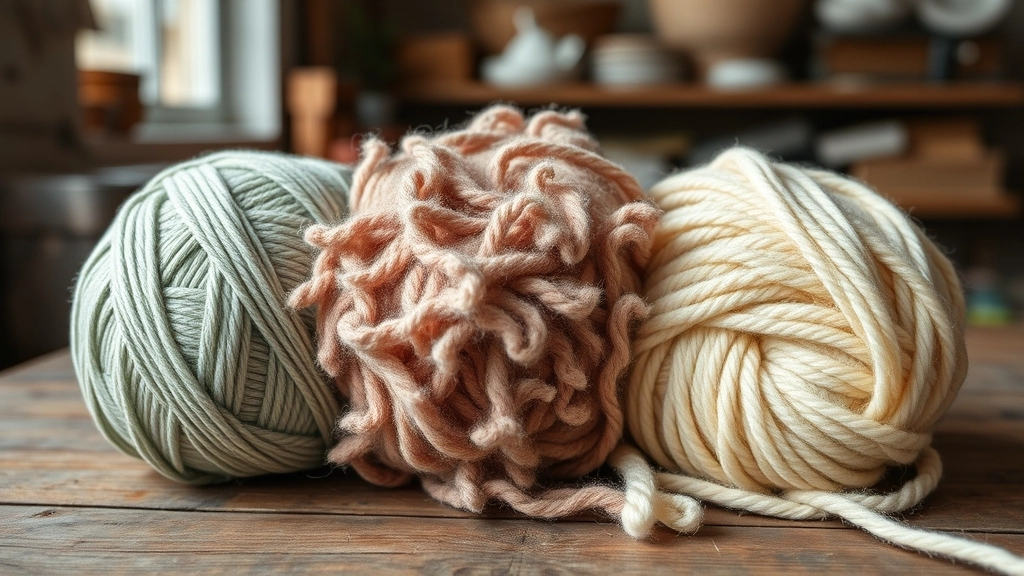
Selecting the right fiber is the first step to giving your plush pup the perfect structure and texture.
Stop buying cheap synthetic acrylic yarn that pills instantly. If you want a tactile object that holds its shape, choose organic cotton or a wool blend. Cotton gives insane stitch definition, while wool adds a gorgeous halo mimicking actual fur. This tactile approach to simulating wool is also highly useful when working on Crochet Lamb Patterns, where surface topography is key to creating a realistic fleece texture.
If you want a free crochet dog pattern style that can handle washing, cotton-acrylic blends work well. They offer synthetic durability with natural cotton's soft texture so your plush stays beautiful.
Before we dive into the yarn bins, let us break down how different fibers actually behave under tension so you do not end up with a floppy pup.
| Yarn Fiber Type | Structural Stiffness | Halo and Texture | Best For |
|---|---|---|---|
| Organic Cotton | Extremely High | Clean and Matte | Crisp Stitch Definition |
| Wool Blend | Medium | Fuzzy Halo | Realistic Fur Texture |
| Cotton Acrylic Blend | High | Soft and Smooth | Durable Everyday Toys |
My Take
If you are a beginner, stick to organic cotton. It has zero split-fiber drama and holds its shape like a dream, making your stitches look incredibly crisp.
Must-Know Stitches for Amigurumi Dog Patterns
Tight, uniform stitches are the secret to keeping your stuffing hidden and your curves smooth.
The secret to flawless, gallery-grade amigurumi is simple. Master three foundational stitches: the single crochet, the invisible decrease, and the magic ring. The magic ring creates a gapless start. The invisible decrease eliminates bulky bumps, keeping your fabric completely seamless. This level of geometric precision is similar to how we use tension equations in our Crochet Puffin Patterns to sculpt sharp color blocks and clean bird shapes.
Figuring out how to crochet a dog requires patience with these micro-movements. Grabbing only the front loops during a decrease keeps the finished work looking incredibly clean.
Let us look at the core stitches that act as the architectural pillars of your 3D amigurumi.
| Stitch Technique | The Secret Hack | Why It Is Essential |
|---|---|---|
| Magic Ring | Pull the tail tight after round two | Prevents stuffing from leaking out of the start |
| Single Crochet | Maintain even upward yarn tension | Creates a uniform fabric grid |
| Invisible Decrease | Grab only the front loops of both stitches | Eliminates bulky bumps on curves |
My Take
The invisible decrease is literally a game changer. Master this micro-movement first, or your curved surfaces will look lumpy and unprofessional.
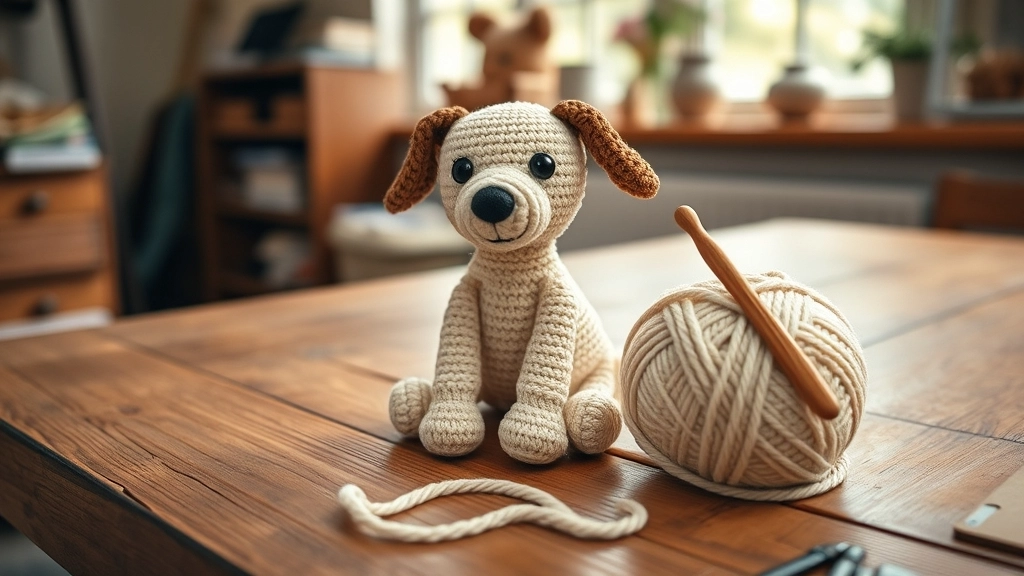
Step-by-Step Crochet Dog Patterns Tutorial
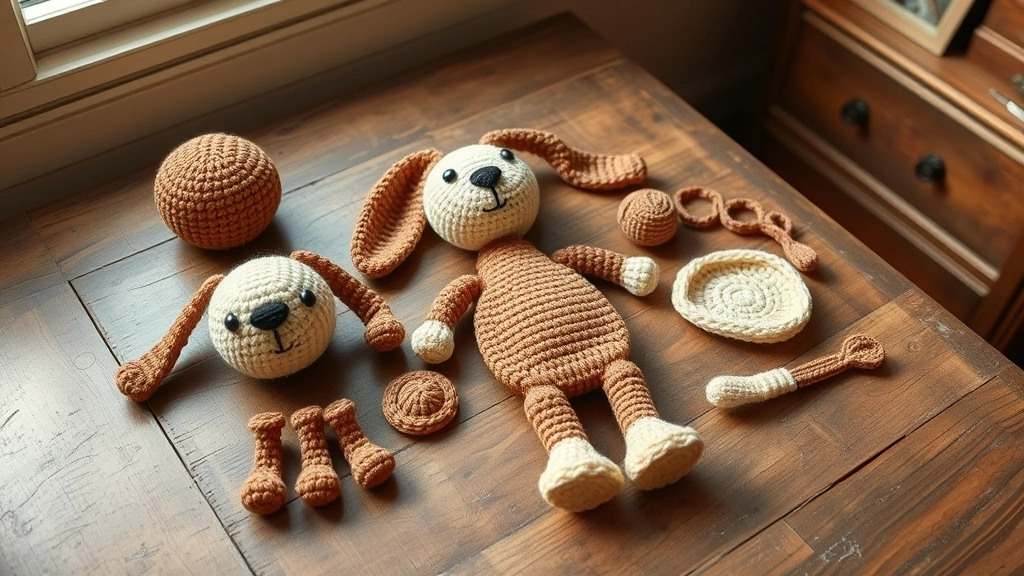
Seeing all your completed pieces laid out makes the final assembly step feel incredibly rewarding.
This intermediate crochet dog tutorial uses standard abbreviations. Follow these steps carefully to build the head, ears, body, and limbs.
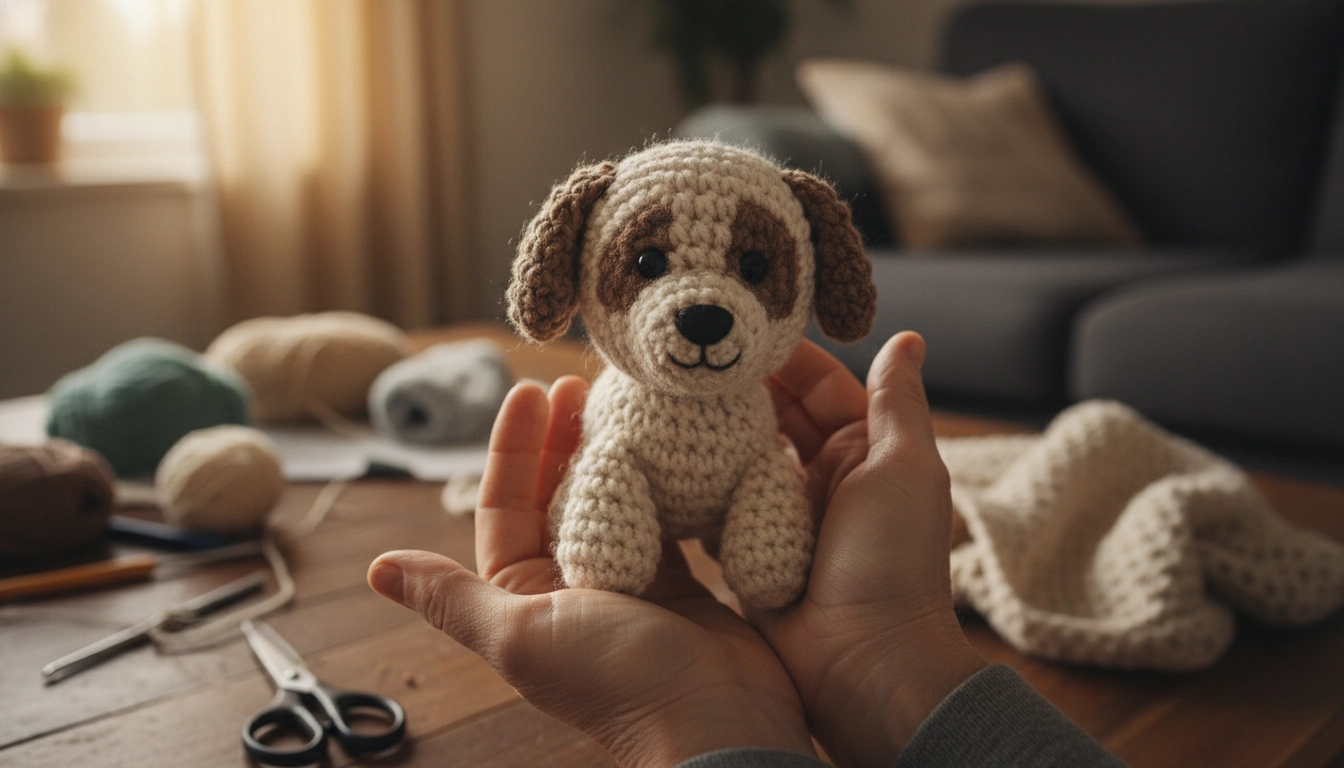
How to Assemble Your Crochet Dog Seamlessly
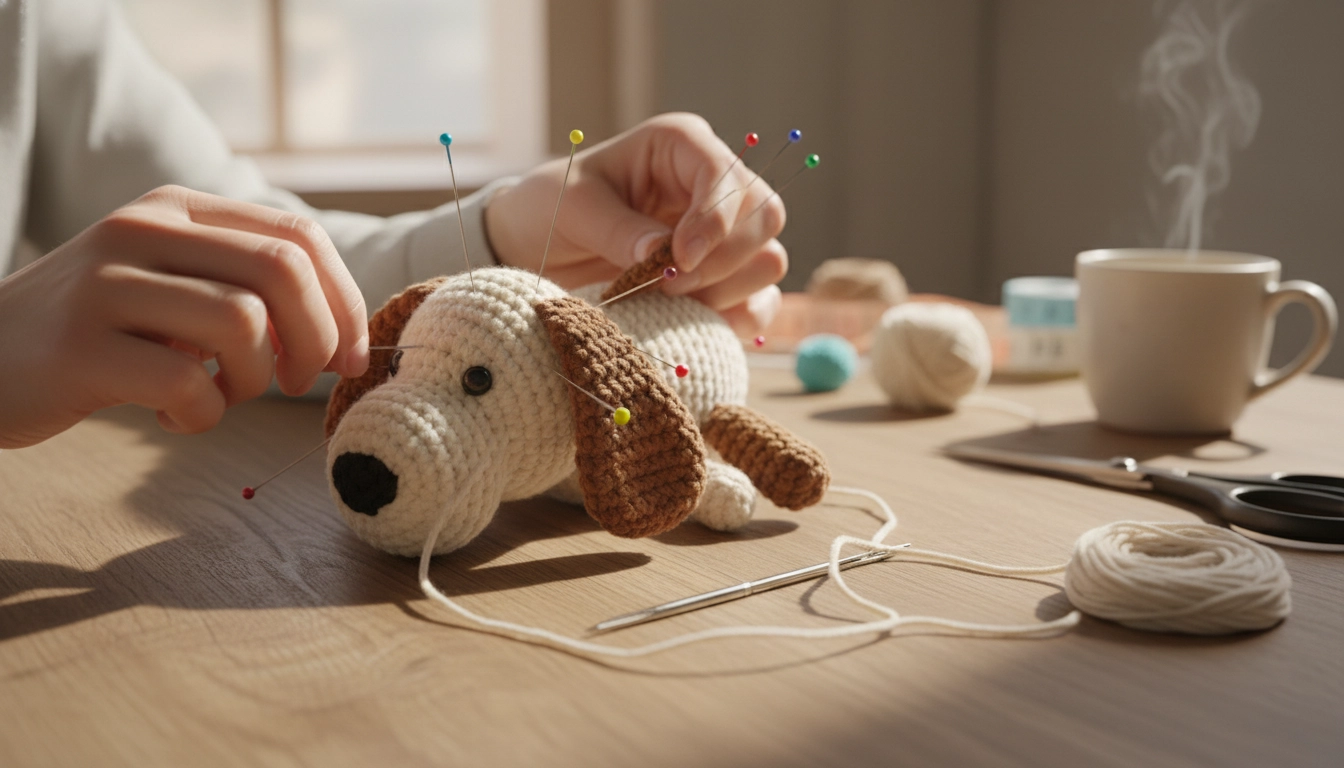
Take your time pinning the parts in place first—proper placement is what gives your pup its unique personality!
Assembly is a geometric puzzle. Pin parts first to verify symmetry before sewing. Use a clean ladder stitch, pulling the yarn tight after every second stitch to keep seams out of sight.
Ear placement defines personality—low ears look sweet and sad, while high ears look alert.
I ran a quick poll in my maker group to see where most people lose their minds during the amigurumi process, and the results are pretty telling.
My Take
Almost half of all makers struggle with loose tension. Remember, you must drop down a hook size to keep those stitches tight and your stuffing locked inside.
Popular Crochet Dog Patterns for Different Breeds
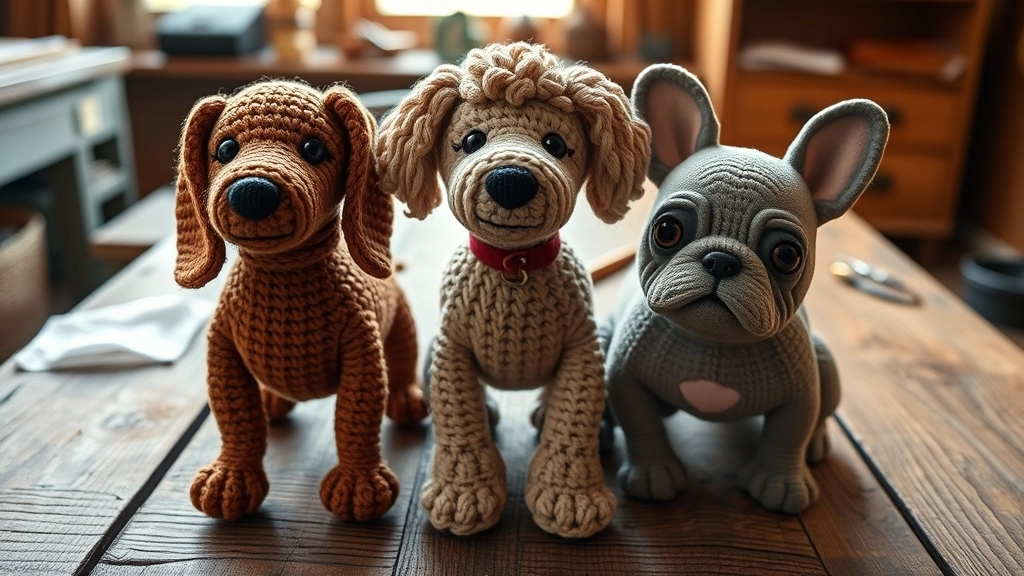
With a few simple modifications, you can adapt your basic pattern to match almost any real-life breed.
You can easily hack a basic template by altering yarn textures. Use loop stitches for Poodles, or lengthen the body rounds for Dachshunds. Adding a dark patch over one eye gives you a Jack Russell look instantly.
Once you grasp the basic mathematics of these amigurumi dog patterns, the design potential is infinite.
Tips for Stuffing Your Crochet Dog Perfectly
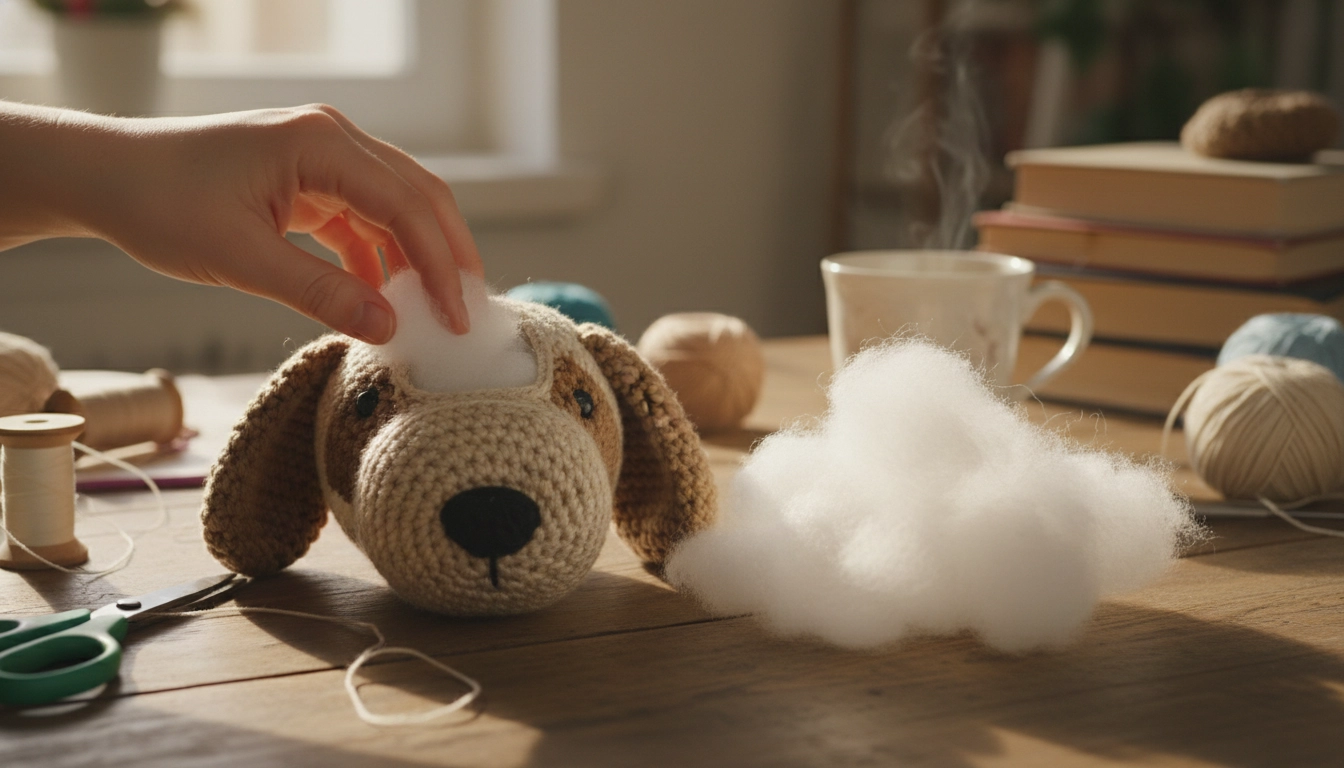
Stuff your pieces gradually with small, walnut-sized bits of fill to avoid stretching your stitches.
Stuffing is sculpting from the inside. Tear your stuffing into tiny, walnut-sized bits instead of stuffing one giant clump. Pack the head firmly to define the snout, keeping the body slightly softer.
Overstuffing Hazard
Avoid stuffing your piece so tightly that the stitches stretch apart. If you can see the white stuffing through the gaps, you need to remove some fill or drop down a hook size.
Conclusion
Your new handmade companion is ready! Where will you display your finished pup?
Embrace the math behind your stitches. With these Crochet Dog Patterns, ditch toxic plastic toys and make something sustainable that lasts. Show off your finished pups in our online community!