
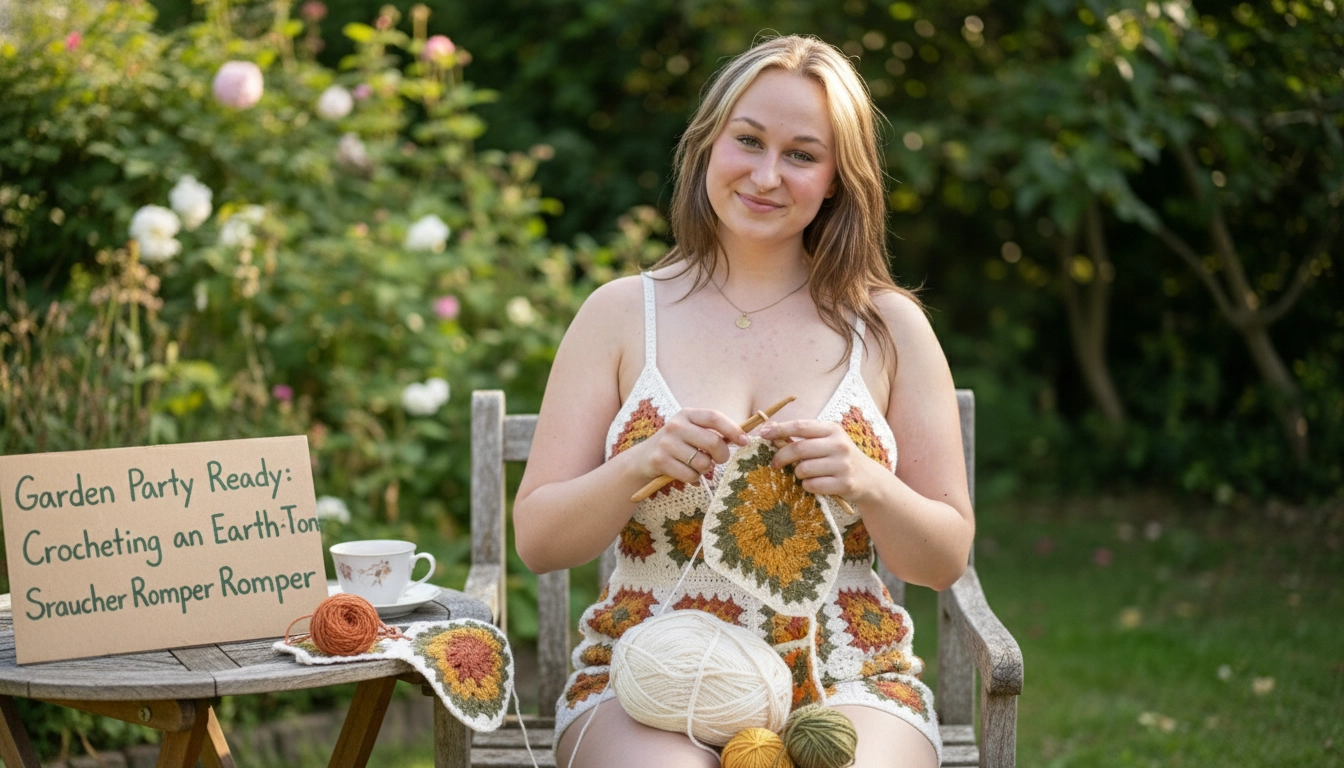
Listen. Tension is not just a preference; it is structural engineering. When you drape yarn so it conforms to a human body without sagging, you treat every loop as a load-bearing column. My friend Louella Cox from Grand Rapids—she has a studio on Bollinger Rd—emailed me because her motifs looked boxy. We fixed that by creating this specific piece. If you enjoy this style of geometric modular design, you can also explore how to build a boho beauty how to crochet a granny square lace-up bandeau top for another summer essential. This design, Garden Party Ready: Crocheting an Earth-Tone Granny Square Romper, is a masterclass in making separate motifs fit curves. We force old-school squares into modern tailoring. No sag. Just pure, clean architecture.
Wear this to an outdoor festival or a backyard dinner. The trick is getting the yarn right and holding your hook like a scalpel. I used an AI image generator to visualize how these earth tones drape in different lighting. Using tools to push your imagination elevates this.
Understanding the Basics: What is a Granny Square Romper?
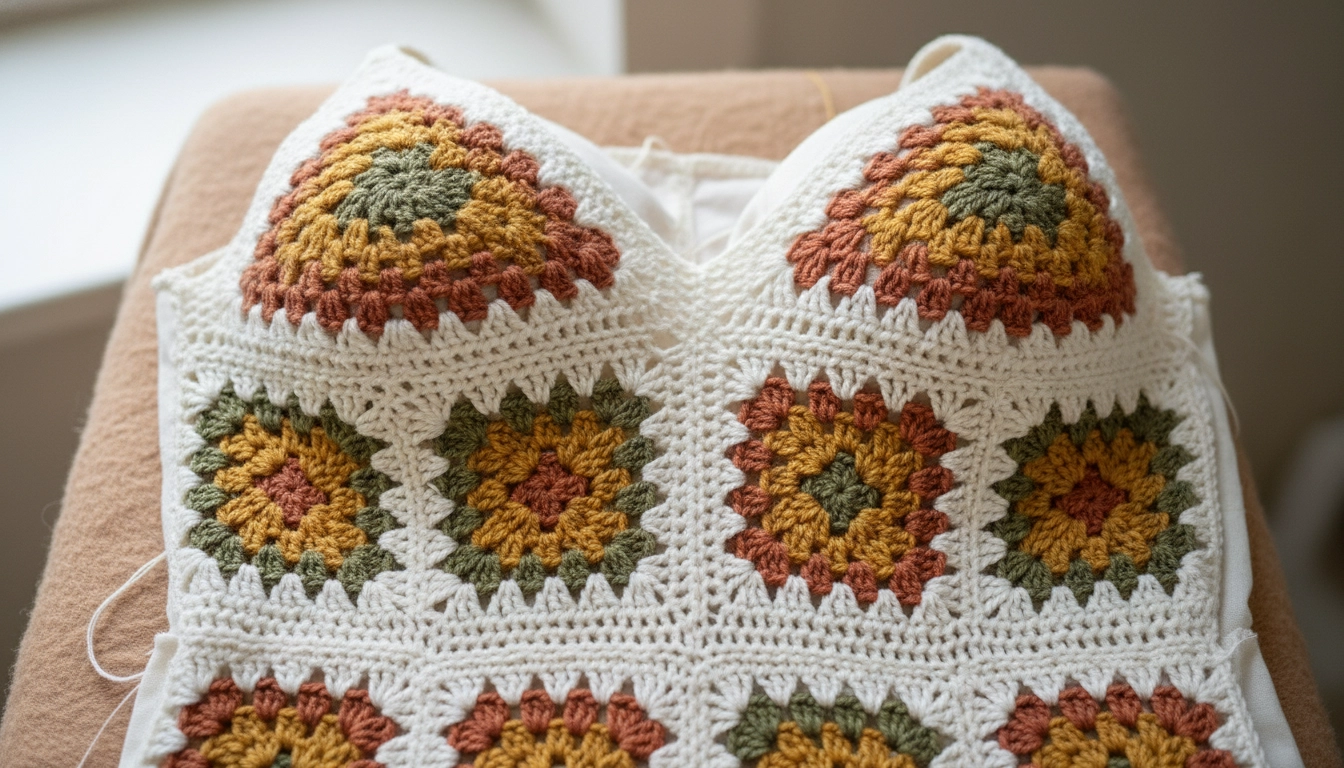
Combining full squares and half-square triangles allows the romper to conform beautifully to the body's curves.
So, what is a granny square romper? It is a one-piece outfit built from individual motifs joined together to follow a body shape. We transition from a structured top down into integrated shorts.
The shape happens because we mix full squares and half-squares to sculpt the bust and waist. If you do not plan the layout, it will droop. Every motif acts as a tile. If one is off-gauge, the whole outfit pulls. This method of mapping tension to fit curves is very similar to the 3D stitch engineering used in a plus size bralette crochet pattern to prevent sagging.
Before we pick up our hooks, let us look at how these geometric shapes actually build a wearable silhouette.
| Motif Type | Structural Role |
|---|---|
| Full Square | Builds the flat panels for the hips, back, and lower torso |
| Half-Square Triangle | Sculpts the bust cups and necklines to eliminate gaping |
| Ribbed Band | Acts as the tension anchor around the waist and thighs |
My Take
Treat your half-squares like architectural brackets. They transfer the load from the vertical straps down to the horizontal waist, preventing the dreaded center-front sag.
Color Analysis: Rust, Olive, Mustard, and Cream — An Autumn Palette
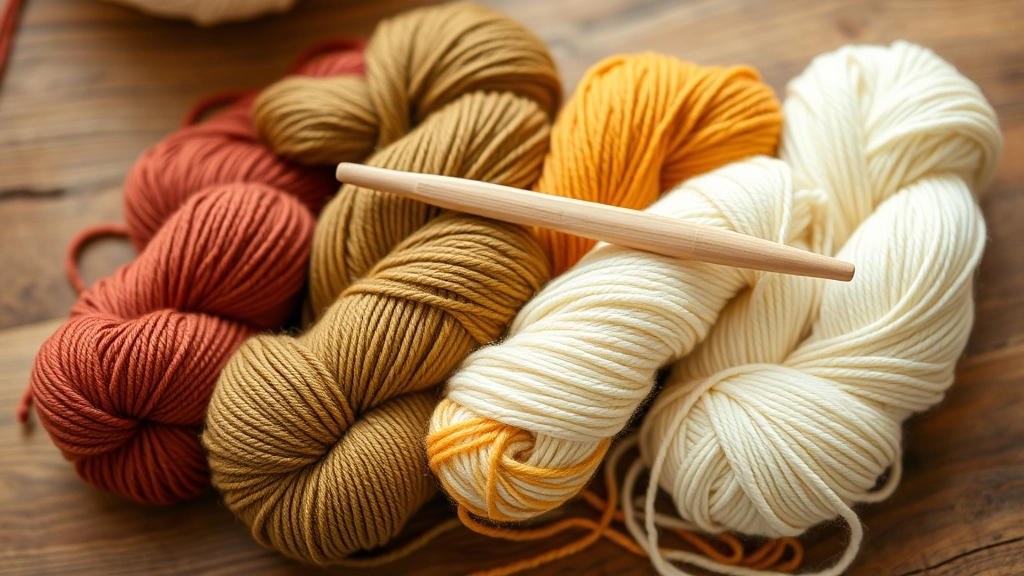
The perfect autumn palette: rust, olive, mustard, and cream come together for an organic, forest-inspired aesthetic.
We use rust, olive, mustard, and cream for an organic autumn forest feel.
Color Consistency
Group colors together to ensure transitions remain identical across symmetrical squares.
Using cream for the outer edge of every square acts as a frame, making the centers pop and simplifying joining. I ran these colors through a digital palette generator to check contrast. It makes a massive difference. For more inspiration on using a structured grid with high-contrast framing, check out the summer romance crocheting a navy granny square mini dress with scalloped hem tutorial.
To get that balanced forest floor aesthetic, I mapped out the exact yarn usage percentage for each shade so no single color dominates the piece.
My Take
Always use your highest-contrast color for the outer border. In this case, cream acts as a visual grid that cleans up any minor tension variances between the colored centers.
Square Layout: Planning the Grid for a Balanced, Symmetrical Look
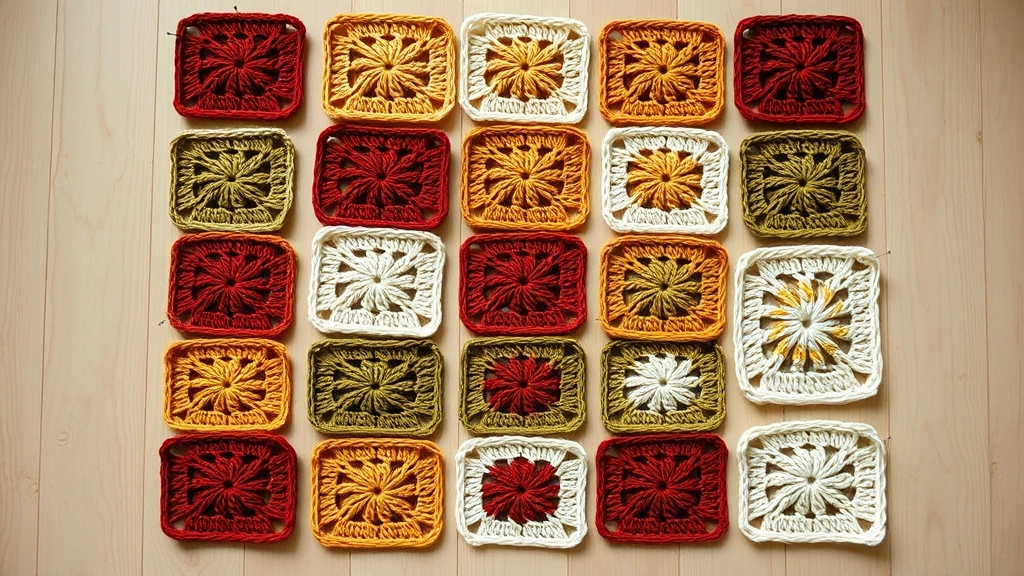
Laying out and blocking your squares beforehand ensures perfect symmetry and clean seams.
For a standard medium, you need twenty-four full squares and two half-square triangles. Lay them out on your floor and block them first. If you do not, your seams will look like a rollercoaster.
Symmetry is key. Put the mustard and rust on the hips and bust. I use a grid app to swap the layout digitally. Take a photo before you stitch them together or you will forget where they go.
To make sure your romper does not end up lopsided, follow this strict preparation and assembly sequence.
| Step | Action | Structural Purpose |
|---|---|---|
| One | Steam block every finished motif | Establishes uniform dimensions before joining |
| Two | Arrange on a flat surface using a grid layout | Verifies color balance and symmetry |
| Three | Pin motifs together using locking stitch markers | Prevents shifting and uneven stretching during seaming |
My Take
Never skip blocking. Unblocked squares are like warped bricks; your seams will fight each other, and the romper will twist around your torso when you walk.
Romper Construction: Joining the Bodice and Shorts Sections Seamlessly
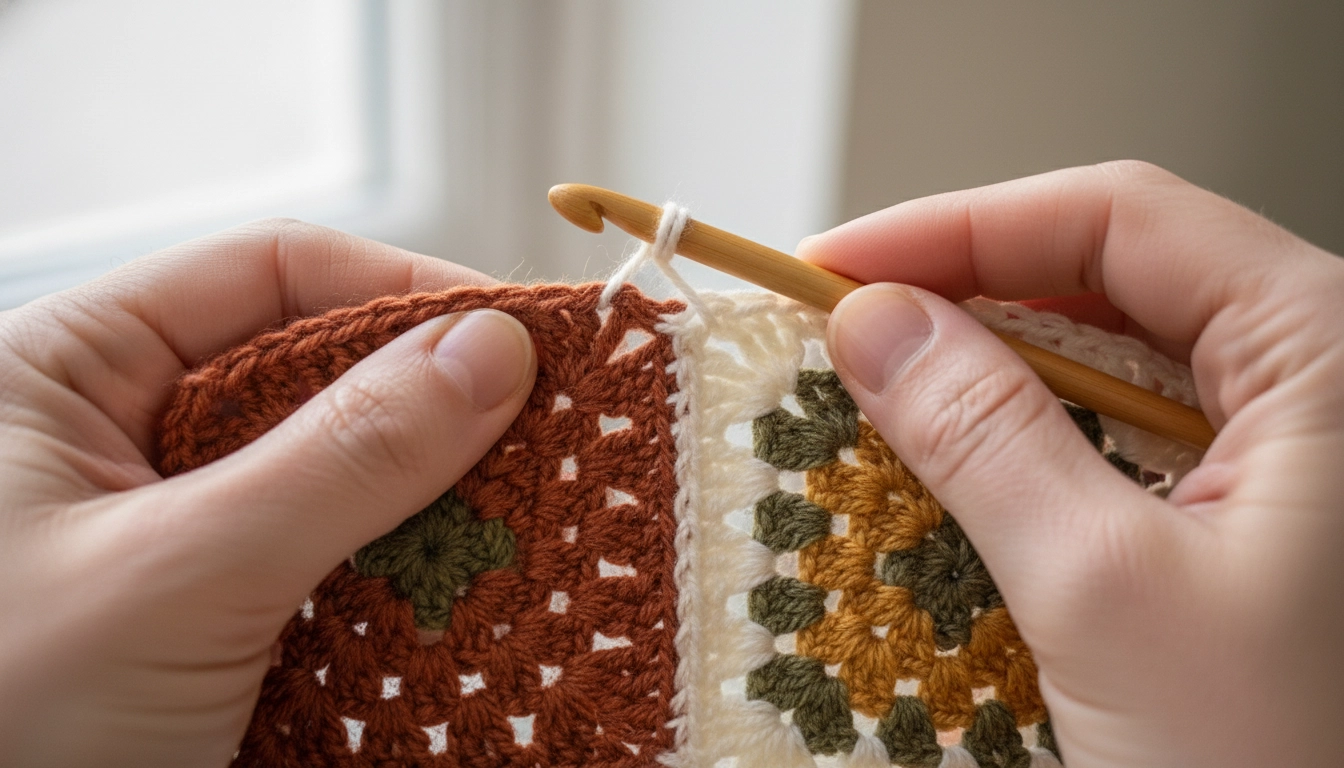
Using a flat slip-stitch through the back loops only creates a flexible, comfortable seam.
We do not want thick seams rubbing our skin, so we use a flat slip-stitch join through the back loops only. This keeps seams flat.
Build the shorts first as two separate tubes, join them at the crotch, make your waist band, then attach the bodice. This sequence keeps weight distributed so straps do not stretch. Ensuring the lower half has proper structural integrity is just as important here as it is when working on a fitted crochet pants pattern.
Seaming a wearable garment requires a different approach than joining a flat blanket. Here is how to troubleshoot common seaming structural failures.
| Seam Issue | Primary Cause | Engineering Fix |
|---|---|---|
| Bulky ridges on the inside | Joining through both loops | Slip stitch through back loops only to lay flat |
| Wavy or puckered seams | Uneven stitch count per edge | Match stitches one-to-one and use stitch markers |
| Sagging waistband | Lack of structural support | Work a dense single crochet waistband before attaching bodice |
My Take
The back-loop-only slip stitch is my absolute favorite for garments. It creates a flexible hinge that moves with your body instead of a stiff ridge that digs into your skin.
Pattern: Garden Party Ready: Crocheting an Earth-Tone Granny Square Romper
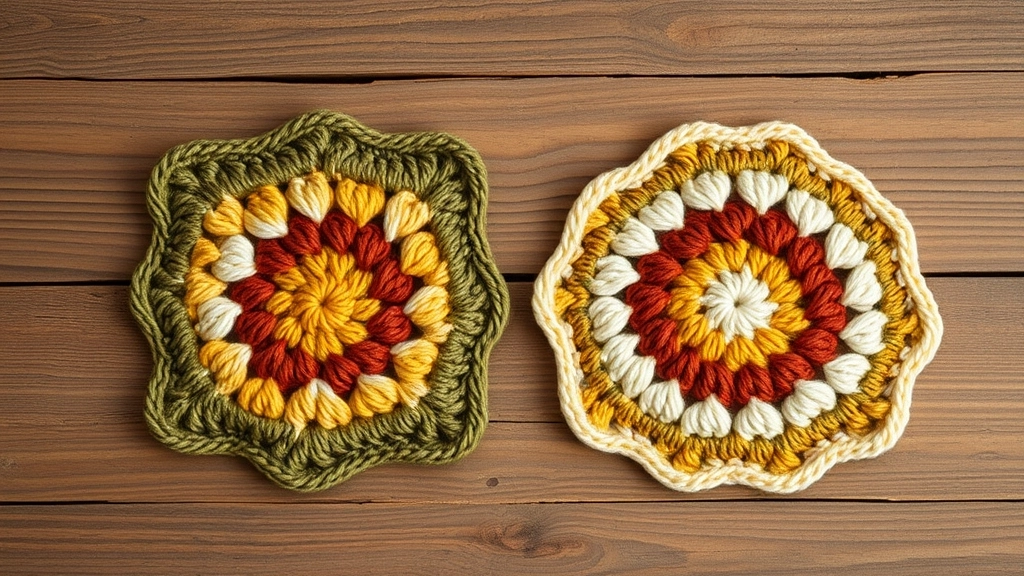
Your completed full square and half-square triangle motifs should look uniform in size and stitch definition.
This intermediate pattern uses a four-millimeter hook and sport-weight cotton yarn in rust, olive, mustard, and cream.
Skill Level
This project is intermediate due to the precise assembly and shaping required.
Follow these instructions. Watch your tension.
Care and Maintenance: Washing and Storing Your Crochet Romper
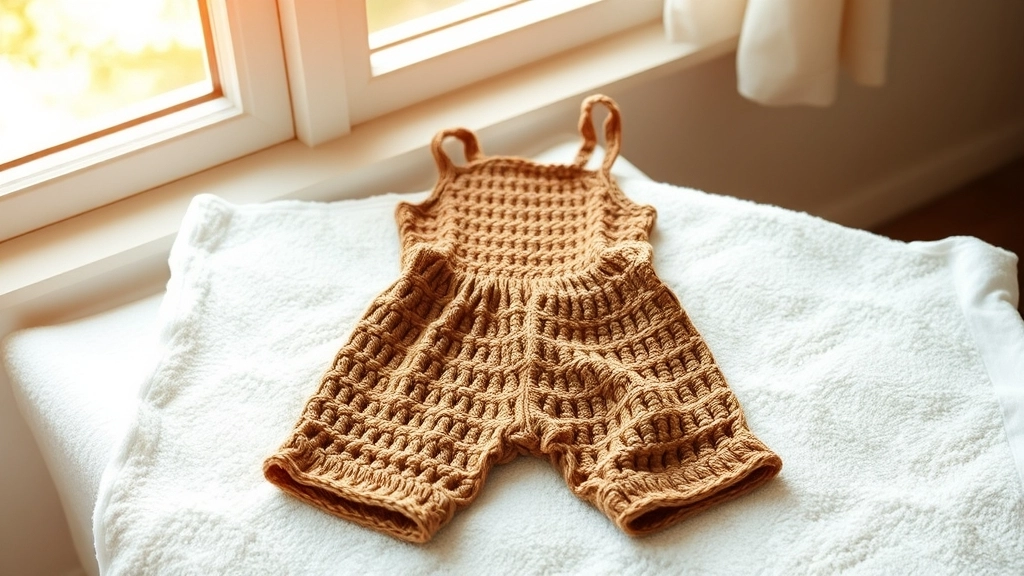
Always dry your romper flat on a clean towel to prevent the weight of the water from stretching the stitches.
Hand wash only in cold water with mild soap. Please do not twist or wring it. That ruins your custom fit.
Drying Mistakes
Never hang a wet crochet romper to dry. The weight of the water will stretch the straps. Dry flat on a towel.
Fold it flat and store in a breathable cotton bag. Storing it this way stops gravity from pulling stitches down.