
Quick Access
Skip straight to the pattern instructions below to start crafting your shrug immediately, or read on for sizing, yarn selection, and styling tips.
Let's talk about the geometry of negative space. Most people think crochet is about packing stitches tightly together, but the real magic is in the void—the empty holes that catch the light and let the skin breathe. I was playing around with an AI image generator the other day, trying to render the drape of wet linen against a pixelated sunset, when my phone buzzed. It was Darlene Barnes, who lives over on Spring St in Oakland. She was packing for a coastal trip and complained that every single travel sweater she owned looked like a sad, deflated sack.
She needed structure. But she also needed air.
That is why we build mesh. Not as a clumsy afterthought, but as an architectural frame.
Understanding the Basics of Open-Mesh Crochet
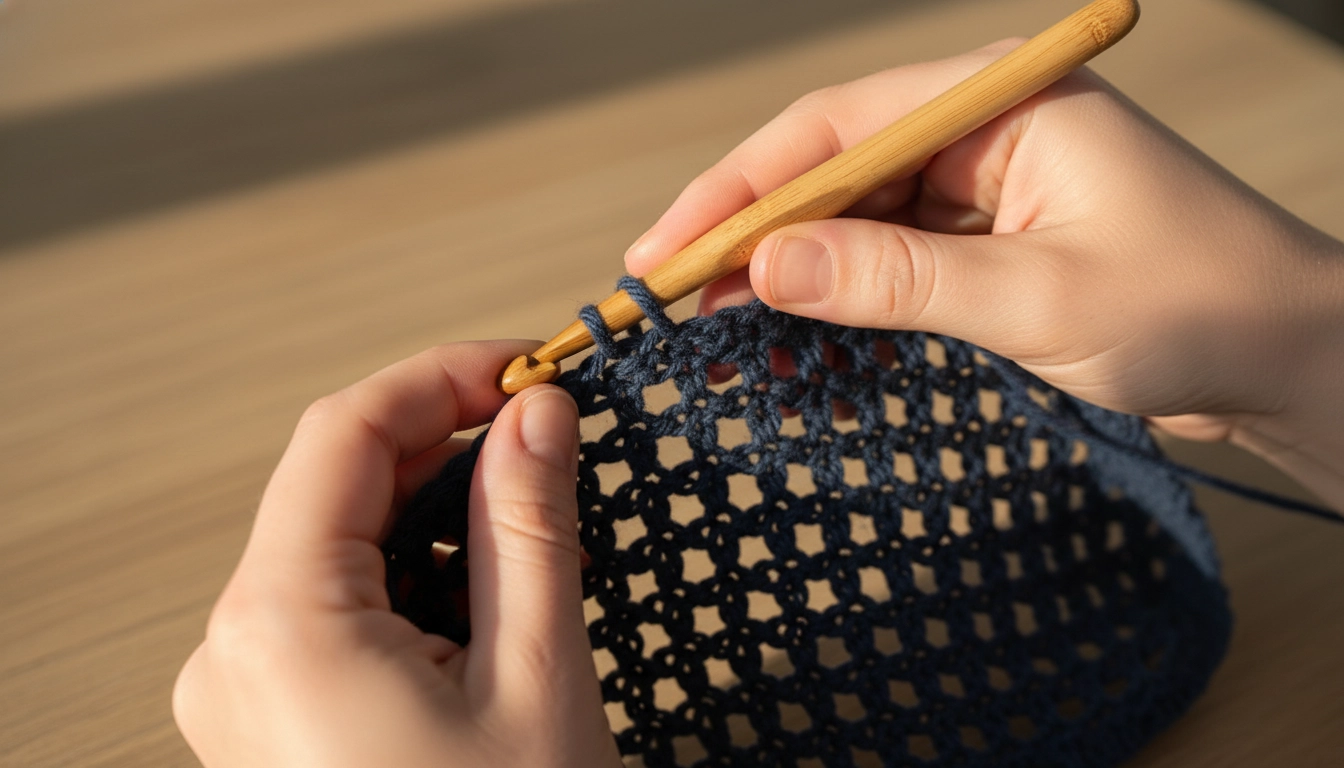
Maintaining a steady, relaxed tension is key to creating a uniform and beautiful mesh grid.
When you build an open-mesh garment, you are essentially drawing a grid in the air with a single strand of fiber. It is pure structural engineering. You take double or treble stitches, lock them together with chain spaces, and suddenly you have a fabric that behaves more like a fluid liquid than a stiff textile.
It mimics fine netting. But with weight.
Here is the thing about tension: it is merciless.
If your hands get tight because you are watching a movie or stressing over an email, the boxes shrink. If you relax too much, they sag. To fix this, I always tell people to throw away the hook size printed on the yarn label. Seriously. Grab something absurdly large. It forces the yarn to float, making the fabric drape over your collarbones instead of clinging to your skin like static wrap.
Understanding how minor tension shifts affect the overall drape of a garment is also a key skill you will need when crafting a Freeform Geode Crochet Pattern Festival Outfit. Before we grab our hooks, let's look at how your personal tension style will directly impact this structural grid.
| Tension Style | What Happens to the Mesh | How to Fix It |
|---|---|---|
| Too Tight | Small, stiff boxes that cling to the skin | Go up one or two hook sizes |
| Too Loose | Saggy, uneven windows that lose structure | Keep a consistent finger glide |
| Just Right | Beautifully floating boxes with elegant drape | Stick to the recommended 5.5 mm hook |
My Take
Tension is highly personal, so do not be afraid to experiment with hook sizes until your squares look like perfect little windows rather than squished diamonds.
The Open-Mesh Shrug — Effortless Layering for Warm-Weather Nights
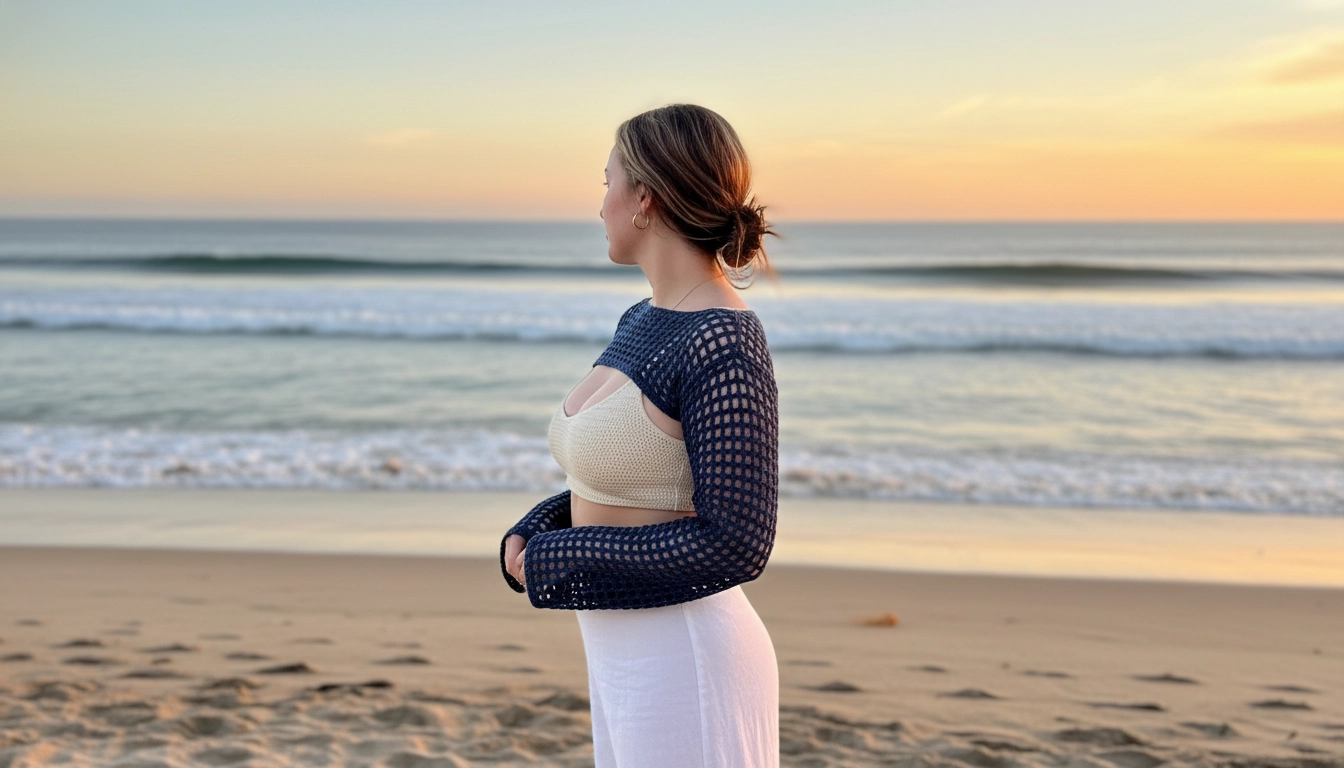
The deep navy color pairs beautifully with coastal environments, offering a soft alternative to black.
A shrug is basically a math equation wrapped around the shoulders. It covers your arms, keeps the wind from biting, but completely ignores your torso so your actual outfit doesn't get buried. This open design pairs beautifully with a cropped underlayer like our Boho Beauty: How to Crochet a Granny Square Lace-Up Bandeau Top.
I chose a deep navy blue for this because black can feel too harsh when you're near salt water. Navy is softer. It has this quiet, oceanic depth.
Also, the physics of this weave are wild. It doesn't just hang there like a heavy wool coat. It stretches. It compresses.
When you move, the grid shifts dynamically. It pools slightly around the wrists, which looks incredibly elegant but feels completely weightless.
Design Details: Wide-Gauge Mesh Stitch, Bell Sleeves, and Boat Neckline
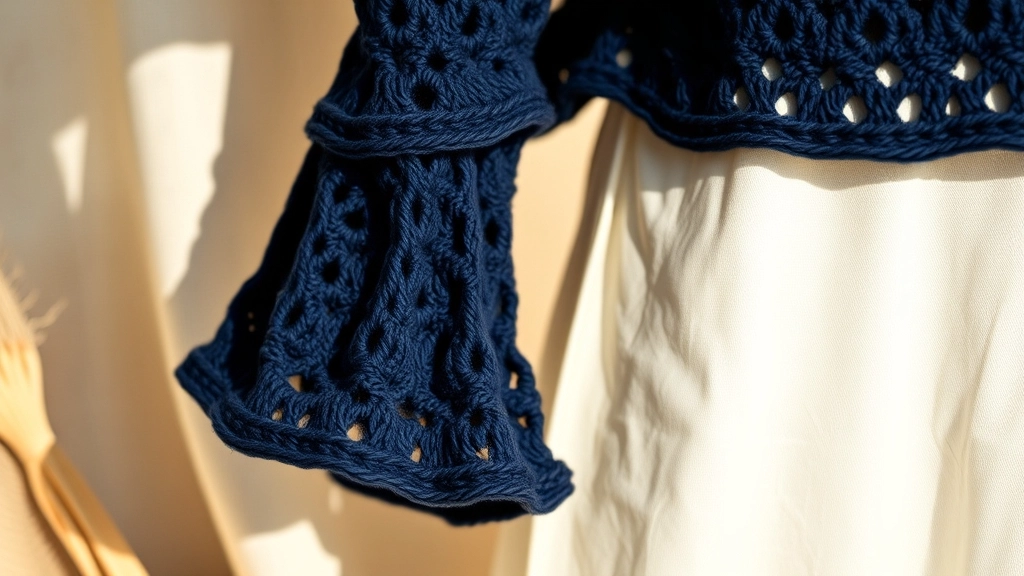
The gentle flare of the bell sleeve and the clean lines of the wide-gauge mesh create a boutique-quality finish.
To make this look like something you bought at a high-end boutique rather than a craft fair, we need three things: a wide-gauge mesh, flared bell sleeves, and a clean boat neckline.
The mesh itself is dead simple but looks complex. It's just a double crochet followed by a chain-two space, over and over.
But the magic happens when you stack them. You get these perfect, negative-space windows.
For the sleeves, we start expanding the grid gently once we hit the elbow. It creates this beautiful flare. Like a bell. It moves when you walk, mimicking the tide.
Then there's the boat neckline. It cuts straight across the collarbone, wide and flat, which balances out those massive sleeves so you don't look like you're drowning in yarn.
The Geometry of Mesh
A perfect mesh grid relies on aligning your stitches directly on top of the stitches from the previous row. Inserting your hook into the top loops of the stitch rather than the chain space ensures clean, architectural lines that will not distort over time.
Accessory Pairing: Woven Chain-Strap Bag and Flowing White Maxi Skirt
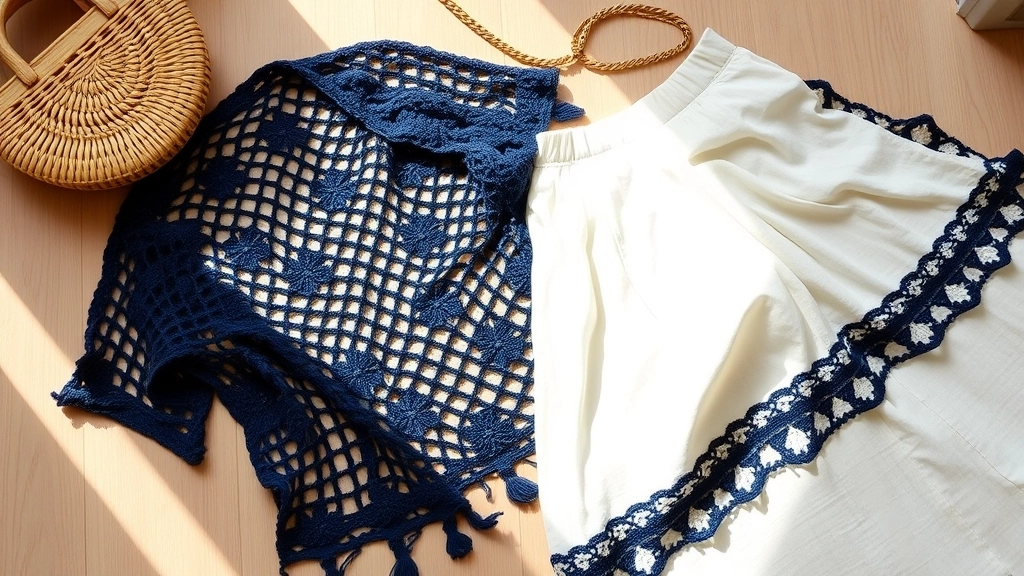
Pair your handmade shrug with raw organic textures like raffia and flowing white linen for an instant coastal chic aesthetic.
You can't just wear this shrug over sweatpants and expect it to look like art. Styling is part of the architecture. I love pairing the deep navy with a woven chain-strap bag. Something made of raw raffia or straw. The rough, organic texture of the straw clashes beautifully with the soft loops of the crochet, and that little glint of a gold metal chain adds instant polish.
Then, put on a flowing white maxi skirt.
Linen or silk. It doesn't matter, as long as it moves.
The contrast between the crisp, bright white and the deep navy is instantly classic. It gives you this elongated silhouette that looks stunning when the wind catches it.
Yarn & Hook Selection: Best Cotton-Blend Yarn for a Drapey Open Weave
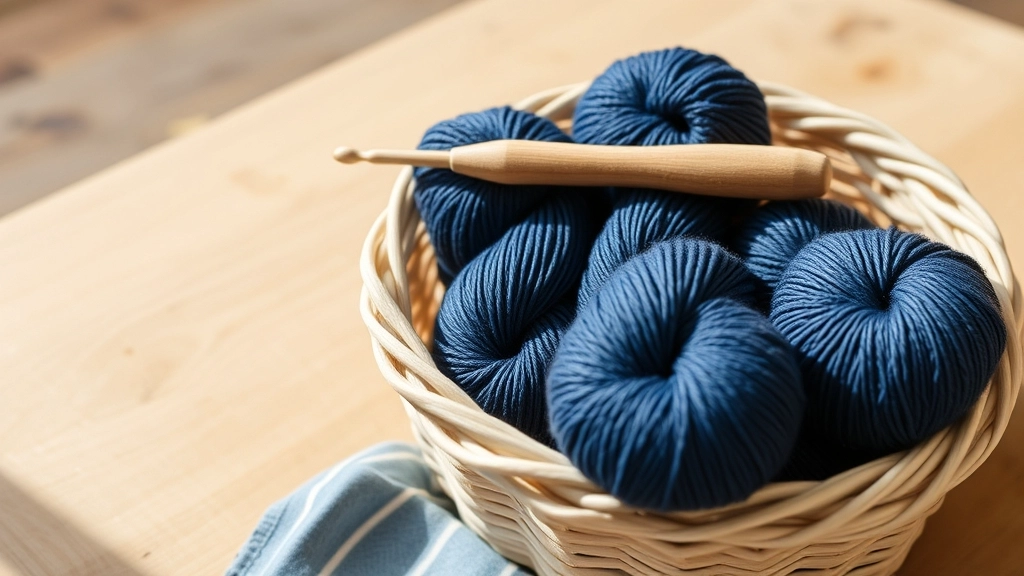
Opt for a cotton-acrylic or cotton-bamboo blend and an oversized hook to ensure your shrug has a beautiful, fluid drape.
Let's talk yarn. If you use 100% kitchen cotton, your shrug will weigh five pounds and drag on the floor by dinner time. It has zero memory. Instead, you need a cotton-acrylic blend.
Or bamboo. Bamboo is fantastic for drape.
The acrylic or rayon acts like a spring, giving the cotton a bit of bounce so the sleeves don't stretch out into sad, wet noodles.
I recommend a light Category 3 DK weight yarn. And please, use a 5.5 mm (I-9) hook.
Yes, I know that hook is technically too big for DK yarn. That is the entire point.
The oversized hook forces the stitches to stay loose and airy, creating a fabric that flows instead of standing stiffly on its own.
Choosing the right fiber blend is critical because the wrong weight can completely ruin the structural integrity of your shrug.
| Fiber Blend | Drape Quality | Weight Retention | Overall Verdict |
|---|---|---|---|
| 100% Kitchen Cotton | Very stiff and heavy | Sags significantly over time | Avoid for garments |
| 100% Acrylic | Lacks elegant flow | Holds shape but traps heat | Not recommended for summer |
| 100% Bamboo | Highly fluid and soft | Stretches out easily | Good but needs careful handling |
| Cotton and Acrylic Blend | Perfect balance of bounce and flow | Retains original shape beautifully | The absolute best choice |
My Take
A cotton-acrylic blend gives you the breathability of cotton with the memory and bounce of acrylic, ensuring your sleeves do not stretch out into sad, wet noodles.
Avoid Heavy Acrylics
Using one hundred percent standard acrylic yarn for this project will result in a shrug that traps heat and lacks the necessary drape. Stick to cotton, bamboo, or linen blends to keep the garment cool and breezy.
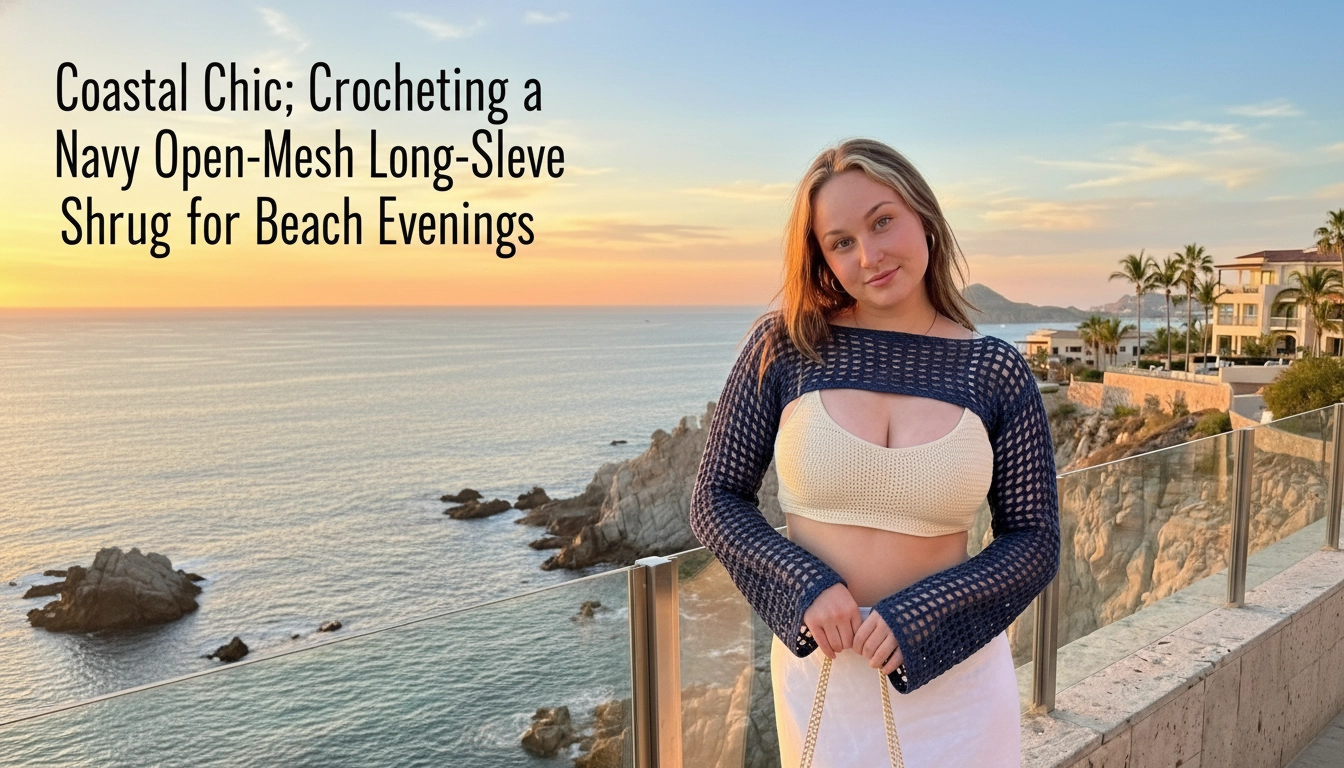
Coastal Chic: Crocheting a Navy Open-Mesh Long-Sleeve Shrug for Beach Evenings
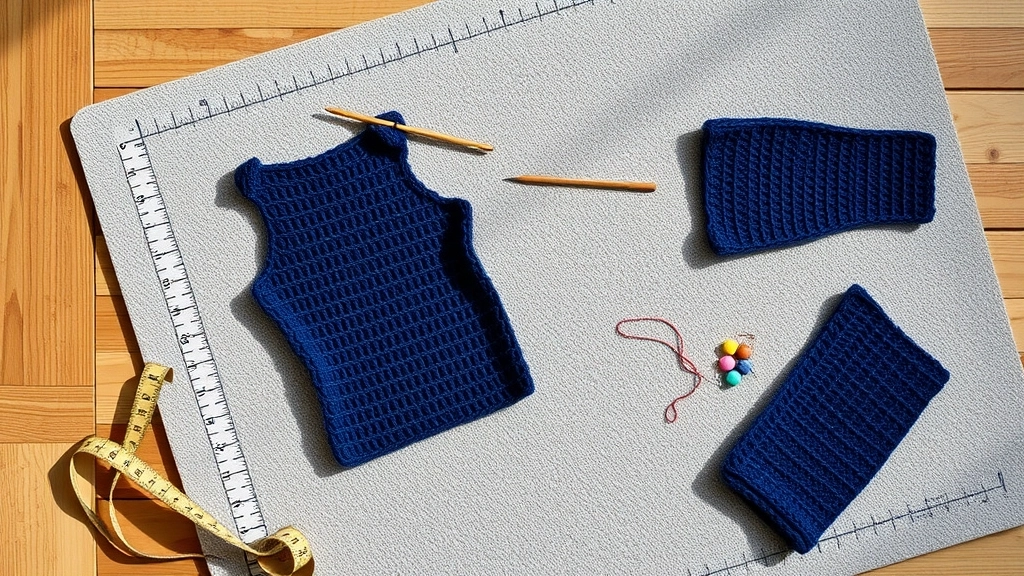
Before assembly, block your flat panels to open up the mesh grid and ensure your dimensions are completely accurate.
This project sits firmly in the intermediate category, mostly because of the sleeve shaping, but don't let that scare you off.
The layout is incredibly logical. We are just making three flat panels—a back and two sleeves—and seaming them together. It's like building blocks.
To start, make sure you have about 300 to 400 grams of a decent DK weight cotton-blend yarn in navy blue.
Grab your trusty 5.5 mm hook.
You will also need a tapestry needle, some stitch markers, and a measuring tape to keep your dimensions honest.
For your gauge, we are looking for 4 mesh boxes and 6 rows to equal a 4-inch square.
Do not skip the gauge check. I mean it. If your gauge is off, your sleeves might end up dragging in your soup.
Tension Control
When working the chain spaces, try to keep your chains relaxed. Tight chain stitches will pull the mesh grid upward, causing the fabric to bunch instead of draping smoothly.
To help you plan your stitching sessions, I have mapped out the approximate time breakdown for each phase of this project.
My Take
Do not rush the assembly phase. Taking your time with the mattress stitch ensures your seams are completely invisible and highly durable.
Now, let us dive into the step-by-step construction of your coastal shrug.
Styling Occasions: From Beach Dinners to Rooftop Parties
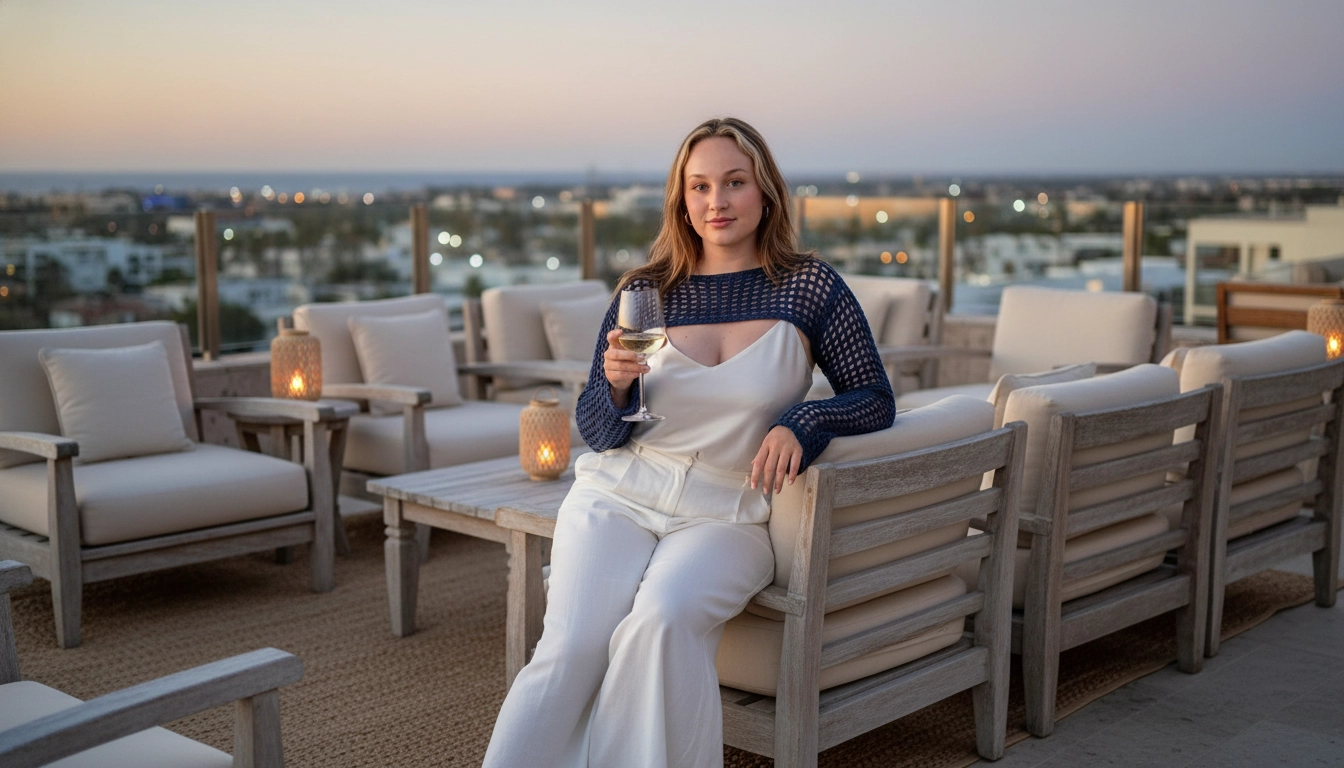
Easily transition your shrug from a casual beach cover-up to a chic layer for rooftop cocktails.
This piece is a bit of a chameleon. Honestly, you can throw it in a suitcase, pull it out, and it works for almost anything.
For a casual dinner right on the sand, toss it over a simple cream-colored bikini top or a custom-fit piece like our plus size bralette crochet pattern. It looks incredibly effortless. The way the light passes through the open stitches at sunset is just beautiful.
Then, if you're heading up to a rooftop bar later, you don't even need to change the shrug.
Just swap your beach wear for some handmade trousers using our fitted crochet pants pattern. Put on some strappy metallic sandals.
The crisp, architectural lines of the mesh do all the heavy lifting. Suddenly, you look like you're wearing designer resort wear instead of something you made while sitting on your couch.
Conclusion
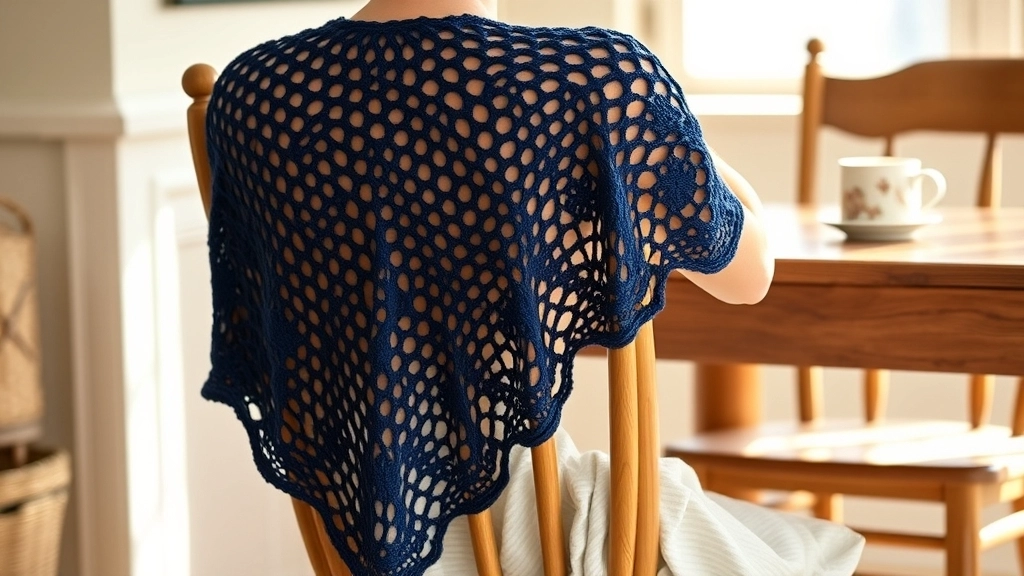
There is nothing quite like the satisfaction of wearing a beautiful, custom garment you stitched yourself.
Building your own clothes is honestly one of the most satisfying things you can do. You control the yarn, the fit, how it hangs.
By playing around with this open-mesh design, you can make something that feels totally custom.
So go find some decent yarn. Grab that giant hook.
Start stitching. I always love seeing how these turn out, so definitely post your progress in our group if you can.