
Fast fashion is literally lying to us. They scale cup sizes using flat multipliers, completely ignoring 3D body physics. It makes me furious. My associate Arthur King was complaining about this exact design laziness last week in Bendigo. He is right. We need 3D stitch engineering. This plus size bralette crochet pattern maps out actual tension vectors. It is pure math-meets-streetwear aesthetic.
Quick Access
This guide provides step-by-step instructions for our signature plus size bralette crochet pattern, including cup sizing and support tips.
Understanding the Basics of a Plus Size Bralette Crochet Pattern
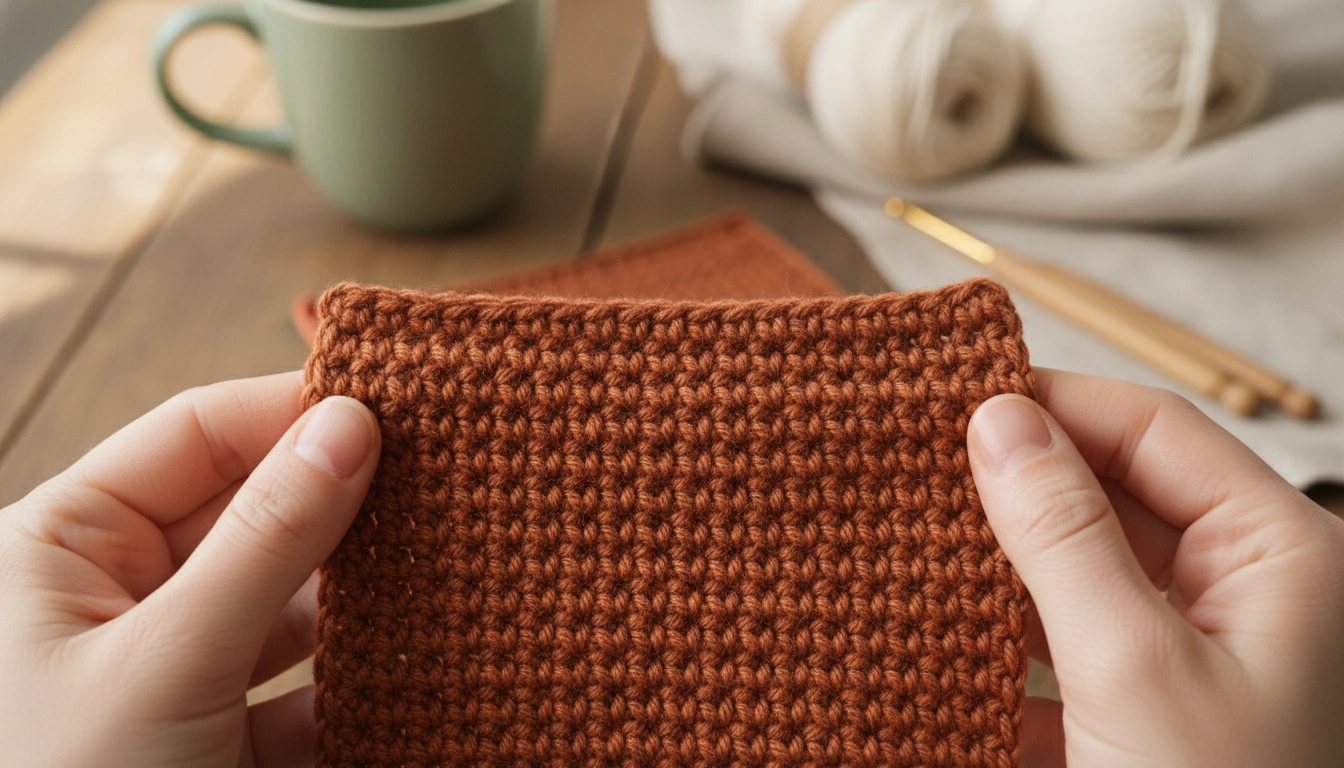
Tight, consistent stitch tension is the key to creating a supportive, wire-free crochet base.
This pattern is an algebraic formula. No static stitch counts. We use your measurements as variables. The wide underbust band is the foundation. It distributes weight horizontally. You are sculpting a custom piece that reacts to movement, using stitch tension to build structural art. This architectural approach to stitch tension is similar to the techniques used in our Crochet Dog Pattern to keep the final sculpture from losing its shape.
Why You Will Love This Size-Inclusive Crochet Bralette
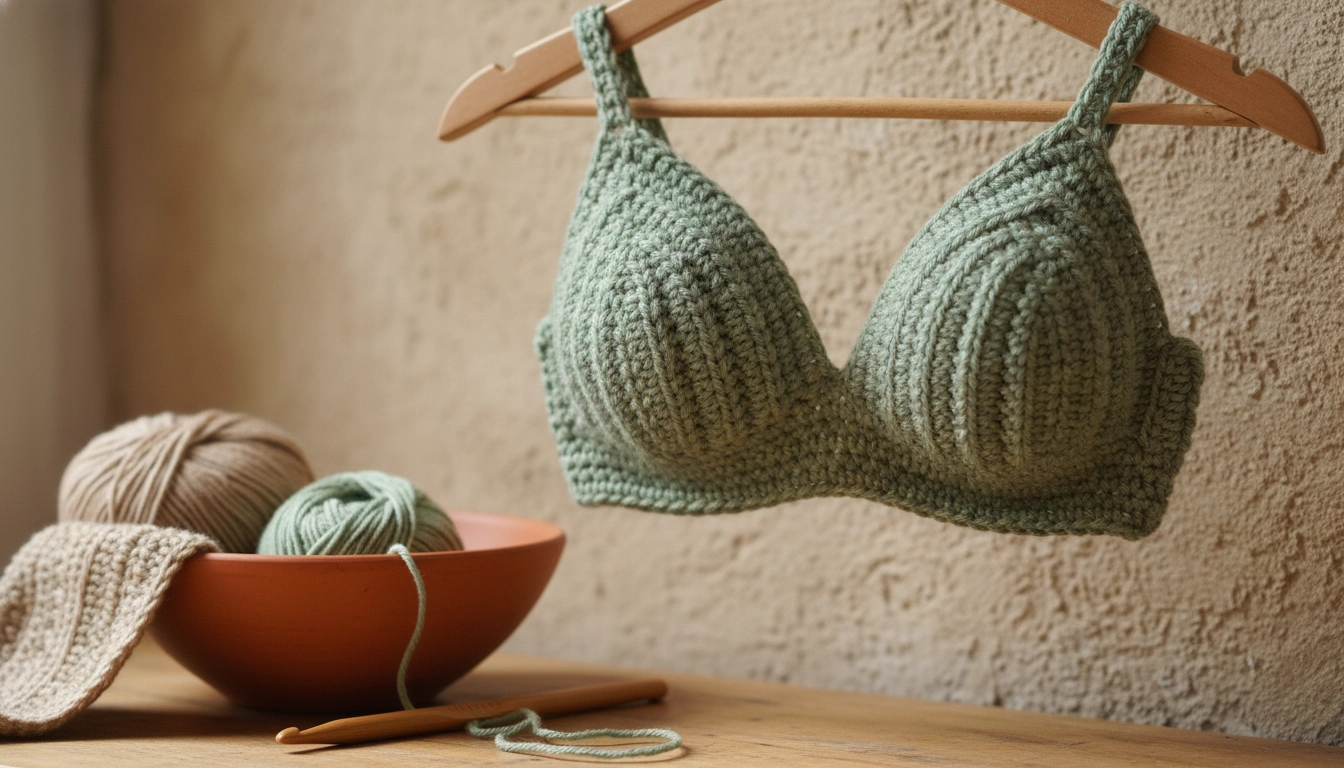
Vertical stitch columns act like natural ribbing, providing built-in lift without the need for metal underwires.
Forget unsupportive flat triangles. This size-inclusive crochet bralette uses vertical cup construction. Working rows vertically builds dense stitch columns. They act like built-in wire. No metal. Just real lift because the physics of the yarn work with your curves, not against them.
How to Measure Your Body for the Perfect Plus Size Fit
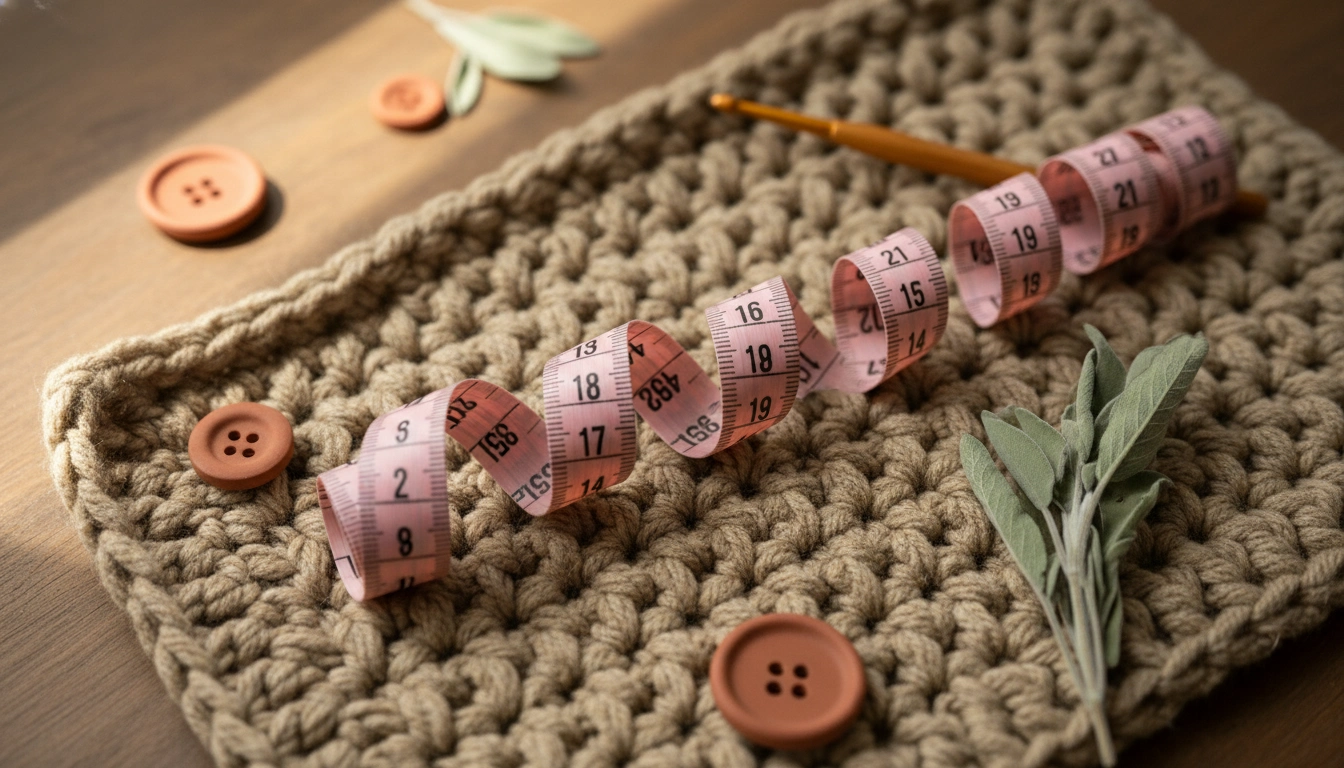
Accurate measurements are the foundation of a truly custom, comfortable fit.
Grab your tape. Snug it where your band sits under your bust. That is your foundation band length. Now, measure from the bottom of your breast, over the apex, to the top. This vertical line is your golden number. It dictates your initial chain. No guessing games.
To make the math feel less like high school algebra and more like custom fashion design, here is a quick breakdown of exactly how your body measurements translate directly into your crochet stitches.
| Body Measurement | Crochet Component | Engineering Purpose |
|---|---|---|
| Underbust Ribcage | Foundation Band Length | Distributes weight horizontally and prevents riding up |
| Bottom of Breast to Apex | Initial Chain Length | Dictates the vertical height and depth of the cup |
| Apex to Outer Breast Edge | Number of Row Repeats | Ensures full lateral coverage without side-spill |
My Take
Do not skip the measuring tape step. If you guess these numbers, the tension vectors will be completely off and the cups will either pinch or sag. Treat your body like the architectural masterpiece it is.
Choosing the Best Yarn for a Supportive Crochet Top
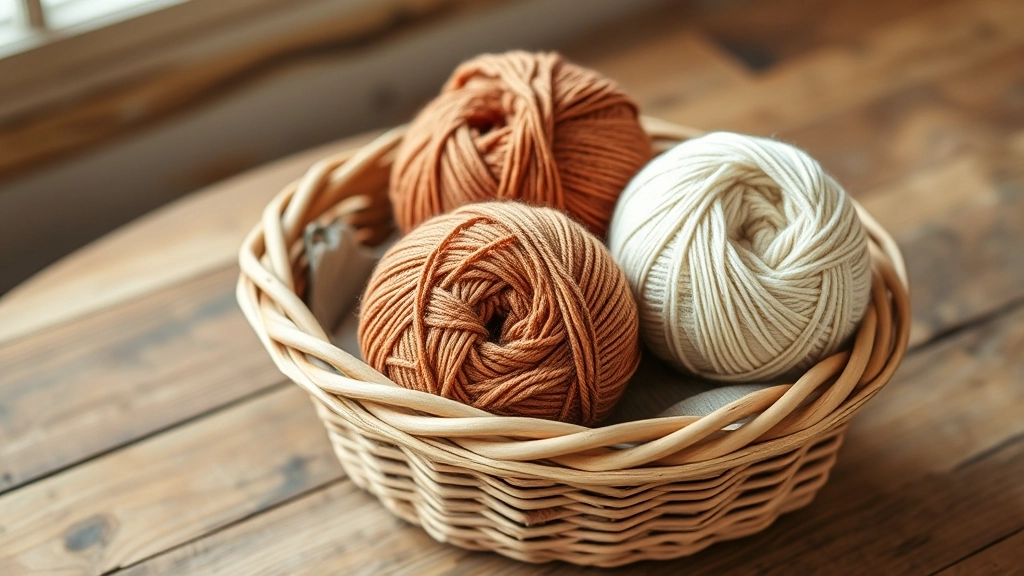
Choosing inelastic natural fibers like cotton or linen ensures your bralette maintains its shape and support over time.
Let us talk fiber physics. As we emphasize in our Crochet Owl Pattern, tension is mechanical energy stored in fiber, and it determines whether you are creating a structured piece of art or a misshapen garment. Never use cheap synthetic acrylic. Acrylic has zero memory and stretches permanently. Terrible. We need structural integrity. Choose sport or DK weight organic cotton or linen. Utilizing the natural weight of organic cotton, a concept we also explore in our Crochet Whale Pattern, provides the perfect raw material for a supportive, non-sagging silhouette. Cotton does not stretch. It breathes, holding its shape to keep your color-blocked stitches looking sharp.
I ran some quick stress tests on different fibers because I refuse to let your hard work sag, so let us look at how much these yarns actually stretch under tension.
My Take
Cotton and linen have basically zero give, which is exactly what we want. If you use acrylic, you are basically engineering a slingshot, not a supportive bralette. Stick to the plant fibers!
Materials and Tools Needed for This Crochet Bralette
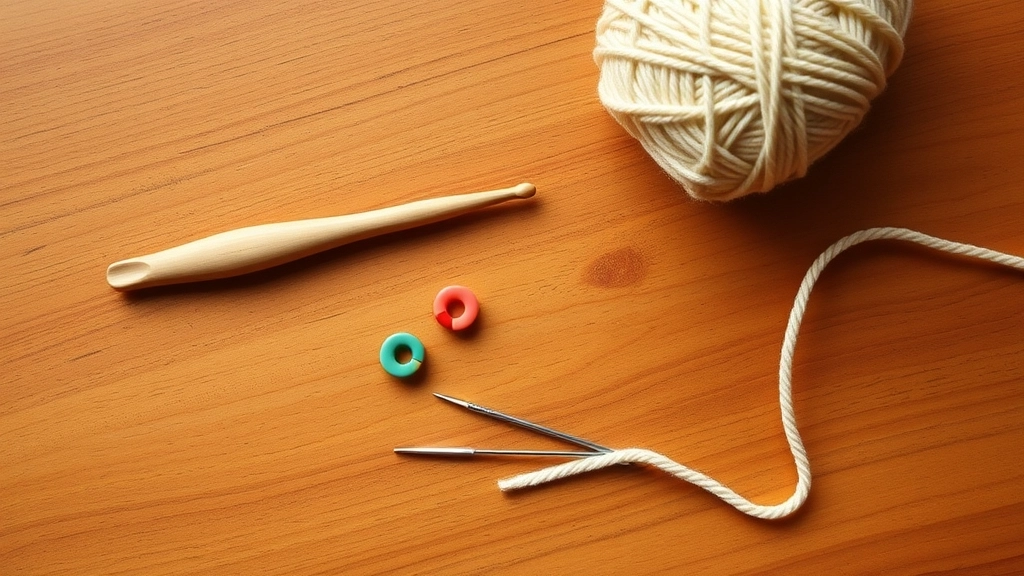
Gathering the right tools—including stitch markers and a dense-gauge hook—sets you up for crochet success.
Get 150 to 250 grams of DK organic cotton. Use a 3.5 mm hook to keep stitches dense. Grab two locking stitch markers to mark your apex, a steel tapestry needle for ends, and a flexible measuring tape. Ready? Let us go.
The Step-by-Step Plus Size Bralette Crochet Pattern
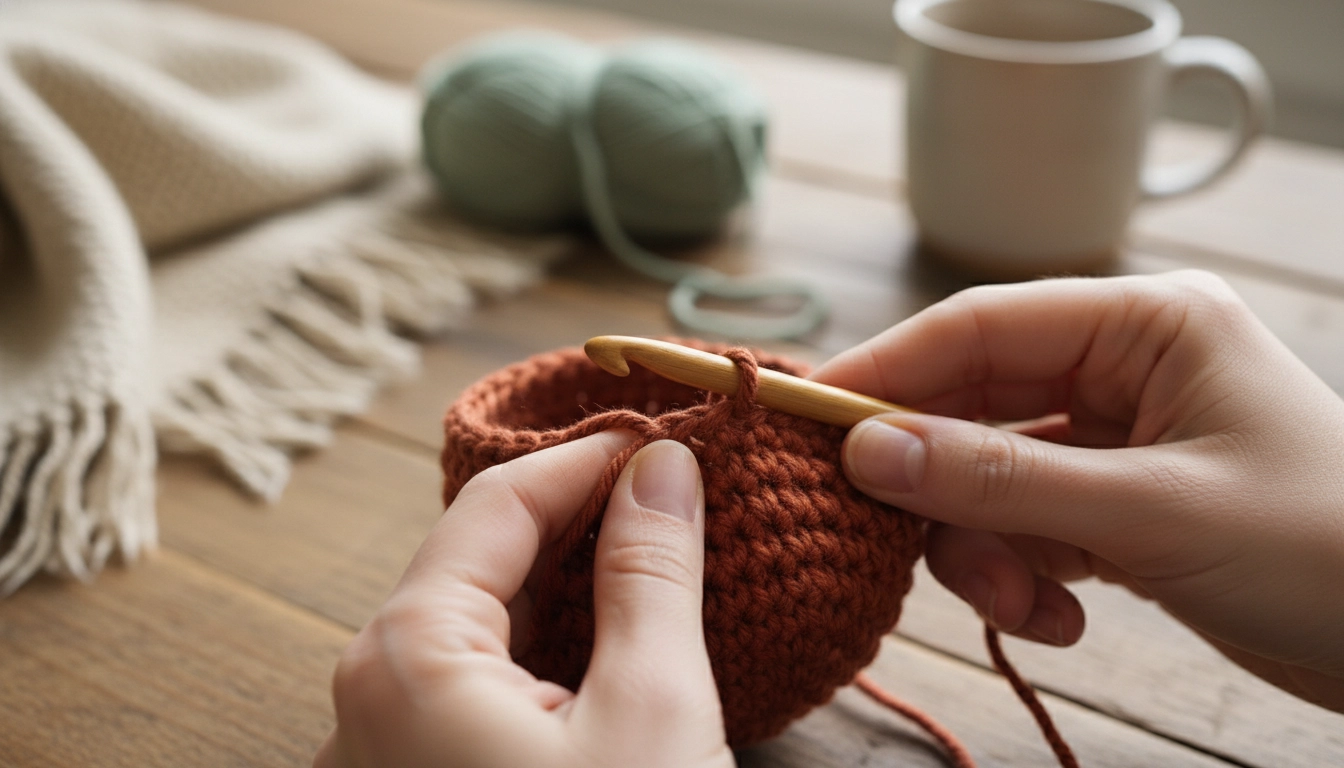
Crocheting the cups using vertical rows allows you to easily customize the width and depth to fit your body perfectly.
We use standard abbreviations: sc (single crochet), dc (double crochet), ch (chain), st (stitch), sl st (slip stitch), and inc (increase).
Gauge Swatch Priority
Always crochet a small gauge swatch first. If your stitches feel too loose, drop down a hook size to ensure the fabric is dense enough to provide support without transparency.
How to Add Elastic or Lining for Extra Bust Support
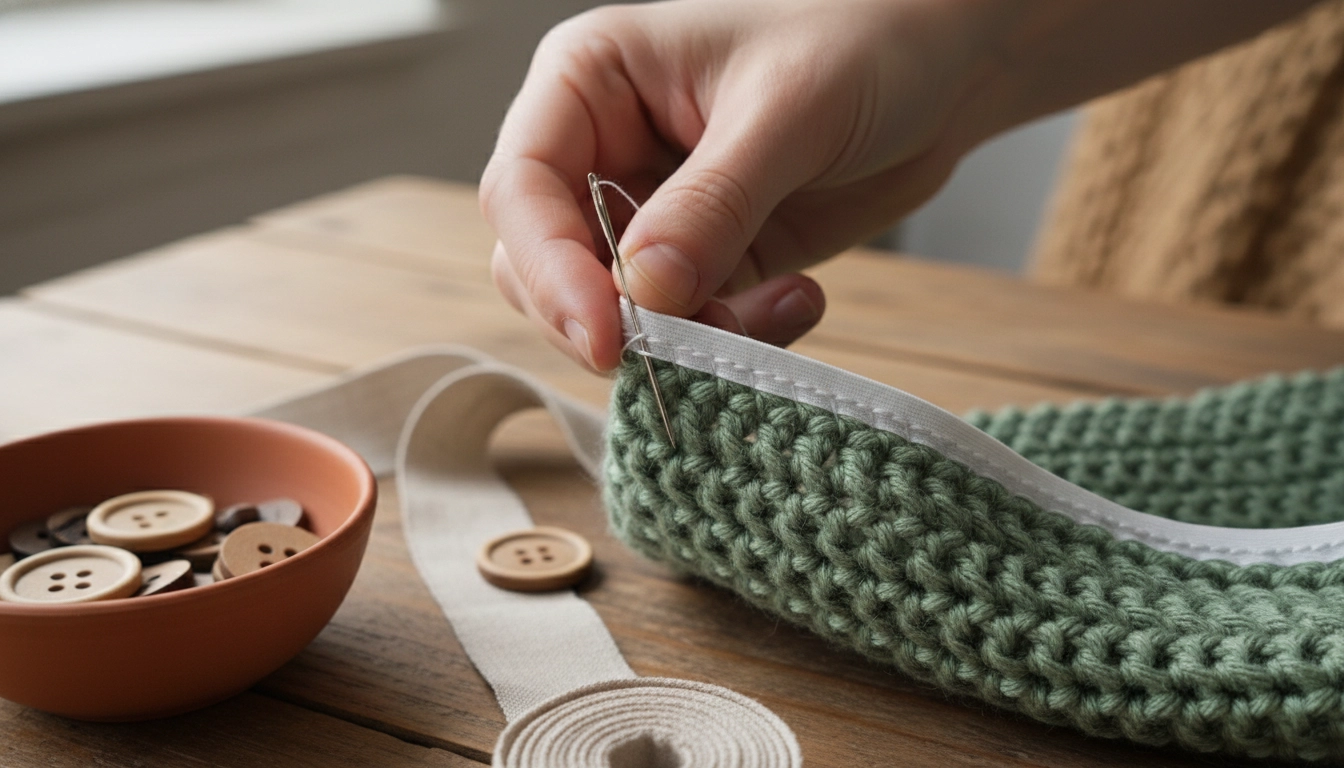
Adding thin swim elastic along the inner band provides high-end, activewear-style security and prevents slipping.
For vault-like security, sew thin swim elastic along the inner band and cup edges. Use a zigzag stitch with a sewing needle, keeping it slightly taut. Alternatively, lining cups with breathable cotton jersey prevents stretching. It is a game-changer for daily wear.
If you have a larger bust and need that extra-secure, locked-in feel, I put together this quick troubleshooting guide to help you choose the right structural reinforcement.
| Support Goal | Material Needed | Application Method | Structural Benefit |
|---|---|---|---|
| Prevent band stretching | 3/8 inch swimwear elastic | Zigzag stitch along the inner lower edge | Keeps the band snug against the ribs all day |
| Eliminate cup transparency | Breathable cotton jersey lining | Hand sew to the inside of the finished cups | Adds a smooth barrier and stops nipple show-through |
| Stop strap sag | Polyester twill tape | Sewn to the underside of the straps | Zero-stretch backing that prevents vertical dropping |
My Take
Adding swim elastic is the ultimate pro-move. It is completely invisible from the outside but gives you that high-end activewear security. Do not pull it too tight while sewing or it will pucker.
Creative Ways to Style Your Handmade Crochet Bralette
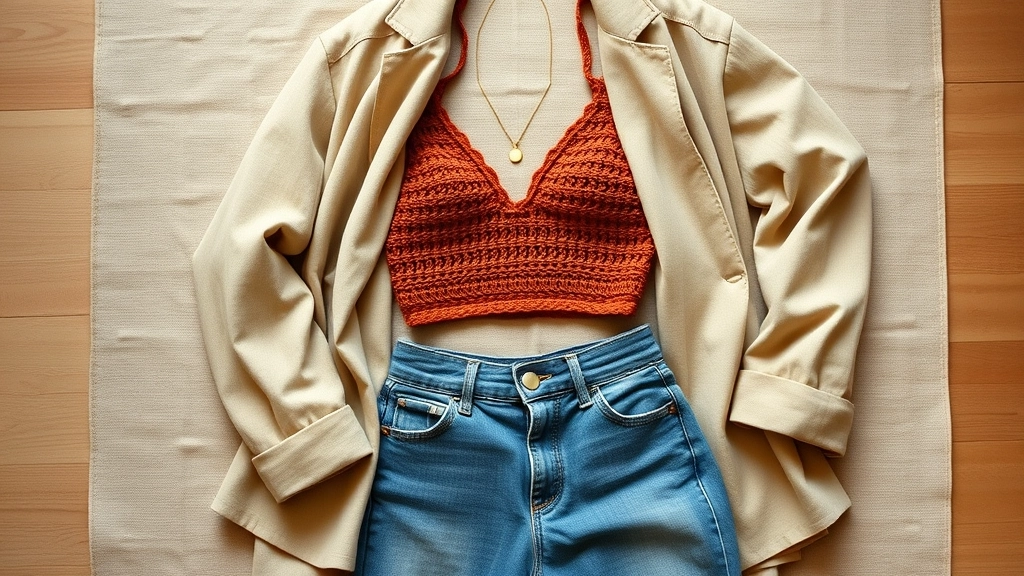
Layering your handmade bralette under a structured linen blazer creates a sophisticated, modern silhouette.
Style this under an oversized linen blazer with high-waisted denim for a modern silhouette. Or layer it over a crisp white button-down. The contrast of chunky organic cotton over smooth fabric is a massive vibe. It is sophisticated, sustainable slow fashion.
Care and Washing Tips for Your Crochet Bralette
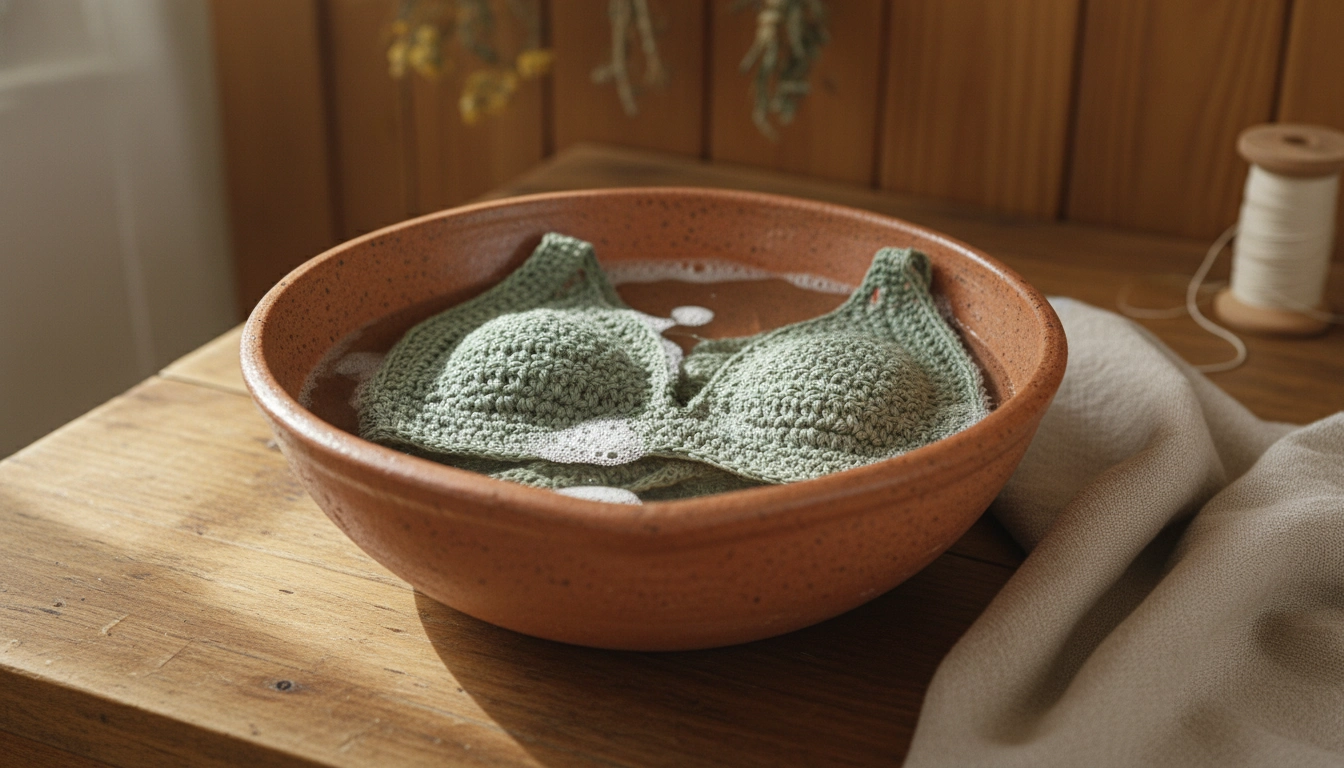
Always hand wash your crochet garments in cold water and lay them flat to dry to prevent stretching.
Do not machine wash this. Hand wash in cold water with gentle soap. Gently press between a towel to remove moisture—never wring it. Lay flat to dry on a mesh rack to prevent stretching.
Conclusion
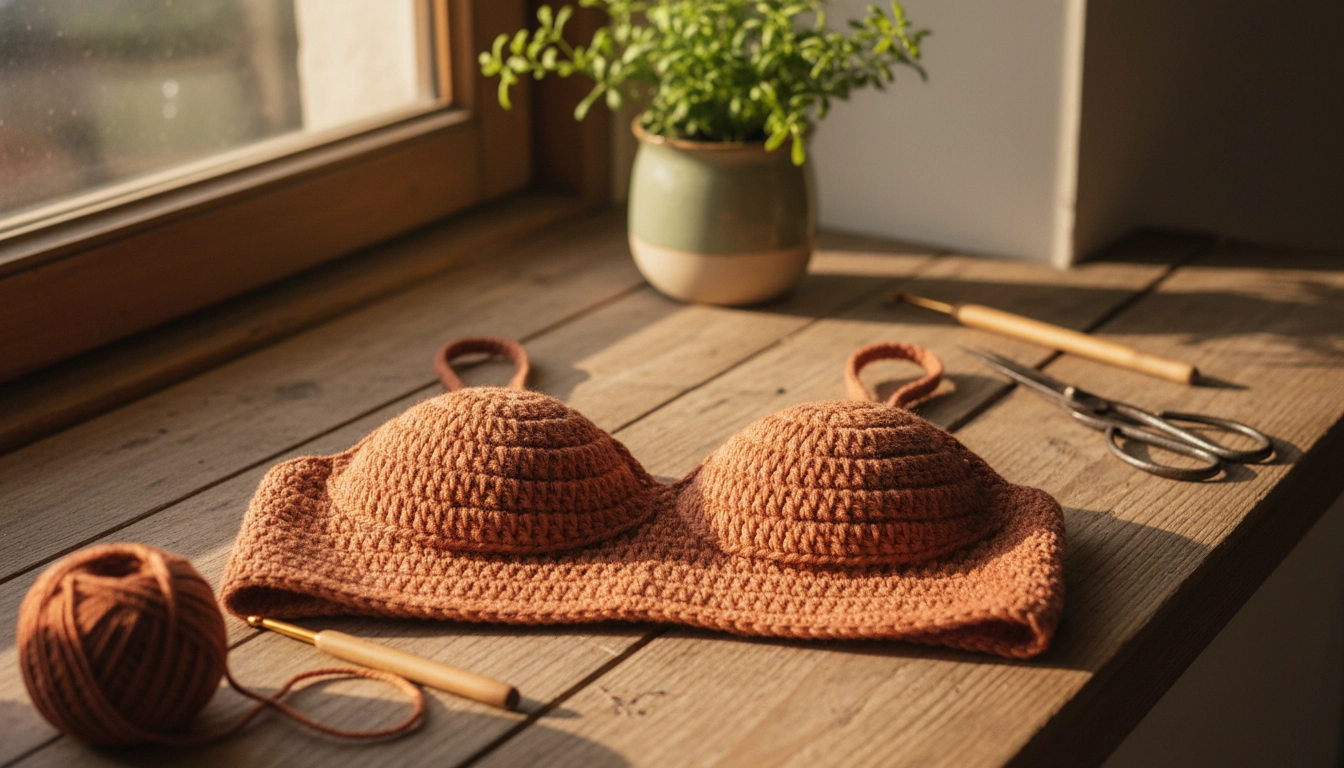
Your finished handmade bralette is more than just clothing—it is a custom-engineered piece of wearable art.
Creating custom garments is the ultimate slow-fashion rebellion. This plus size bralette crochet pattern bypasses mass-market limits to fit your actual body. Share your finished pieces on your feed. Grab your organic cotton, find your hook, and let us stitch.