
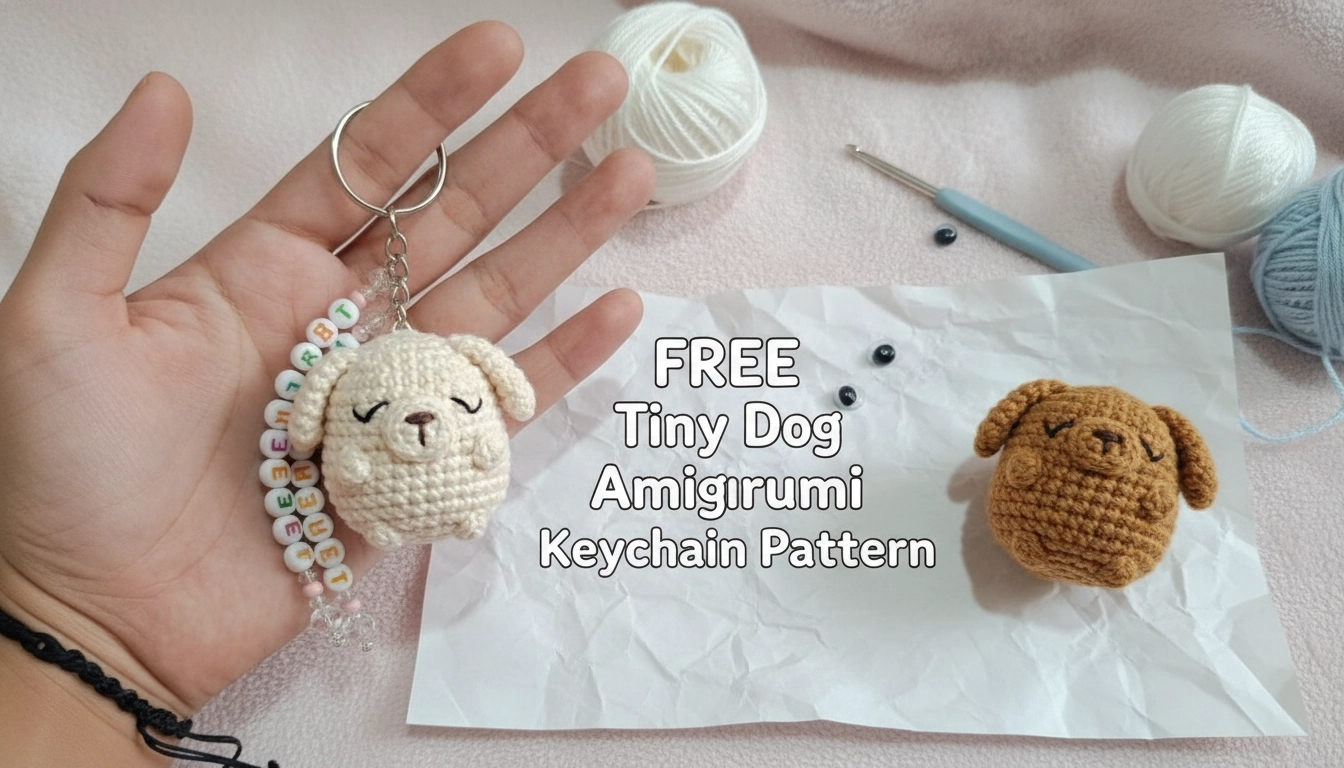
Look around. Our shelves are drowning in cheap plastic junk that breaks. I want to build things that actually last, which is why we are talking about this Free Tiny Dog Amigurumi Keychain Pattern today. My friend Chad Barrett wanted something tough, and that sparked this design. We are using organic cotton and tight math to make a tiny pup that actually holds its shape.
What is a Free Tiny Dog Amigurumi Keychain Pattern?
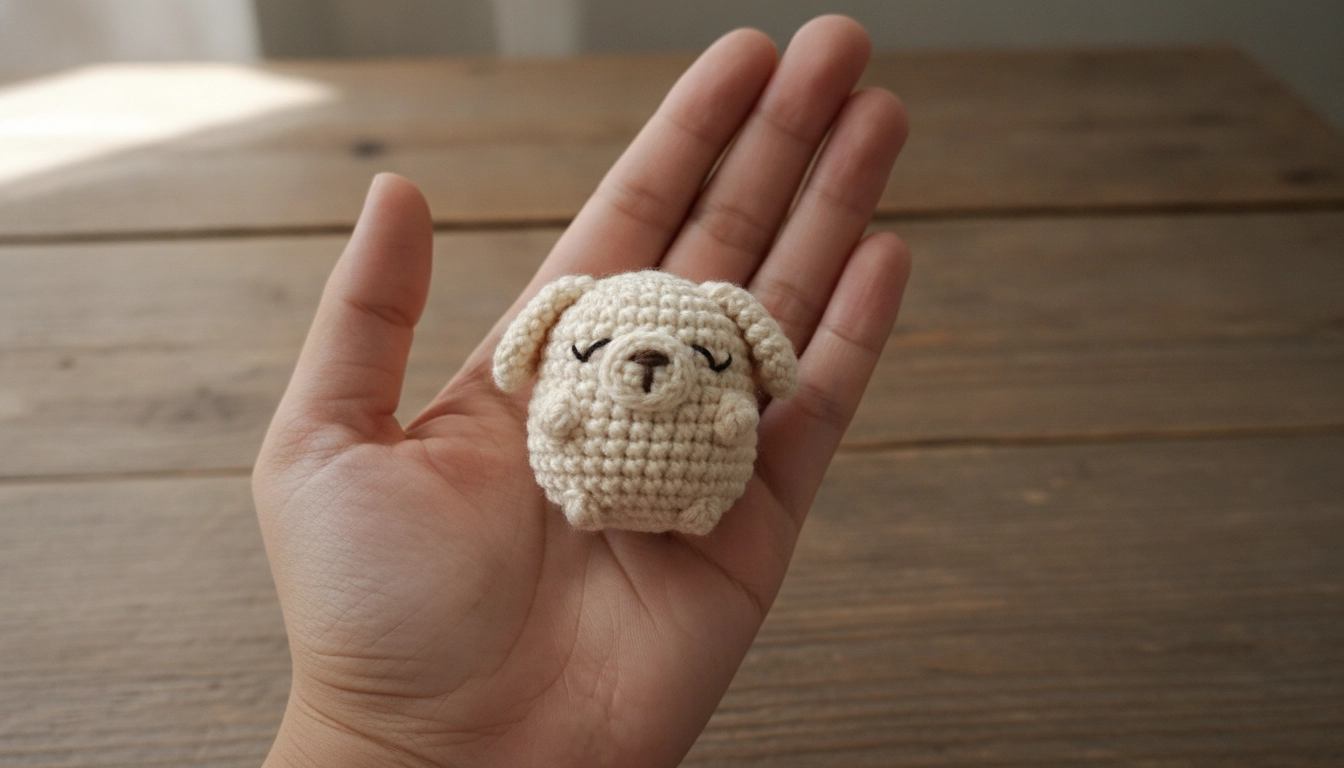
This compact pattern fits perfectly in your hand, making it the ideal size for a daily keychain.
A tiny dog amigurumi keychain is a crocheted puppy you clip to your keys. If you enjoy making miniature accessories, you can also try our Free Micro Amigurumi Dinosaur Keychain Pattern to expand your collection of handmade keyrings. This Free Tiny Dog Amigurumi Keychain Pattern uses high-density stitches and natural materials to build a solid structure. The design features a spherical body, floppy ears, a snout, and simple embroidered sleepy eyes that look incredibly high-end.
Stitch Math Magic
To keep your tiny dog from looking lumpy, use a smaller hook than your yarn label suggests. This creates a dense fabric that keeps the stuffing hidden.
Materials and Tools for Small Puppy Crochet Projects
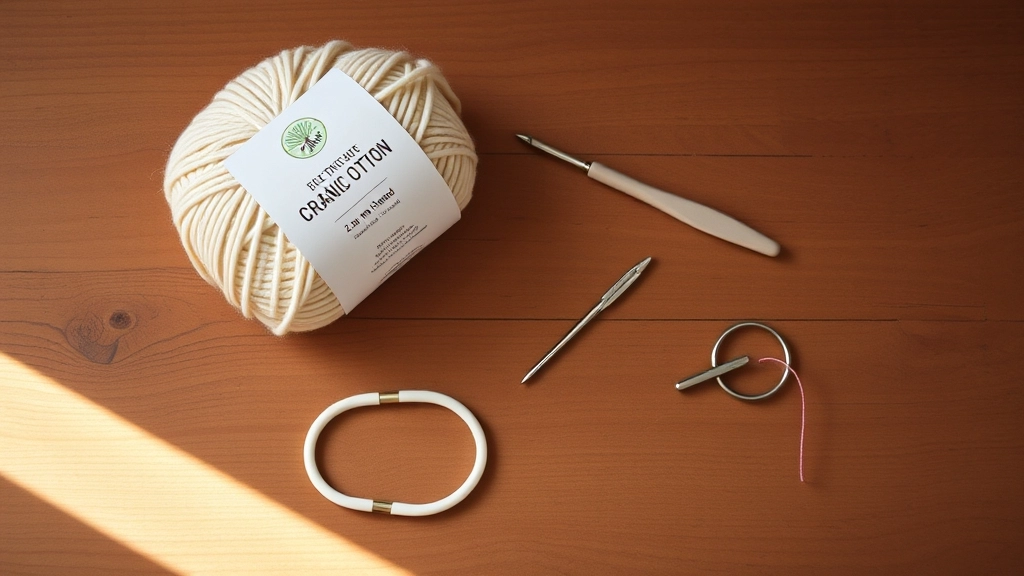
Using high-quality organic cotton yarn and a small hook is key to achieving clean, sharp stitch definition.
To get a clean boutique look, use sport weight organic cotton yarn in cream, a 2.5 mm crochet hook, dark brown embroidery floss, and polyester stuffing. You will also need a tapestry needle and a metal keychain ring. Cotton is the secret here because it gives sharp stitch definition and will not pill. For those who want to pair their new keychain with a matching canine accessory, the Free Crochet Puppy Tote Bag Pattern makes a perfect companion project.
Let us look at how different yarn fibers stack up when you are throwing them into a high-wear environment like your pocket.
| Fiber Type | Durability Level | Stitch Definition | Overall Verdict |
|---|---|---|---|
| Organic Cotton | Maximum | Extremely Sharp | The gold standard for clean keychains |
| Acrylic | Low | Fuzzy and Loose | Will pill and look messy within a week |
| Superwash Wool | Medium | Soft but Fuzzy | Too much stretch and loses shape easily |
My Take
Seriously, do not cheap out on the yarn. If you use cheap acrylic, your cute little pup will look like a sad dryer-lint ball after three days in your pocket.
The Pattern: Crocheting the Round Dog Body and Head
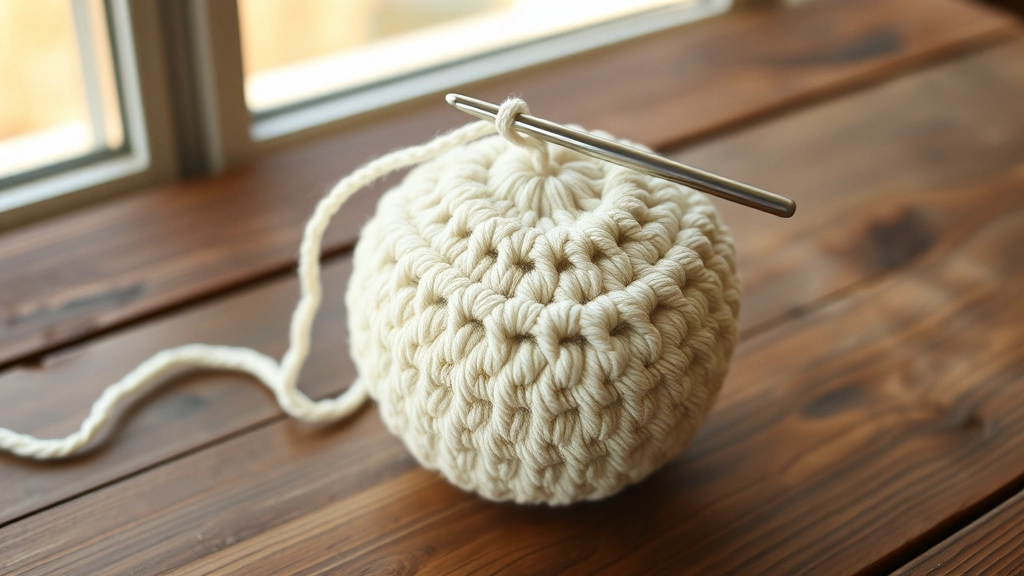
Crocheting the head and body as a single seamless piece prevents a weak, floppy neck.
This setup is perfect for intermediate makers who want to test their tension. You can practice similar tight stitch geometry with our Free Tiny Bear Amigurumi Crochet Pattern, which uses a comparable seamless construction method. We work the body and the head together as one single, seamless piece from the bottom up to prevent a weak neck seam. Use a stitch marker to keep your rounds and stitch counts completely accurate.
How to Crochet the Floppy Ears and Snout
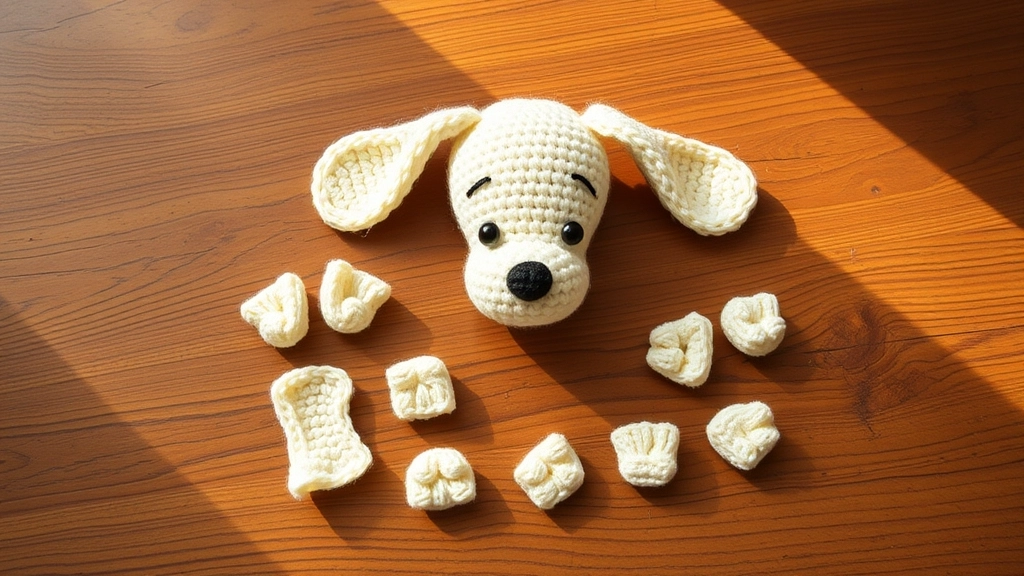
Lay out your crocheted ears, snout, and feet to ensure your tension is identical across all pieces.
The personality of this little pup comes from its exact proportions. Getting the facial proportions right is key in Japanese-inspired designs, much like the process detailed in our Free Cat in Taiyaki Hat Amigurumi Crochet Pattern. We will make two floppy ears and one small snout using the same yarn color as the body. Do not rush these smaller parts; keeping your tension identical across all four feet is what makes the finished toy sit flat.
Avoid Lumpy Ears
Do not stuff the ears. Keeping them flat allows them to drape naturally against the sides of the head, giving the puppy its signature sleepy look.
The Pattern: Attaching the Features and Embroidering Sleepy Eyes
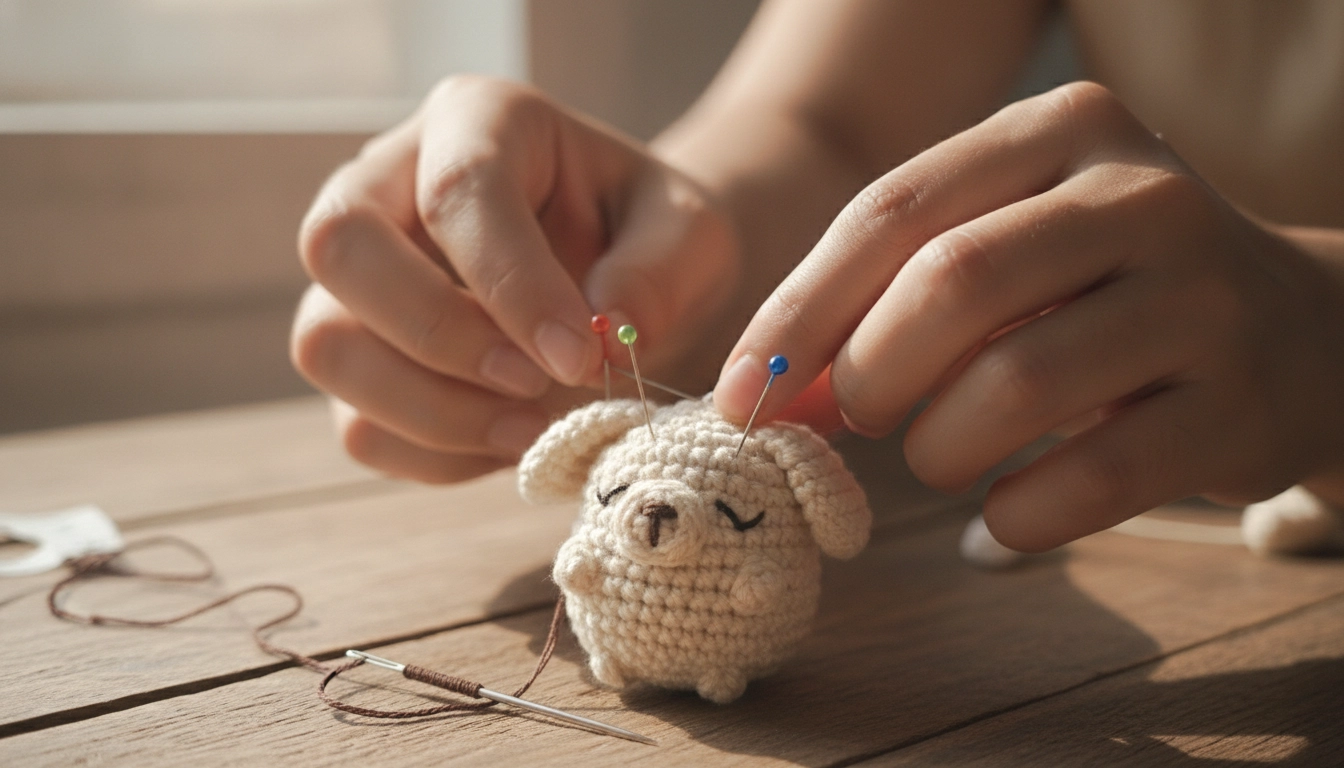
Always map out your puppy's facial features with sewing pins before committing to your final stitches.
Pin the snout between rounds 8 and 10, then sew it flat. Stitch a quick nose and vertical mouth with dark brown embroidery floss. Pin the ears to the sides at round 4, use black floss to sew simple, curved sleepy eyes, and sew the feet to the bottom.
If your puppy face looks a little chaotic, do not worry because we can easily troubleshoot the alignment with this quick guide.
| Common Face Mistake | Why It Happens | How To Fix It |
|---|---|---|
| Crooked Snout | Sewing without pinning first | Use metal sewing pins to lock the snout in place before stitching |
| Sad Droopy Eyes | Placed too low on the face | Position them exactly between rounds four and five |
| Asymmetric Ears | Row counts do not match | Count the rounds on both ears before sewing them down to the head |
My Take
Facial features make or break amigurumi. Use sewing pins to map out the face before you commit with yarn. It takes two minutes and saves hours of crying over crooked eyes.
Assembly and Mounting: Adding Keychain Rings and Beaded Straps
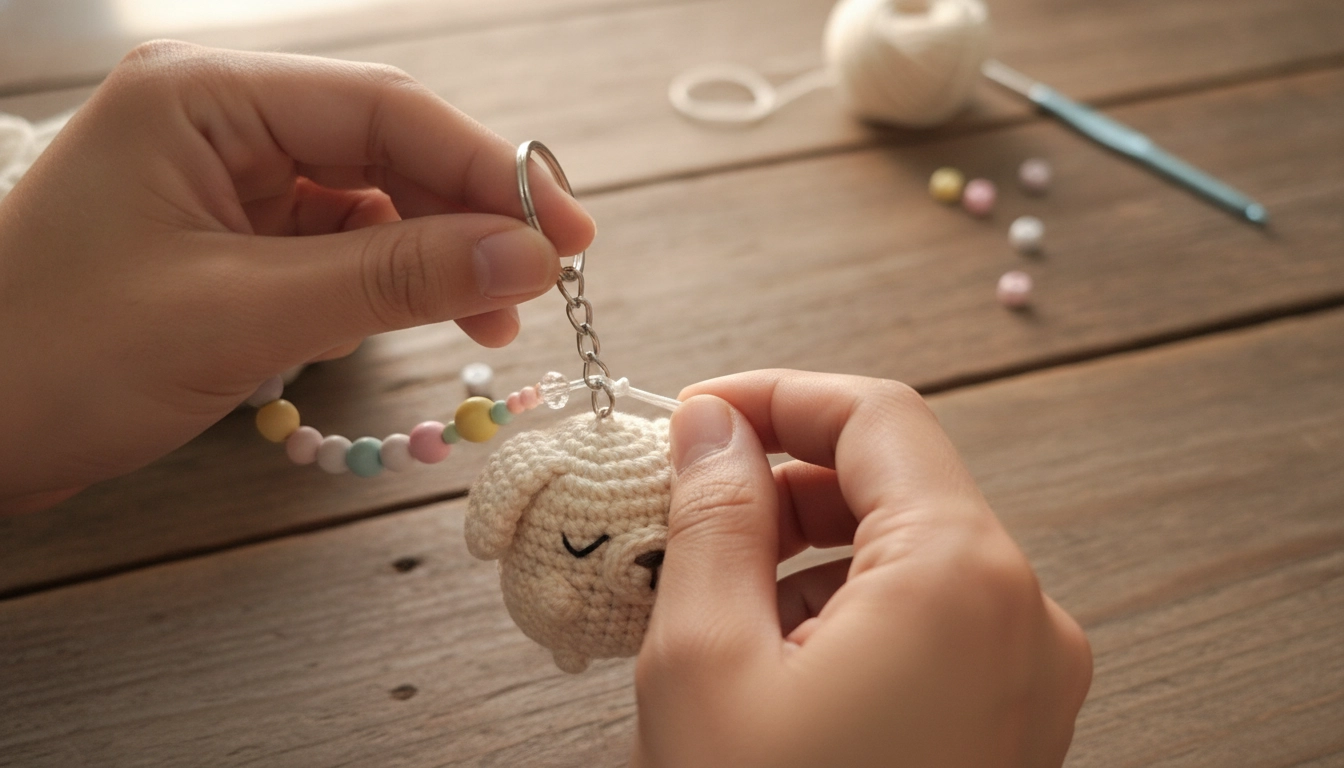
Secure your metal ring with a strong double knot inside the head to make sure it withstands daily wear.
To finish, mount a metal keychain ring to the top of its head. Thread a strong loop of matching yarn through the top, secure it with a double knot inside the body, and weave in the ends. You can also string a customized beaded wrist strap to match.
Here is a realistic breakdown of where your energy should actually go if you want a professional-grade finish instead of a rushed amateur toy.
My Take
Most people rush the assembly, but as you can see, sewing and finishing should take up almost half your project time if you want it to look high-end.
Secure Your Knots
Add a drop of fabric glue to your final knots where the keychain attaches to ensure it never unravels during daily wear.
Conclusion
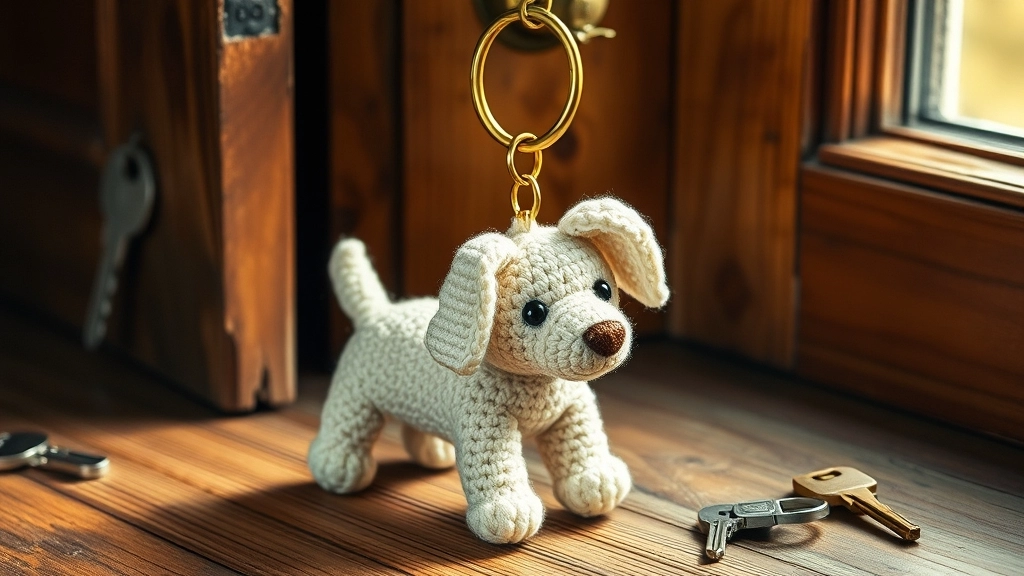
Ditch the cheap plastic and enjoy your custom, sustainable companion on all your daily adventures.
Making your own sustainable, long-lasting gear is a great way to support slow-fashion ideas. This Free Tiny Dog Amigurumi Keychain Pattern proves that some basic yarn and a simple hook can easily crush mass-produced plastic garbage. I want to see how yours turn out, so please share your finished creations.