
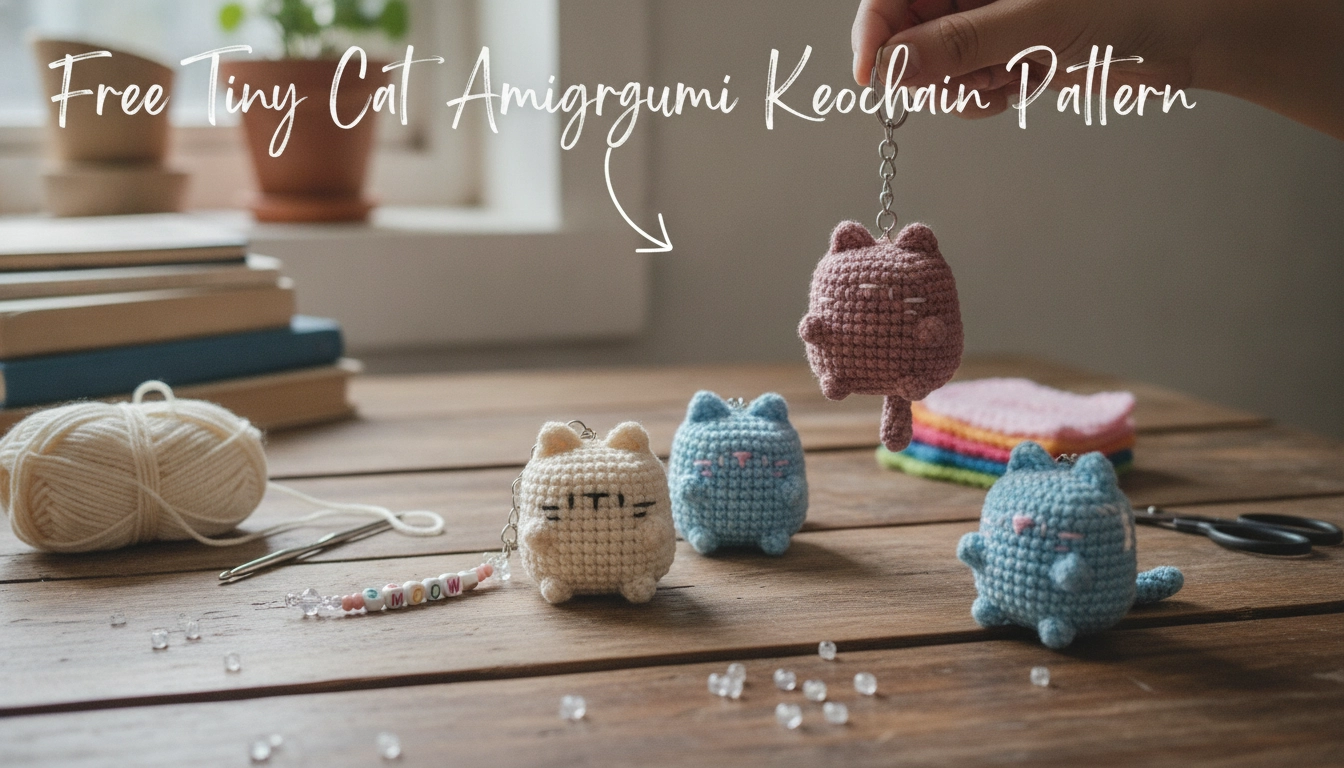
Look at your hook. If you use a 2.0mm and hope for the best with tension, stop. We must recalibrate. I was prompting Midjourney yesterday to show microscopic yarn textures, and realized how loose loops destroy real-world structure. My colleague Carrie Wagner (over on Saddle Dr in Grand Prairie) always says micro pieces must survive the daily chaos of a keyring. If your stitch math is off, your tiny cat is just a sad, lumpy wad. This is a common hurdle when designing miniature pets, which is why practicing with a Free Tiny Dog Amigurumi Keychain Pattern can help you refine your stitch control before tackling more complex shapes. This is not some cheap hobby; it is micro-architectural engineering. We are building a sculpture that keeps its shape inside a pocket.
Quick Access
Experienced crocheters can jump straight to the structured pattern containers below.
What is Micro Amigurumi and Why Does Stitch Tension Matter?
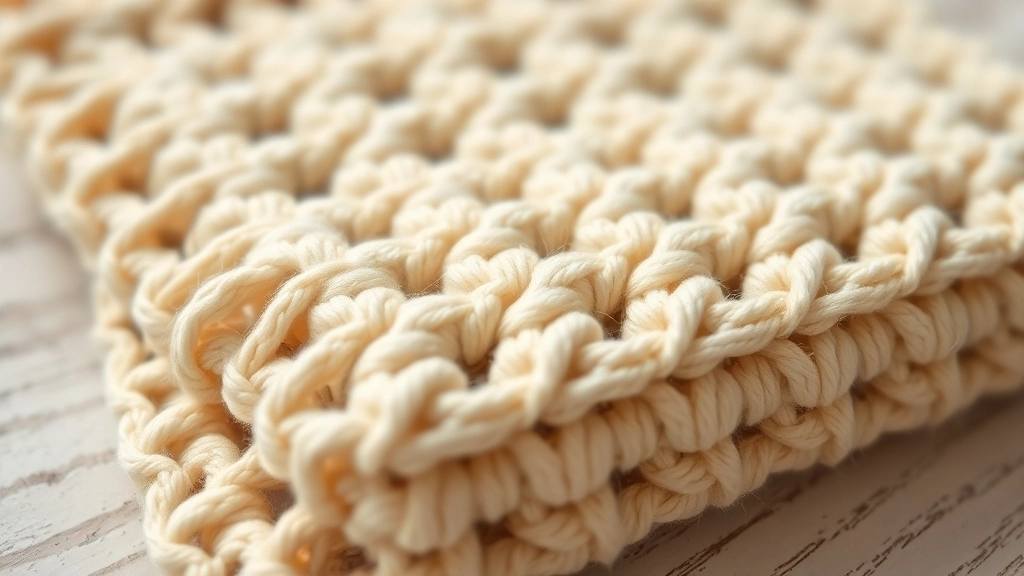
Notice the tight, gap-free stitch structure achieved by using the yarn-under single crochet technique.
Micro amigurumi is raw structural poetry. You are forcing cotton thread to defy gravity. You cannot hide mistakes under stuffing here. The geometry is the structure. If you want to test your tension on a different shape, our Free Micro Amigurumi Dinosaur Keychain Pattern offers a perfect canvas for mastering tight, seamless rounds. Since we work in continuous rounds, stitches drift. Use the yarn-under method. It creates a tight, square stitch structure. No gaps. Your hands will ache, but the shape remains solid.
When you are working at this microscopic scale, even a millimeter of deviation can warp your entire project, so let us diagnose the most common structural failures before they ruin your work.
| Stitch Symptom | Root Cause | Engineering Solution |
|---|---|---|
| Visible stuffing gaps | Loose tension or wrong hook | Switch to a 2.0 mm hook and use yarn-under |
| Cat body leans or twists | Dropped or added stitches | Count your rounds religiously at every stage |
| Pear-shaped body | Uneven stuffing distribution | Stuff with tiny pinches using tweezers |
My Take
Most tension issues boil down to hook size and stitch technique. If you see stuffing, stop immediately, rip it back, and drop down a hook size. Your future self will thank you.
Materials Needed for the Free Tiny Cat Amigurumi Keychain Pattern
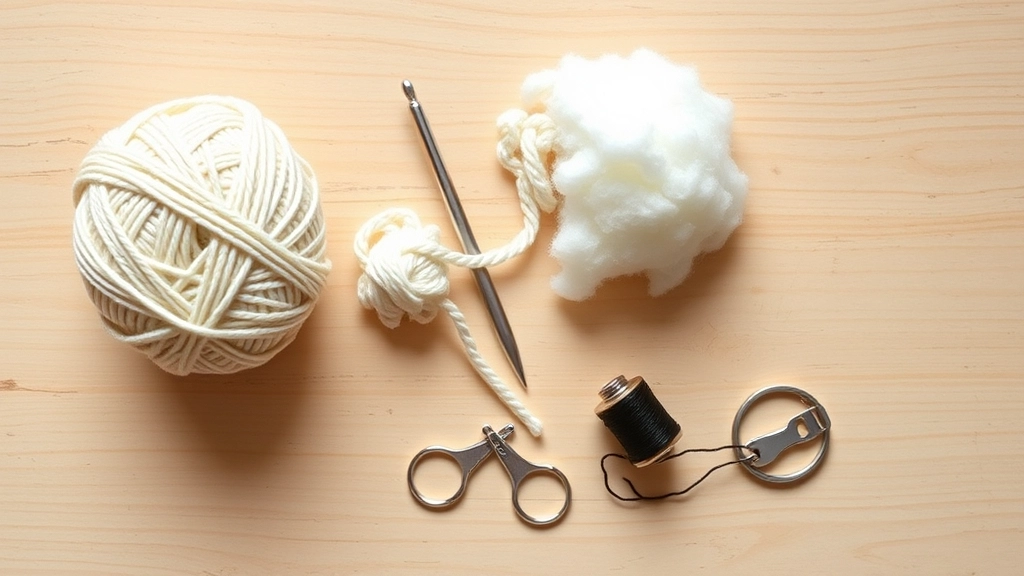
Gather these essential materials—especially high-quality mercerized cotton—before starting your project.
Using the right materials is crucial for any miniature project, as seen in our Free Tiny Bear Amigurumi Crochet Pattern where fiber choice dictates the final durability.
Do not use acrylic scraps.
Before committing your precious time, let us look at how different yarn selections impact the structural integrity of your micro kitty.
| Yarn Fiber Type | Recommended Hook Size | Structural Rigidity | Pocket Durability |
|---|---|---|---|
| Mercerized Cotton | 2.0 mm | Maximum | High |
| Standard Acrylic | 2.5 mm | Low | Poor |
| Bamboo Blend | 2.0 mm | Medium | Medium |
| Unmercerized Cotton | 2.25 mm | High | Medium |
My Take
Mercerized cotton is the absolute structural foundation of micro-art. Its tightly spun fibers do not split, keeping your tiny cat crisp and clean even after months of pocket friction.
Yarn: Mercerized cotton (sport weight, cream or dusty pink) gives clean stitch definitions.
Hook: A 2.0 mm steel hook.
Stuffing: Premium polyester fiberfill. No clumps.
Embroidery Floss: Black and white.
Hardware: Sturdy metal split keyrings.
The Pattern: Crocheting the Round Cat Body and Head
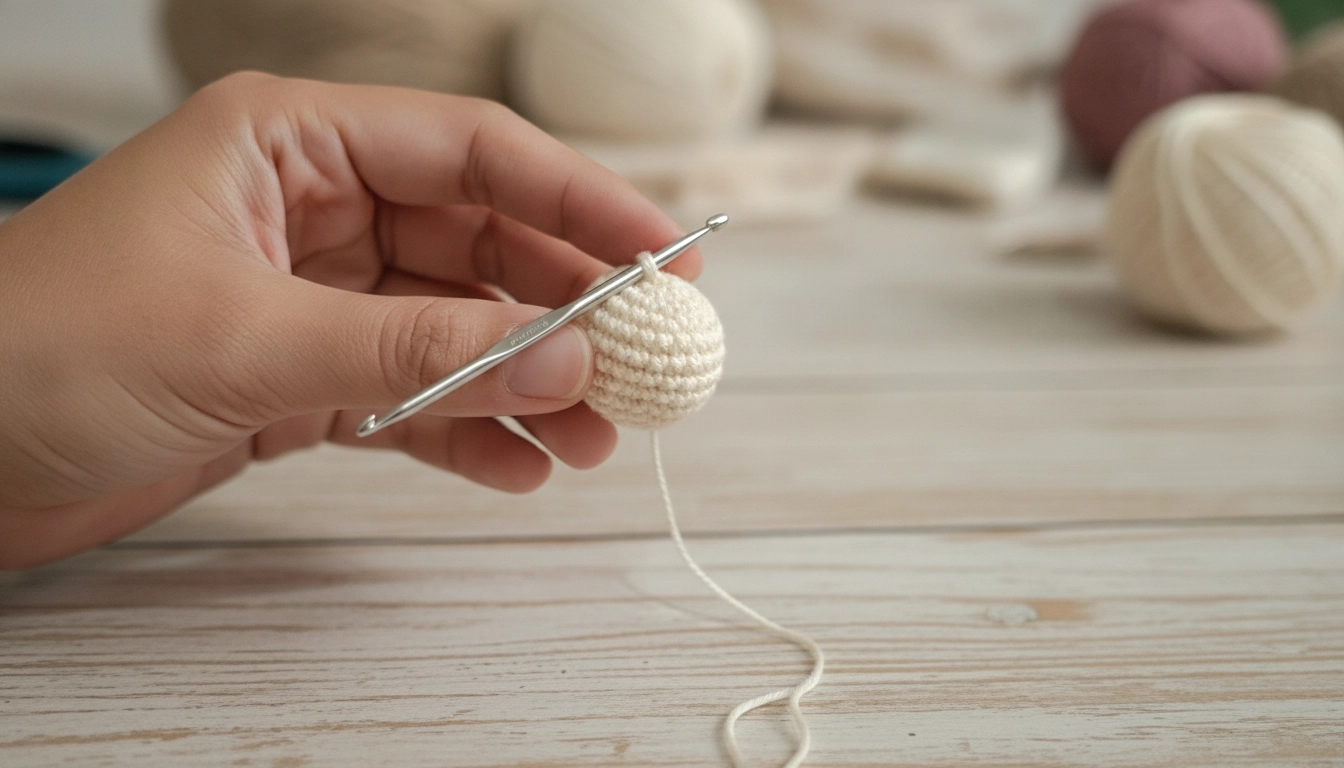
Keep your tension mechanical to ensure the body forms a clean, sturdy cylinder rather than a pear shape.
The magic ring is ground zero. Pull it closed completely. Keep your hand tension mechanical from rounds five to fourteen. Your cat must be a clean cylinder, not a pear. Keep the right side out or the texture is ruined.
Tension Control
To achieve a perfectly smooth fabric, use a hook that is one size smaller than recommended. This compresses the stitches.
To visualize why I advocate so strongly for specific stitch styles, let us look at how different techniques score on structural rigidity.
My Take
Yarn-under stitches create a cross-stitch pattern that locks the fibers together. This is the secret to achieving that professional, solid toy finish that holds its shape forever.
Stuff with tiny pinches of fiberfill. Shoving a big clump inside creates lumps. We want a firm, solid base.
How to Crochet the Pointy Ears, Tiny Limbs, and Tail
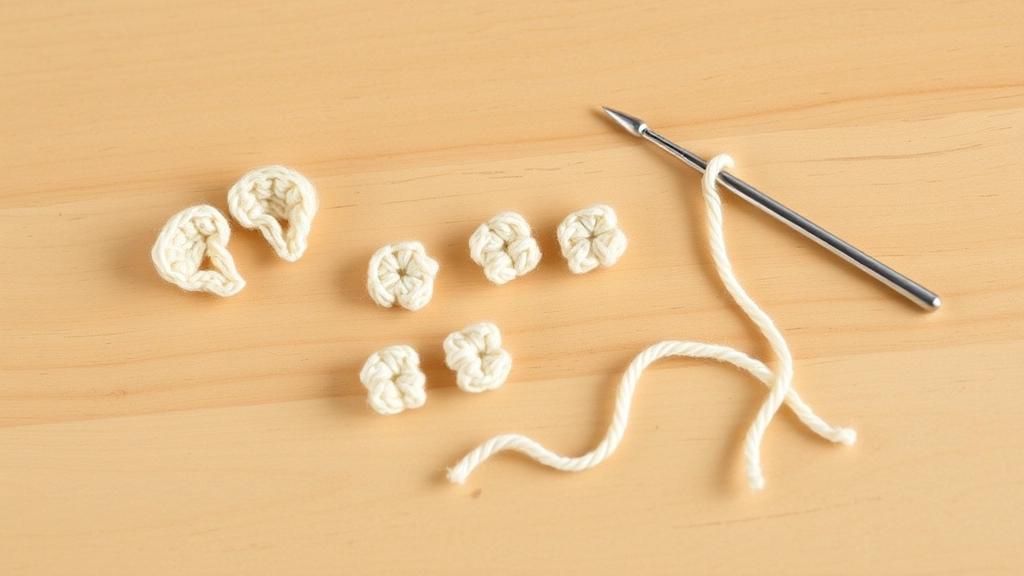
These tiny, delicate pieces are ready to be sewn onto the main cat body.
Micro scaling is unforgiving. One loose stitch makes an ear look twice its size. Ears are tiny cones; use a light touch. The limbs are unstuffed nubs. For the tail, keep tension slightly relaxed so it curves naturally.
Assembly and Mounting: Adding Keychain Rings and Beaded Straps
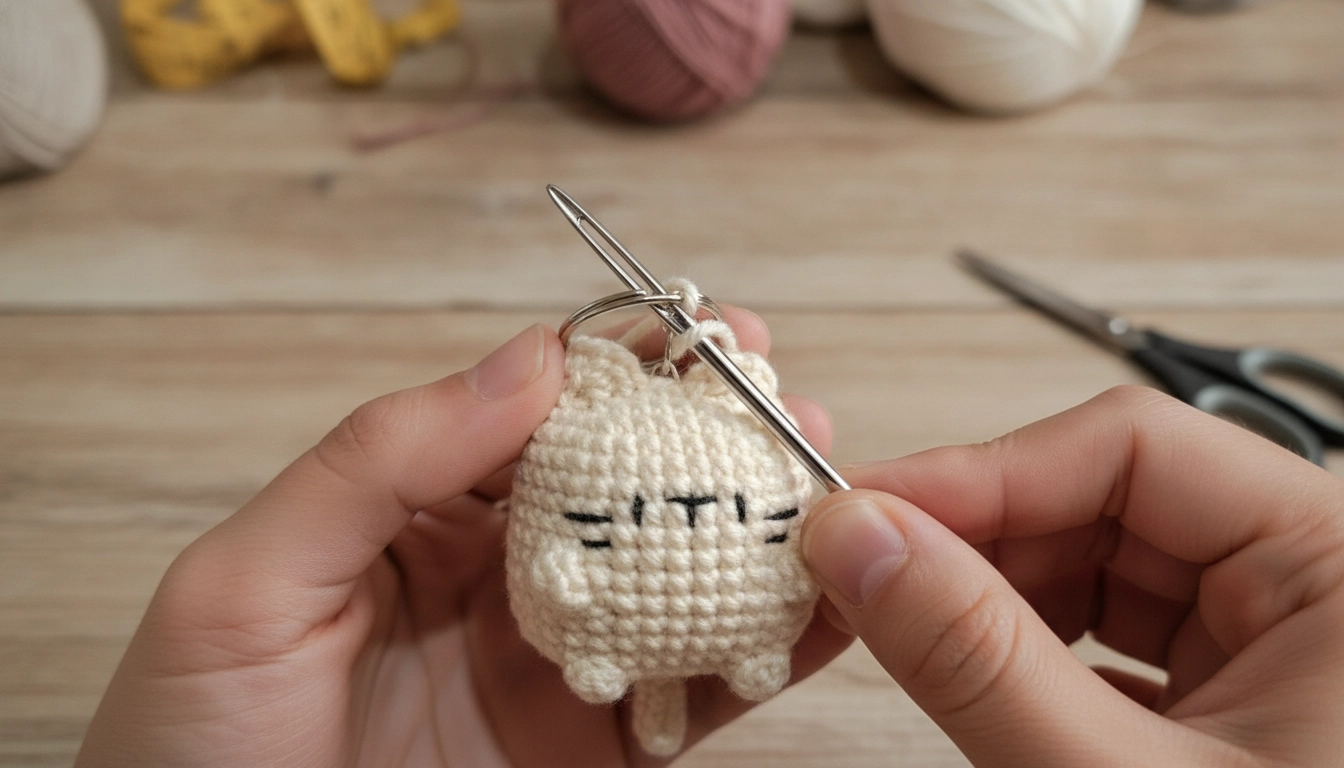
Always loop your metal ring through several sturdy stitches to ensure the keychain survives daily wear and tear.
Assembly is physical art. Use pins to place ears four stitches apart. If they are off-center, it looks weird. Sew them securely. Limbs go on the bottom third. Keep the face minimal: two horizontal lines for eyes, a vertical nose. Split your floss for sharp whiskers.
Secure Your Hardware
Never attach a keychain ring directly to a single strand of yarn. Friction will cut through the fiber. Always loop your metal ring through several stitches.
Attach the keyring by running yarn deep through head stitches, looping the metal, and knotting inside.
Conclusion
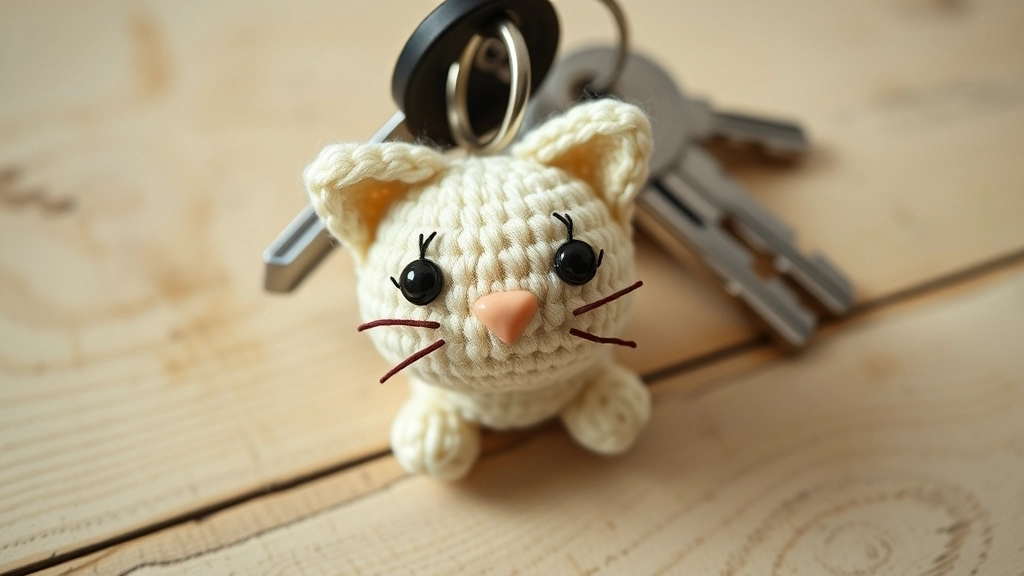
Your completed micro cat keychain is ready to accompany you on all your daily adventures!
Fiber sculpting turns simple thread into geometry. Once you master this tiny cat, you can make anything. For your next project, try scaling up slightly with the Free Cat in Taiyaki Hat Amigurumi Crochet Pattern to practice combining cute accessories with animal shapes. Use AI to prompt your wildest visual ideas, then build them. Share your finished pieces with our artist community.